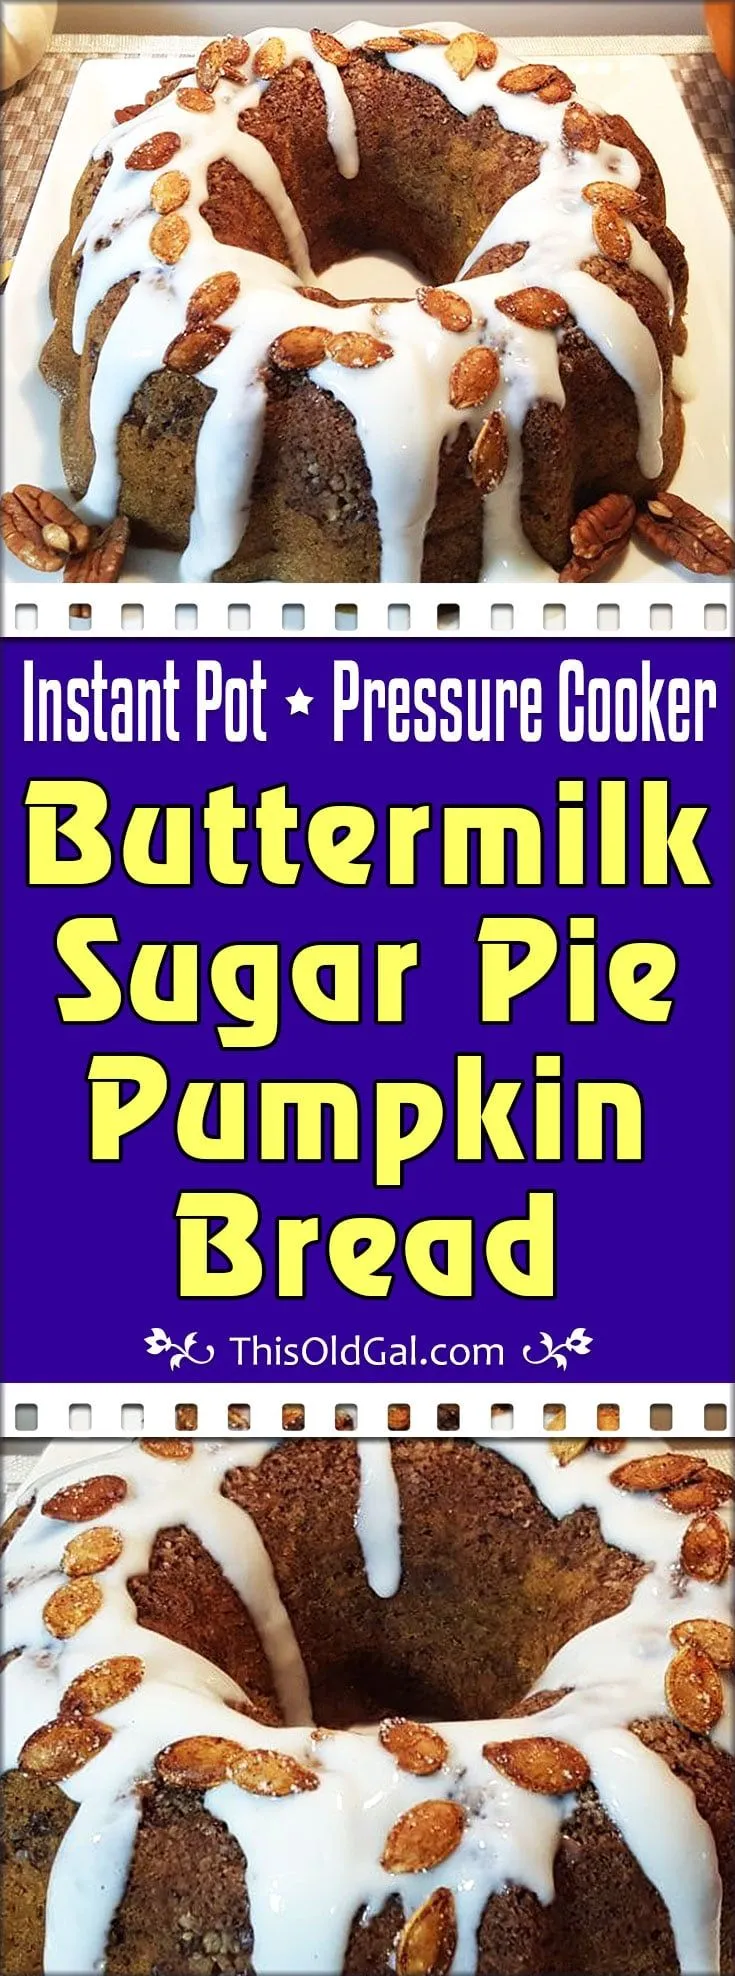
Imagine biting into a warm, fluffy slice of homemade buttermilk bread, its rich aroma filling your kitchen and captivating your senses. With just a few simple ingredients and the magic of a pressure cooker, you can create this delightful loaf in under an hour! Perfect for sandwiches, toast, or simply enjoying with a pat of butter, this buttermilk bread recipe is a must-try for anyone looking to elevate their baking game. Ready to impress your family and friends? Let’s dive into the step-by-step guide that will have you baking like a pro in no time!
Prep Time: 15 mins
Cook Time: 50 mins
Total Time: 1 hrs 5 mins
Cuisine: American
Serves: 1 loaf
Ingredients
- 3 cups all-purpose flour
- 1 cup buttermilk
- 1/4 cup sugar
- 1/4 cup butter, melted
- 1 packet active dry yeast
- 1 teaspoon salt
- 1/2 teaspoon baking soda
Instructions
- In a large mixing bowl, whisk together the flour, sugar, and salt. Set aside.
- In a separate bowl, whisk together the buttermilk, melted butter, and yeast. Let it sit for 5-7 minutes, or until the yeast is activated and foamy.
- Add the wet ingredients to the dry ingredients and mix until a shaggy dough forms.
- Knead the dough for 5-7 minutes, until it becomes smooth and elastic.
- Grease the pressure cooker insert with butter or cooking spray.
- Place the dough in the pressure cooker insert and cover with a piece of parchment paper or a silicone mat.
- Add 1 cup of water to the pressure cooker and close the lid. Make sure the valve is set to "sealing".
- Pressure cook on high for 20 minutes, followed by a 10-minute natural release.
- Quick-release any remaining pressure and carefully remove the lid.
- Remove the bread from the pressure cooker and let it cool on a wire rack for at least 10-15 minutes before slicing.
- Enjoy your freshly baked buttermilk bread!
Tips
- Activate Your Yeast: Ensure your yeast is fresh by checking the expiration date. If it doesn’t foam after 5-7 minutes, it may not be active enough to help your bread rise.
- Kneading Technique: When kneading the dough, use a light touch and avoid overworking it. The goal is to develop gluten, which gives the bread its structure and texture.
- Grease the Insert: To prevent sticking, generously grease the pressure cooker insert with butter or cooking spray before placing the dough inside.
- Water Measurement: Always add the specified amount of water to the pressure cooker to create the necessary steam for cooking the bread properly.
- Cooling Time: Allow the bread to cool on a wire rack for at least 10-15 minutes before slicing. This helps set the crumb and enhances the flavor.
- Storage: If you have leftovers, store the bread in an airtight container at room temperature for up to 3 days, or freeze slices for longer preservation.
- Experiment with Flavors: Feel free to add herbs, spices, or even cheese to the dough for a unique twist on this classic recipe!
Nutrition Facts
Calories: 180kcal
Carbohydrates: 30g
Protein: 4g
Fat: 5g
Saturated Fat: 3g
Cholesterol: 15mg


