Imagine drizzling a luscious, homemade raspberry syrup over your pancakes, ice cream, or even cocktails, transforming ordinary meals into extraordinary delights! This delightful recipe for Raspberry Syrup for Canning captures the vibrant essence of fresh raspberries, allowing you to savor summer’s sweetness all year round. With just a few simple ingredients and a little bit of time, you can create a delectable syrup that not only elevates your dishes but also makes for thoughtful gifts. Ready to impress your family and friends with this irresistible treat? Let’s dive into the sweet world of raspberry canning!
Prep Time: 10 mins
Cook Time: 30 mins
Total Time: 40 mins
Cuisine: American
Serves: 4 cups
Ingredients
- 4 cups raspberries
- 2 cups sugar
- 1 cup water
- 1 tablespoon lemon juice
Instructions
- Begin by gathering all the necessary ingredients: 4 cups of fresh raspberries, 2 cups of granulated sugar, 1 cup of water, and 1 tablespoon of freshly squeezed lemon juice. Ensure that your raspberries are clean and free from any debris.
- In a large saucepan, combine the 1 cup of water and 2 cups of sugar over medium heat. Stir the mixture gently until the sugar is completely dissolved, creating a simple syrup. This should take about 5 minutes.
- Once the sugar has dissolved, add the 4 cups of raspberries to the saucepan. Gently stir the raspberries into the syrup, being careful not to crush them too much, as you want to maintain some whole berries for texture.
- Increase the heat to medium-high and bring the mixture to a gentle boil. Allow it to boil for about 10 minutes, stirring occasionally. This will help extract the natural flavors and juices from the raspberries.
- After 10 minutes of boiling, reduce the heat to low and let the mixture simmer for an additional 15-20 minutes. During this time, the syrup will thicken and the flavors will meld together. Stir occasionally to prevent sticking.
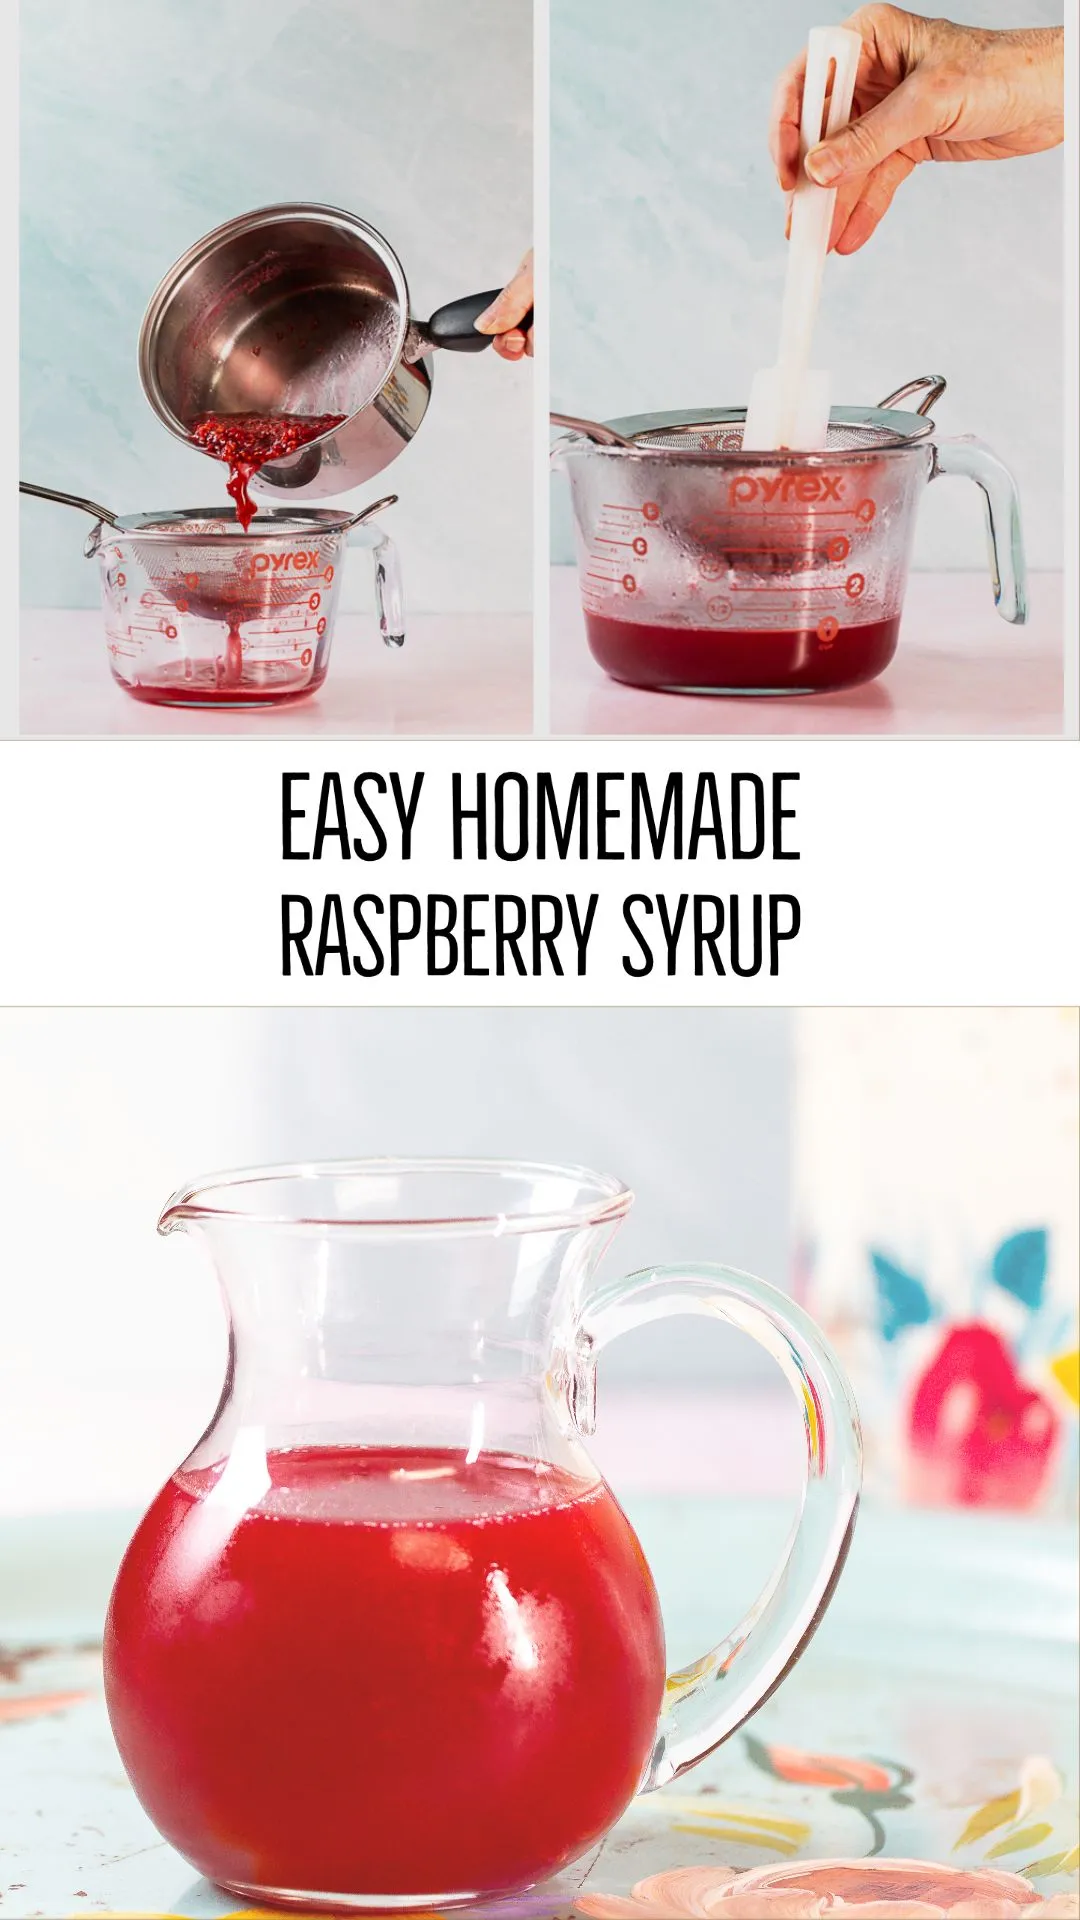
- Once the syrup has reached your desired thickness, remove the saucepan from the heat. Stir in the 1 tablespoon of lemon juice, which will enhance the flavor and help preserve the vibrant color of the syrup.
- Prepare your canning jars by sterilizing them in boiling water or running them through a dishwasher cycle. This step is crucial for ensuring that your syrup is safely preserved.
- Using a ladle, carefully pour the hot raspberry syrup into the sterilized jars, leaving about 1/4 inch of headspace at the top. Be cautious, as the syrup will be very hot.
- Wipe the rims of the jars with a clean cloth to remove any residue. This will help ensure a proper seal when you apply the lids.
- Place the sterilized lids on top of the jars and screw on the metal bands until they are fingertip-tight. Do not overtighten, as this can prevent the jars from sealing properly.
- Process the jars in a boiling water bath for 10 minutes to ensure they are sealed and safe for long-term storage. Make sure the water covers the jars by at least an inch.
- After processing, carefully remove the jars from the water bath and place them on a clean kitchen towel or cooling rack. Allow them to cool completely at room temperature.
- Once cooled, check the seals by pressing down in the center of each lid. If it doesn’t pop back, the jar has sealed properly. Store the sealed jars in a cool, dark place. Any jars that did not seal can be refrigerated and used within a few weeks.
- Your homemade raspberry syrup is now ready to be enjoyed! Use it as a topping for pancakes, waffles, or ice cream, or mix it into beverages for a delicious raspberry flavor.
Tips
- Choose Fresh Raspberries: Always use ripe, fresh raspberries for the best flavor. If you can, pick them yourself or buy from a local farmer's market for peak freshness.
- Don’t Rush the Sugar Dissolving: Make sure to dissolve the sugar completely in the water before adding the raspberries. This step is crucial for achieving a smooth syrup.
- Gentle Stirring: When adding the raspberries to the syrup, stir gently to avoid crushing them. Keeping some whole berries will enhance the texture of your syrup.
- Monitor the Thickness: Keep an eye on the syrup as it simmers. You can test the thickness by placing a spoonful on a plate and letting it cool for a moment; it should have a syrupy consistency.
- Sterilize Jars Properly: Ensure your canning jars are thoroughly sterilized to prevent any spoilage. Boiling them or running them through a hot dishwasher cycle works well.
- Leave Headspace: When filling your jars, leave about 1/4 inch of headspace at the top. This allows for expansion during processing and ensures a proper seal.
- Check Seals After Cooling: Once the jars have cooled, always check the seals by pressing down in the center of the lid. A properly sealed jar will not pop back.
- Versatile Uses: Don’t just use the syrup for breakfast! It’s perfect for cocktails, drizzling over desserts, or mixing into yogurt for a fruity twist.
Nutrition Facts
Calories: 80kcal
Carbohydrates: 20g
Protein: 0g
Fat: 0g
Saturated Fat: 0g
Cholesterol: 0mg