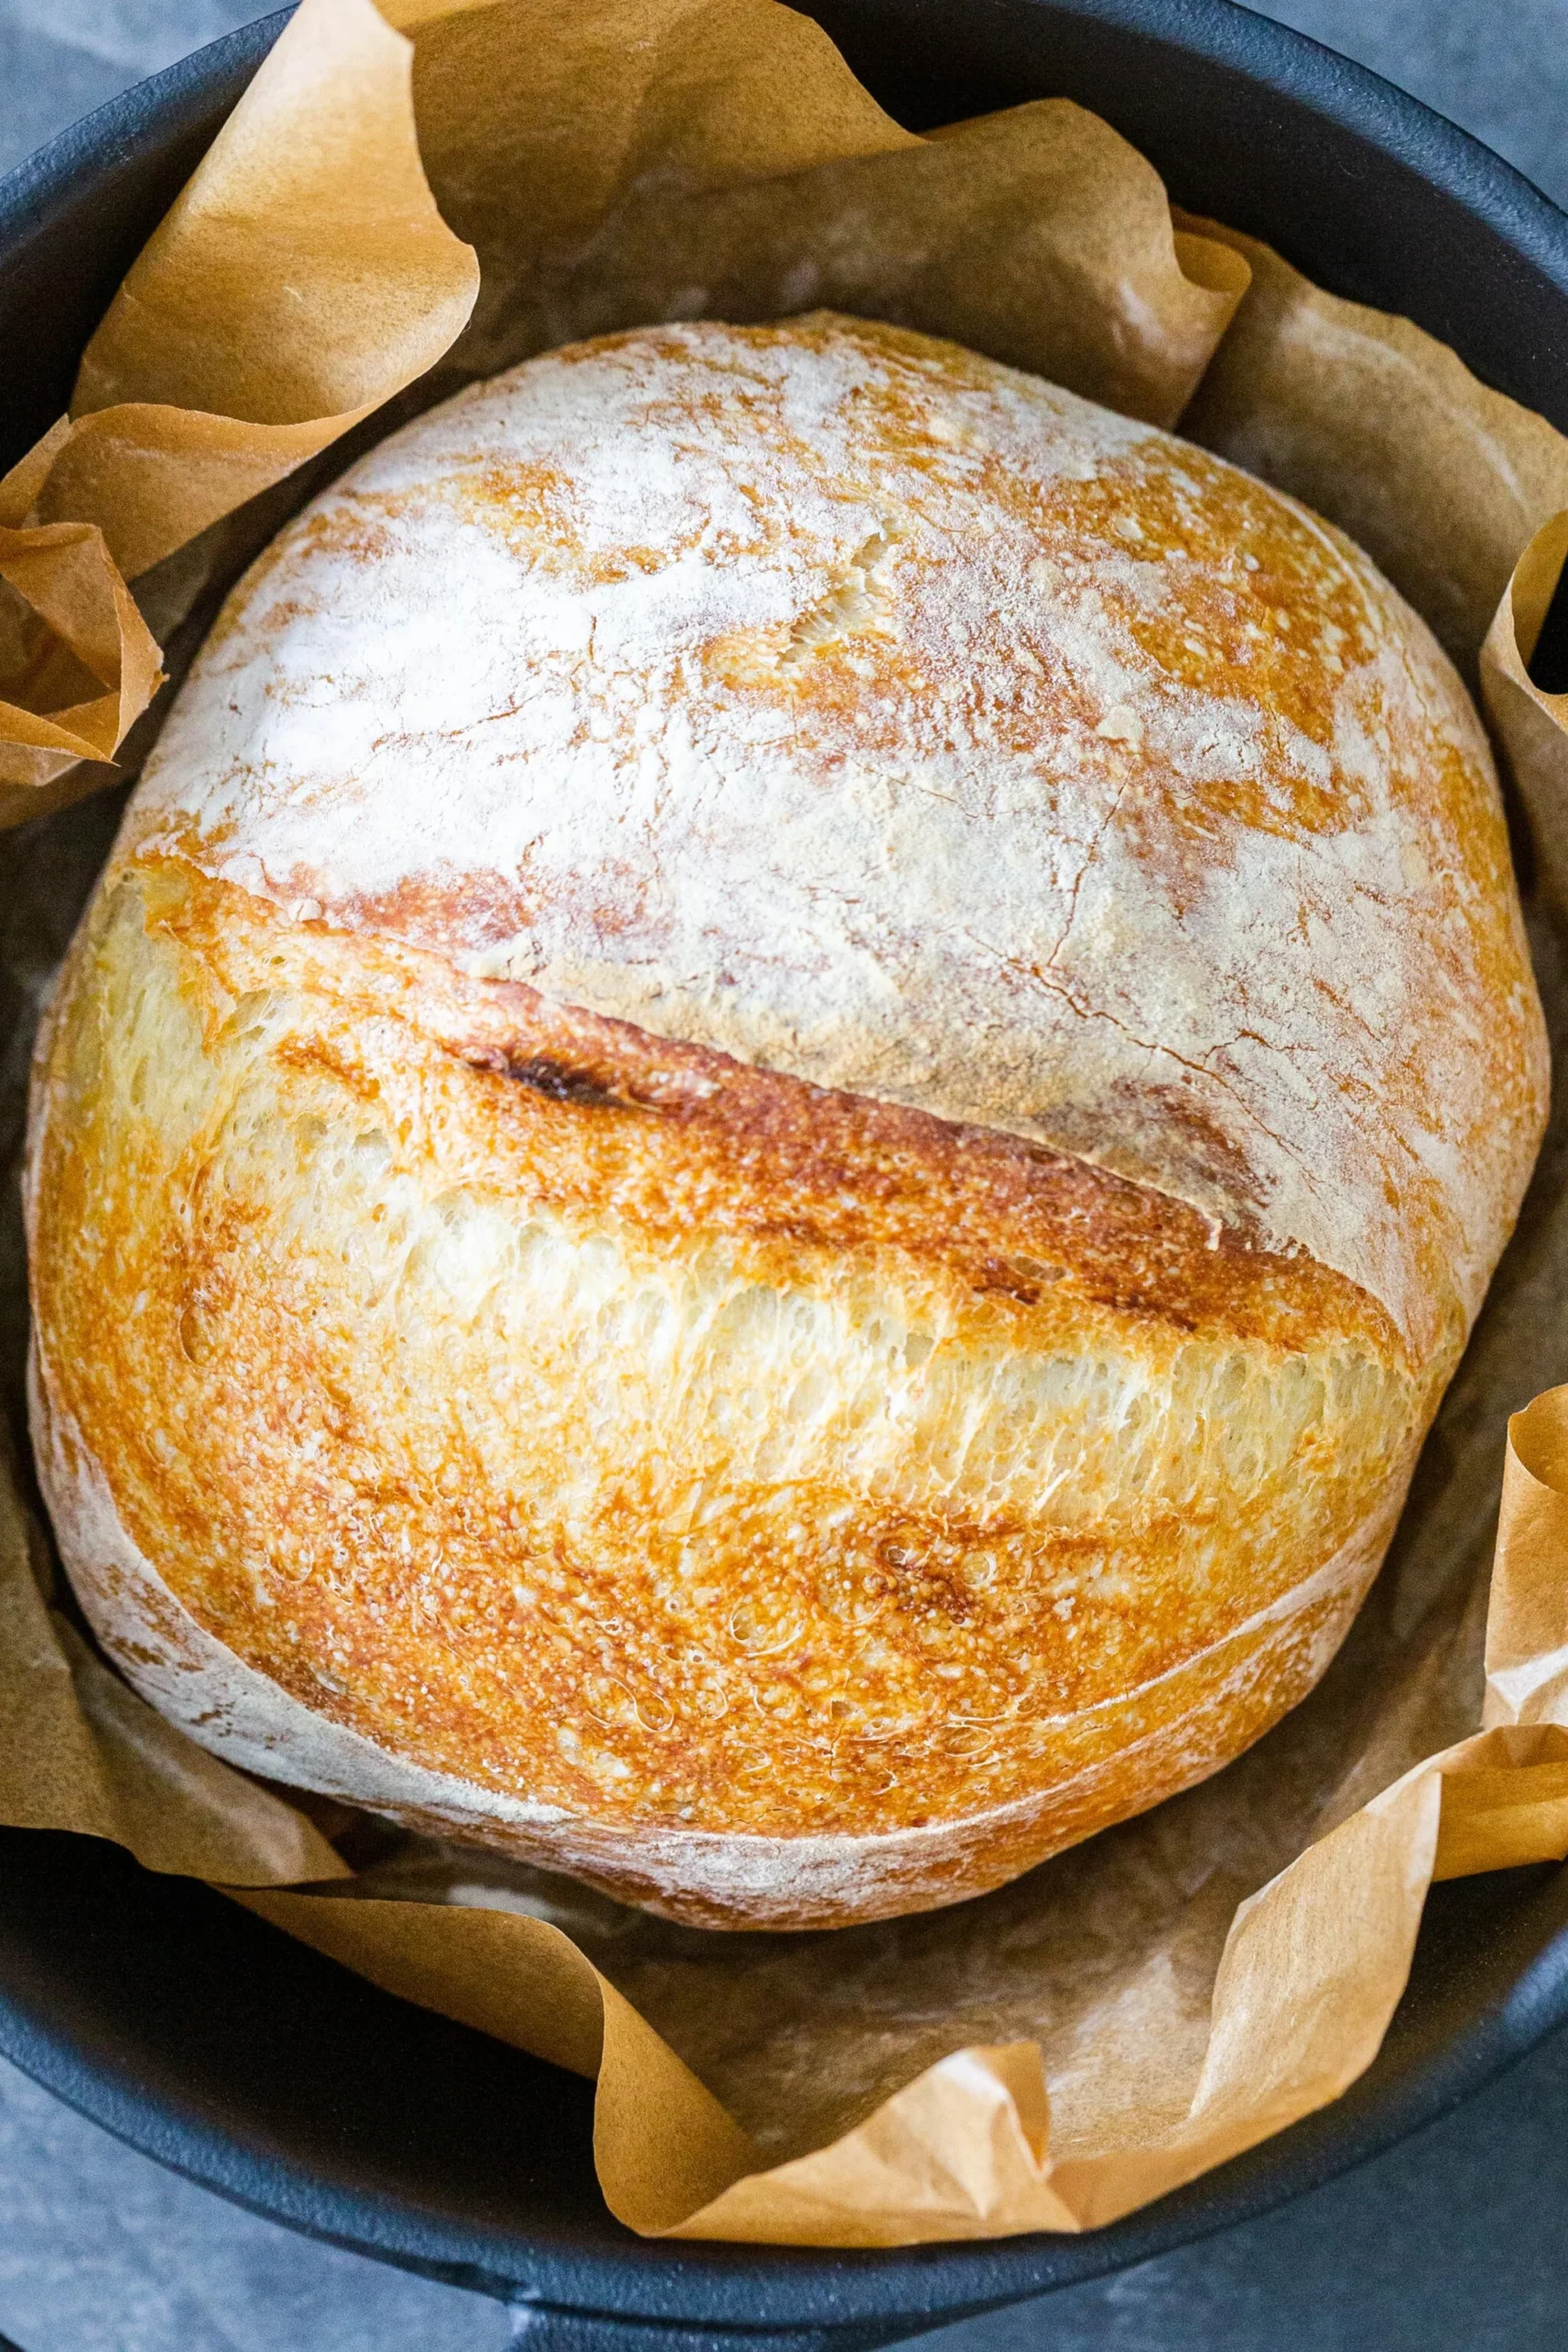
Imagine the warm, inviting aroma of freshly baked bread wafting through your home, beckoning everyone to gather around the kitchen. With this Quick Dutch Oven Bread recipe, you can create a stunning loaf with a crusty exterior and a soft, airy interior—all without the need for complicated techniques or special equipment! In just over an hour, you’ll have a beautiful loaf that’s perfect for sandwiches, toasting, or simply enjoying with a pat of butter. Ready to impress your family and friends with your newfound baking skills? Let’s dive into the simple steps that will have you baking like a pro in no time!
Prep Time: 30 mins
Cook Time: 45 mins
Total Time: 1 hrs 15 mins
Cuisine: American
Serves: 1 loaf
Ingredients
- 3 cups all-purpose flour
- 1 1/2 teaspoons salt
- 1/2 teaspoon instant yeast
- 1 1/2 cups warm water
Instructions
- In a large mixing bowl, combine 3 cups of all-purpose flour, 1 1/2 teaspoons of salt, and 1/2 teaspoon of instant yeast. Whisk the dry ingredients together until they are evenly mixed.
- Gradually add 1 1/2 cups of warm water to the dry ingredients. Use a wooden spoon or your hands to mix until a shaggy dough forms. The dough should be wet and sticky; do not overmix.
- Cover the bowl with plastic wrap or a clean kitchen towel and let the dough rest at room temperature for about 12 to 18 hours. This allows the dough to rise and develop flavor.
- After the resting period, the dough should have doubled in size and be bubbly on the surface. Lightly flour a clean work surface and gently scrape the dough out of the bowl onto the floured surface.
- With floured hands, fold the dough over itself a couple of times to shape it into a ball. Be careful not to deflate it too much. Cover the dough with a kitchen towel and let it rest for about 30 minutes.
- While the dough is resting, place your Dutch oven (with the lid on) in the oven and preheat it to 450°F (230°C). This will ensure the pot is hot when you bake the bread.
- After 30 minutes, carefully remove the hot Dutch oven from the oven using oven mitts. Remove the lid and gently place the dough into the pot. If desired, you can sprinkle a little flour on top of the dough for added texture.
- Cover the Dutch oven with the lid and return it to the oven. Bake for 30 minutes with the lid on. This will create steam, resulting in a crusty exterior.
- After 30 minutes, remove the lid from the Dutch oven and continue baking for an additional 15 minutes, or until the bread is golden brown and has a crusty exterior.
- Once baked, carefully remove the bread from the Dutch oven and place it on a wire rack to cool for at least 15 minutes before slicing. This allows the interior to set properly.
- Enjoy your freshly baked Dutch oven bread plain, with butter, or as a side to your favorite meal!
Tips
- Use Warm Water: Ensure your water is warm but not hot—around 100°F (38°C) is ideal. This will help activate the yeast without killing it.
- Don’t Rush the Rise: Allowing the dough to rest for 12 to 18 hours is crucial for developing flavor and texture. Plan ahead for the best results!
- Flour Your Surface: When transferring the dough to the floured surface, use enough flour to prevent sticking, but be careful not to overwork the dough.
- Preheat Your Dutch Oven: A hot Dutch oven is key to achieving that perfect crust. Make sure to preheat it thoroughly before adding your dough.
- Experiment with Toppings: Feel free to get creative! Sprinkle herbs, seeds, or cheese on top of the dough before baking for an extra flavor boost.
- Cool Before Slicing: Patience is a virtue! Let the bread cool for at least 15 minutes before slicing to ensure the crumb sets properly and doesn’t become gummy.
- Storing Leftovers: If you have any bread left, store it in a paper bag at room temperature for up to 3 days. For longer storage, slice and freeze it!
Nutrition Facts
Calories: kcal
Carbohydrates: g
Protein: g
Fat: g
Saturated Fat: g
Cholesterol: 0mg