Are you ready to indulge in a warm, crusty loaf of bread that’s not only delicious but also gluten-free? This Irish Gluten Free Soda Bread is your answer to satisfying those bread cravings without compromising on taste or texture! With just a handful of simple ingredients and a quick prep time, you can whip up a delightful loaf that’s perfect for breakfast, snacks, or as a side to your favorite meal. Imagine the aroma filling your kitchen as it bakes to a golden perfection—your family and friends won’t believe it’s gluten-free! Dive into this easy recipe and discover the joy of homemade soda bread that everyone can enjoy!
Prep Time: 15 mins
Cook Time: 45 mins
Total Time: 60 mins
Cuisine: Irish
Serves: 1 loaf
Ingredients
- 2 cups gluten-free flour
- 1 teaspoon baking soda
- 1 teaspoon salt
- 1 cup buttermilk
- 1 tablespoon honey
Instructions
- Preheat your oven to 425°F (220°C). Line a baking sheet with parchment paper or lightly grease it to prevent sticking.
- In a large mixing bowl, combine 2 cups of gluten-free flour, 1 teaspoon of baking soda, and 1 teaspoon of salt. Whisk the dry ingredients together until they are well mixed and free of lumps.
- In a separate bowl, mix together 1 cup of buttermilk and 1 tablespoon of honey. Stir until the honey is fully dissolved in the buttermilk.
- Make a well in the center of the dry ingredients. Pour the buttermilk and honey mixture into the well.
- Using a wooden spoon or your hands, gently mix the wet and dry ingredients together. Be careful not to overmix; you want the dough to come together but remain slightly sticky.
- Once the dough has formed, turn it out onto a lightly floured surface (you can use more gluten-free flour for dusting). Gently knead the dough a few times until it is smooth, being cautious not to overwork it.
- Shape the dough into a round loaf, about
- 5 inches thick. Place the loaf on the prepared baking sheet.
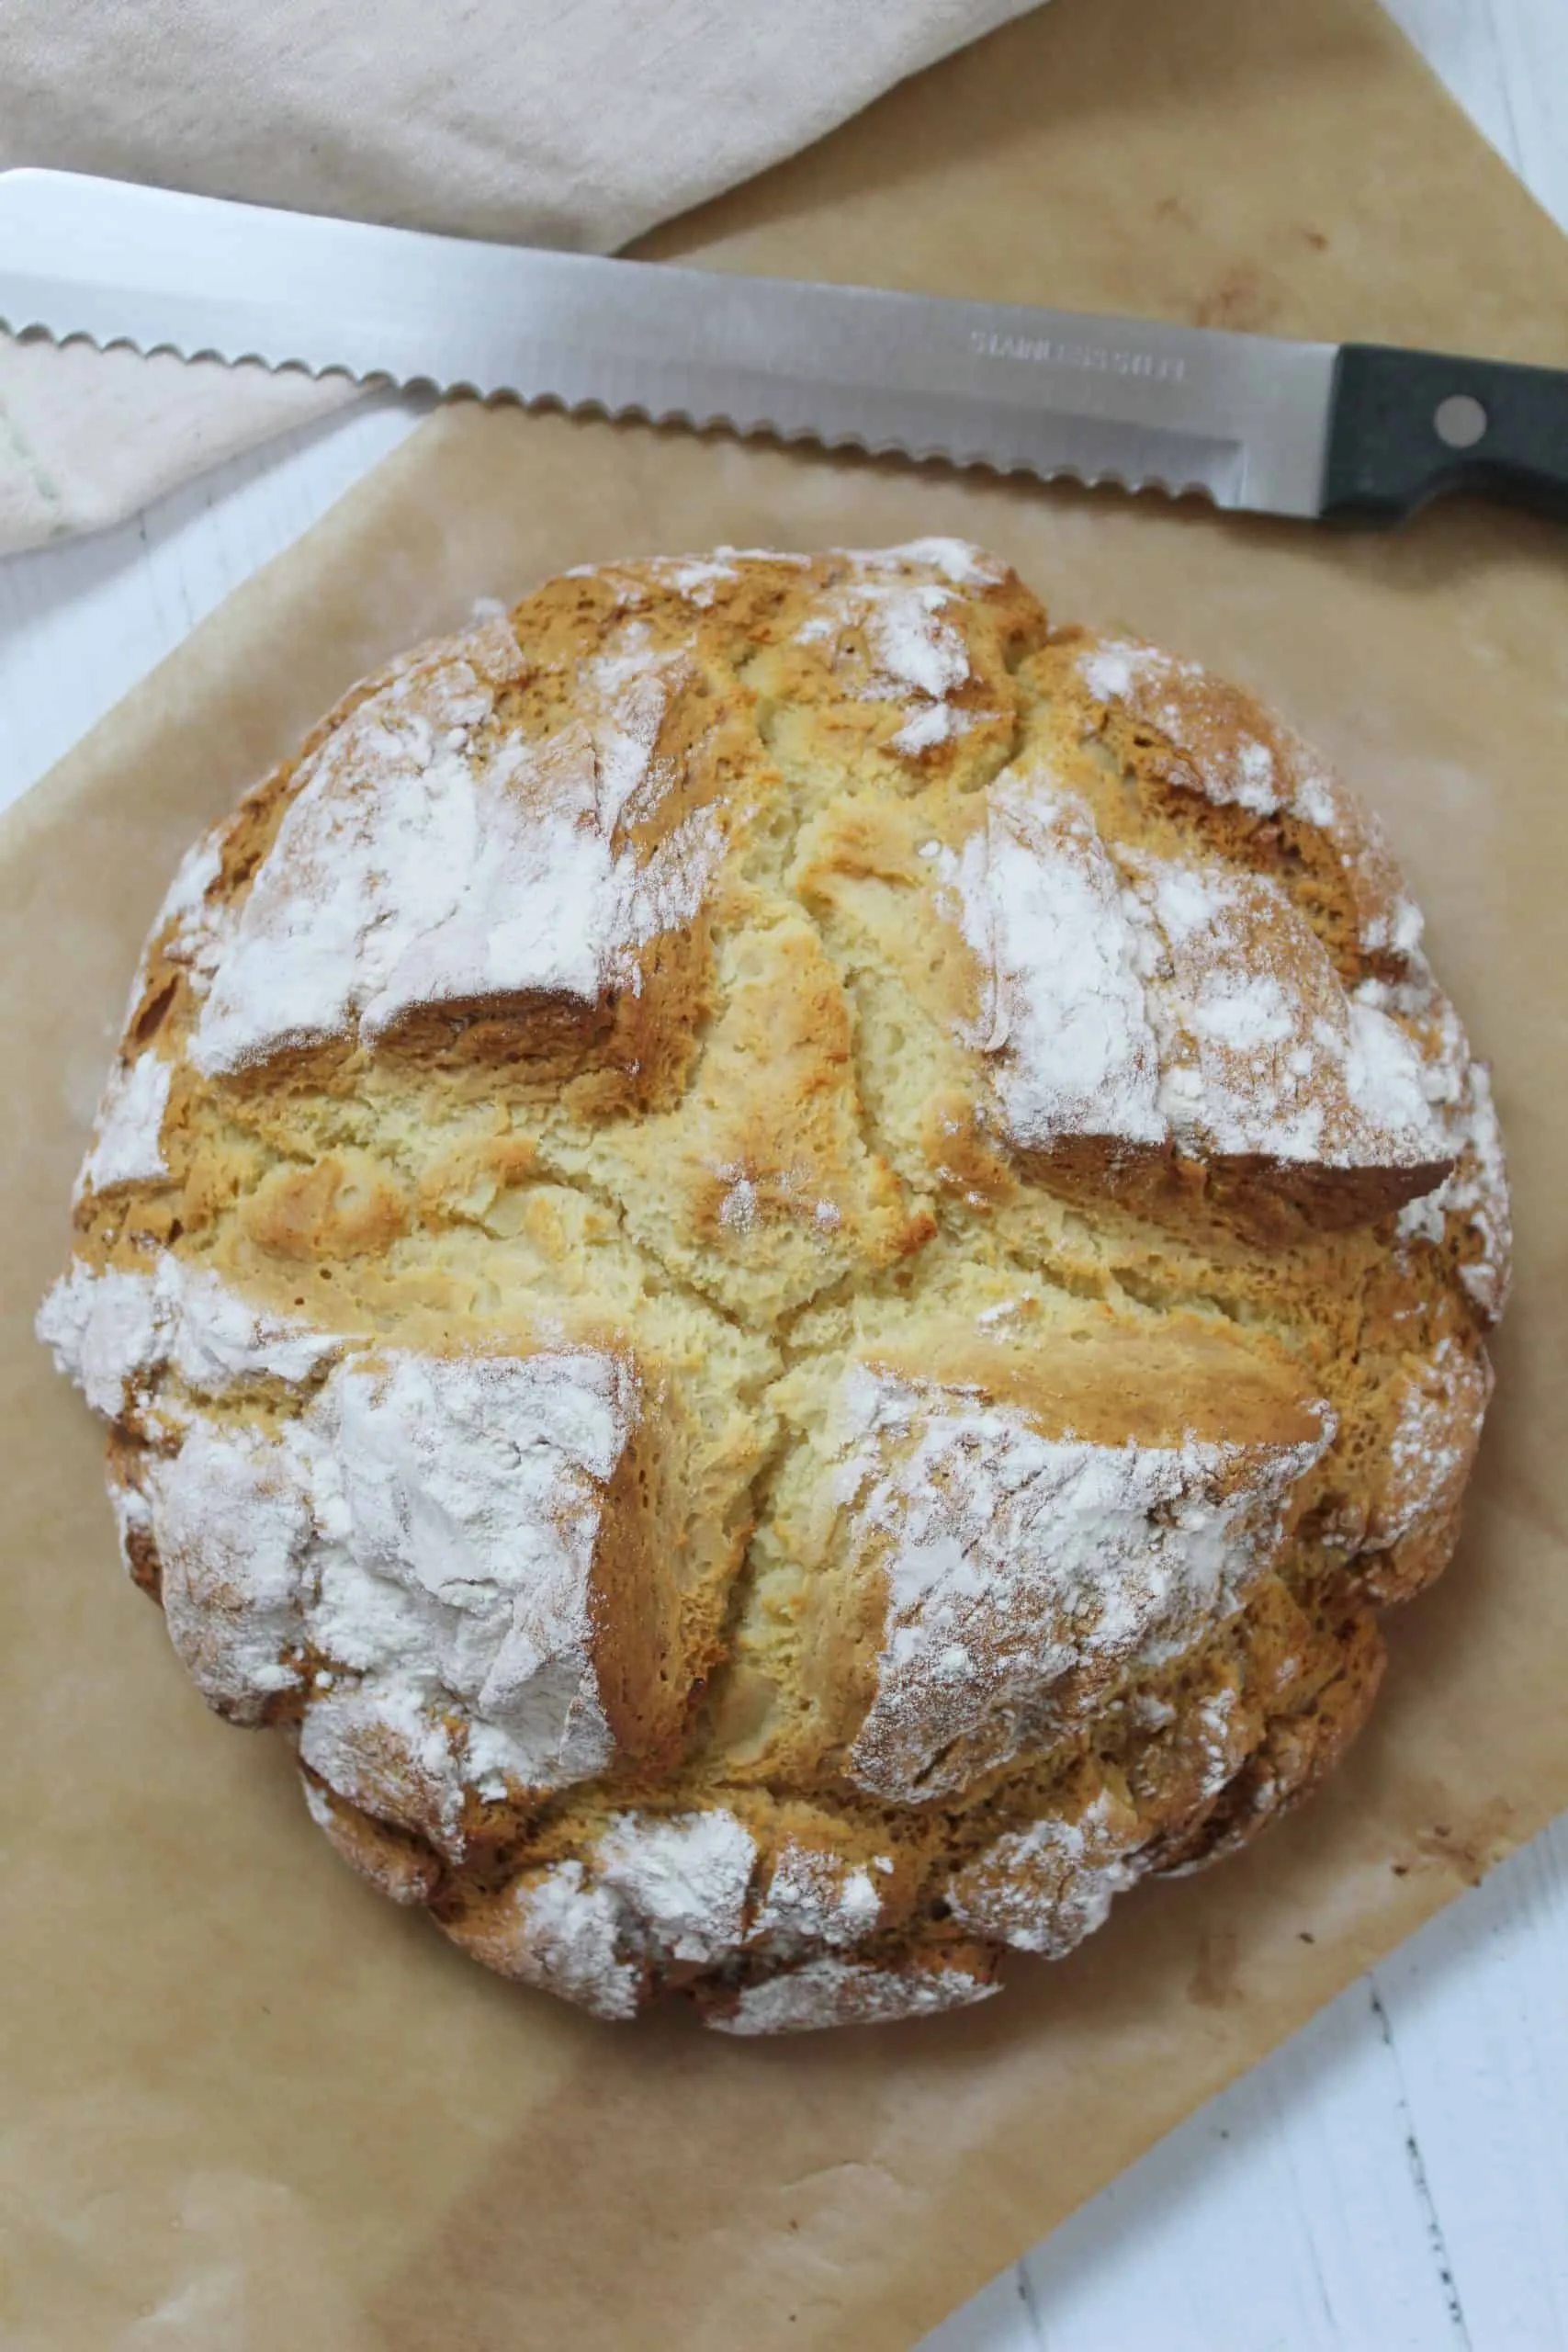
- Using a sharp knife, score a deep cross on the top of the loaf. This helps the bread to expand while baking and gives it a traditional look.
- Transfer the baking sheet to the preheated oven and bake for about 30 to 45 minutes, or until the bread is golden brown and sounds hollow when tapped on the bottom.
- Once baked, remove the soda bread from the oven and let it cool on a wire rack for at least 10 minutes before slicing. This allows the steam to escape and helps improve the texture.
- Enjoy your gluten-free soda bread warm, with butter, jam, or any of your favorite spreads!
Tips
- Use Fresh Ingredients: Ensure your baking soda is fresh for the best rise. Old baking soda can lead to a dense loaf.
- Don’t Overmix: Mix the dough just until combined. Overmixing can result in a tough texture, so be gentle!
- Experiment with Flavors: Feel free to add herbs, seeds, or dried fruits to the dough for extra flavor and texture.
- Check for Doneness: Tap the bottom of the loaf; if it sounds hollow, it’s done! If not, give it a few more minutes in the oven.
- Serve Warm: This bread is best enjoyed warm, straight from the oven, with a generous spread of butter or your favorite toppings.
- Store Properly: To keep your soda bread fresh, wrap it in a clean kitchen towel and store it at room temperature. For longer storage, slice and freeze it.
Nutrition Facts
Calories: 140kcal
Carbohydrates: 25g
Protein: 2g
Fat: 2g
Saturated Fat: 1g
Cholesterol: 5mg