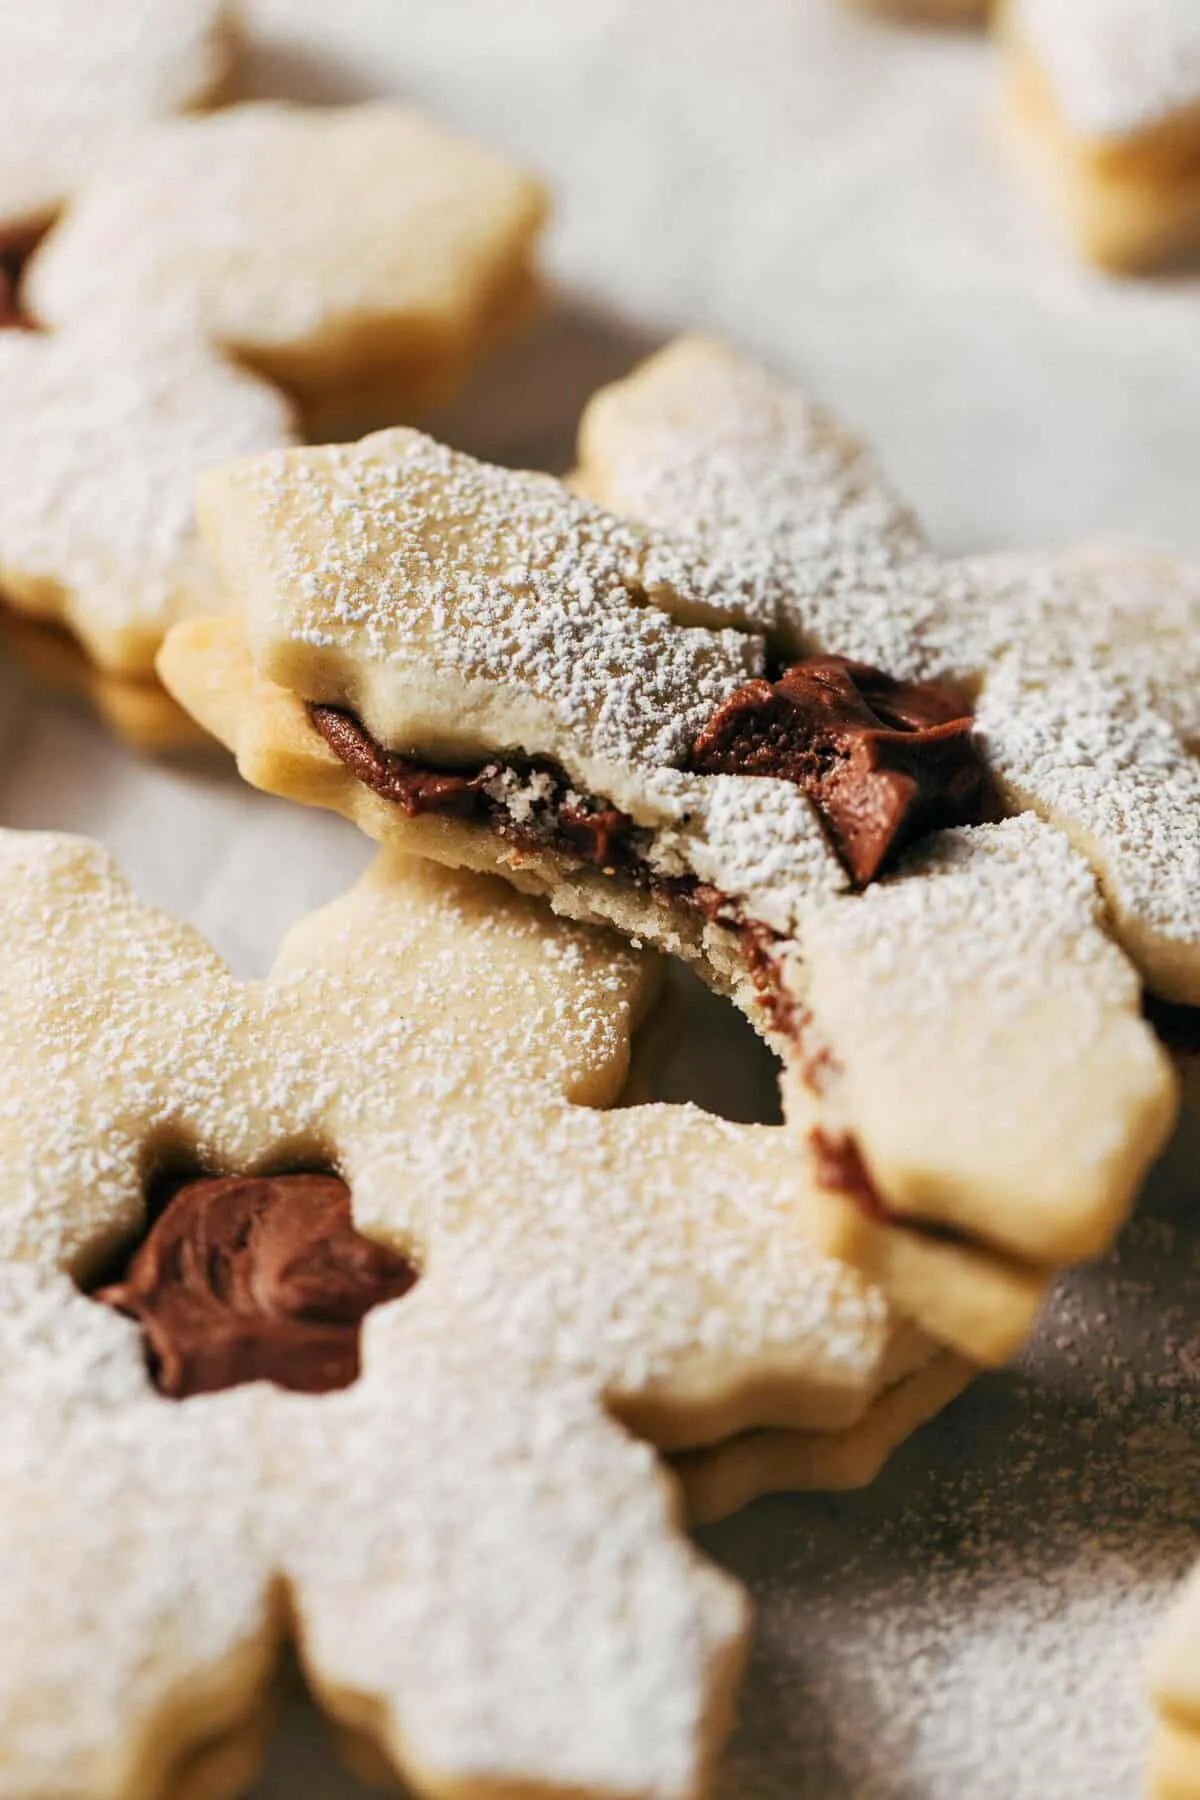
Imagine a cookie that captures the delicate beauty of a snowflake and the irresistible richness of milk chocolate – this isn't just a dessert, it's a winter fantasy come to life! These Milk Chocolate Snowflake Sugar Cookies are more than just a treat; they're a magical experience that will transform your kitchen into a cozy winter wonderland. With a perfect balance of sweet, buttery goodness and decadent chocolate chips, these cookies are about to become your new seasonal obsession that will have everyone begging for the recipe.
Prep Time: 30 mins
Cook Time: 10 mins
Total Time: 40 mins
Cuisine: American
Serves: 30 cookies
Ingredients
- 2 3/4 cups all-purpose flour
- 1 teaspoon baking soda
- 1/2 teaspoon salt
- 1 cup unsalted butter, softened
- 1 1/2 cups granulated sugar
- 1 egg
- 1 teaspoon vanilla extract
- 1 cup milk chocolate chips
Instructions
- Preheat the oven to 375°F (190°C) and line two baking sheets with parchment paper or silicone baking mats.
- In a medium bowl, whisk together the all-purpose flour, baking soda, and salt until well combined. Set aside.
- In a large mixing bowl, cream the softened butter and granulated sugar together using an electric mixer on medium speed until light and fluffy, about 3-4 minutes.
- Add the egg and vanilla extract to the butter mixture, beating until fully incorporated and smooth.
- Gradually add the dry flour mixture to the wet ingredients, mixing on low speed until just combined. Be careful not to overmix.
- Fold in the milk chocolate chips using a spatula, distributing them evenly throughout the dough.
- Using a cookie scoop or tablespoon, drop rounded balls of dough onto the prepared baking sheets, spacing them about 2 inches apart.
- Gently flatten each cookie ball with the palm of your hand or the bottom of a glass to create uniform shapes.
- Bake in the preheated oven for 9-11 minutes, or until the edges are lightly golden and the centers are set but still soft.
- Remove from the oven and let the cookies cool on the baking sheets for 5 minutes, then transfer to a wire rack to cool completely.
- Optional: Dust with powdered sugar to create a "snowflake" effect before serving.
- Store cooled cookies in an airtight container at room temperature for up to 5 days.
Tips
- Temperature Matters: Ensure your butter is truly softened but not melted for the perfect cookie texture.
- Don't Overmix: Mix the dough just until ingredients are combined to keep cookies tender.
- Uniform Sizing: Use a cookie scoop for consistent cookie sizes and even baking.
- Cooling is Crucial: Let cookies rest on the baking sheet for 5 minutes before transferring to prevent breaking.
- Snowflake Effect: For an authentic snowflake look, use a fine mesh sieve to dust powdered sugar gently over cooled cookies.
- Storage Tip: Store in an airtight container with a piece of bread to keep cookies soft for up to 5 days.
- Make Ahead: Cookie dough can be refrigerated for 24 hours or frozen for up to a month before baking.
Nutrition Facts
Calories: 145kcal
Carbohydrates: 18g
Protein: 2g
Fat: 8g
Saturated Fat: 5g
Cholesterol: 20mg