Craving a decadent chocolate pudding but need a dairy-free option? Get ready to discover the most luxurious, silky-smooth chocolate pudding that will make you forget it's completely dairy-free! This recipe is not just a dessert; it's a game-changing treat that proves healthy eating can be absolutely delicious. Whether you're lactose intolerant, vegan, or simply looking for a guilt-free indulgence, this chocolate pudding will become your new obsession.
Prep Time: 15 mins
Cook Time: 10 mins
Total Time: 25 mins
Cuisine: American
Serves: 4 servings
Ingredients
- 1/4 cup cocoa powder
- 1/4 cup cornstarch
- 1/2 cup sugar
- 2 3/4 cups almond milk
- 1 tsp vanilla extract
- Pinch of salt
Instructions
- In a medium saucepan, whisk together cocoa powder, cornstarch, sugar, and salt until completely combined and no lumps remain.
- Gradually pour almond milk into the dry ingredients, whisking constantly to create a smooth mixture without any dry pockets.
- Place the saucepan over medium heat, stirring continuously with a wooden spoon or silicone spatula to prevent scorching.
- Continue cooking and stirring for approximately 8-10 minutes, until the mixture begins to thicken and bubbles slowly form at the surface.
- Once the pudding reaches a thick, custard-like consistency that coats the back of a spoon, remove from heat.
- Stir in vanilla extract, mixing thoroughly to incorporate throughout the pudding.
- Pour the hot pudding into individual serving dishes or a single large bowl.
- Cover the surface directly with plastic wrap to prevent a skin from forming, pressing the wrap gently against the pudding.
- Refrigerate for at least 2 hours or until completely chilled and set.
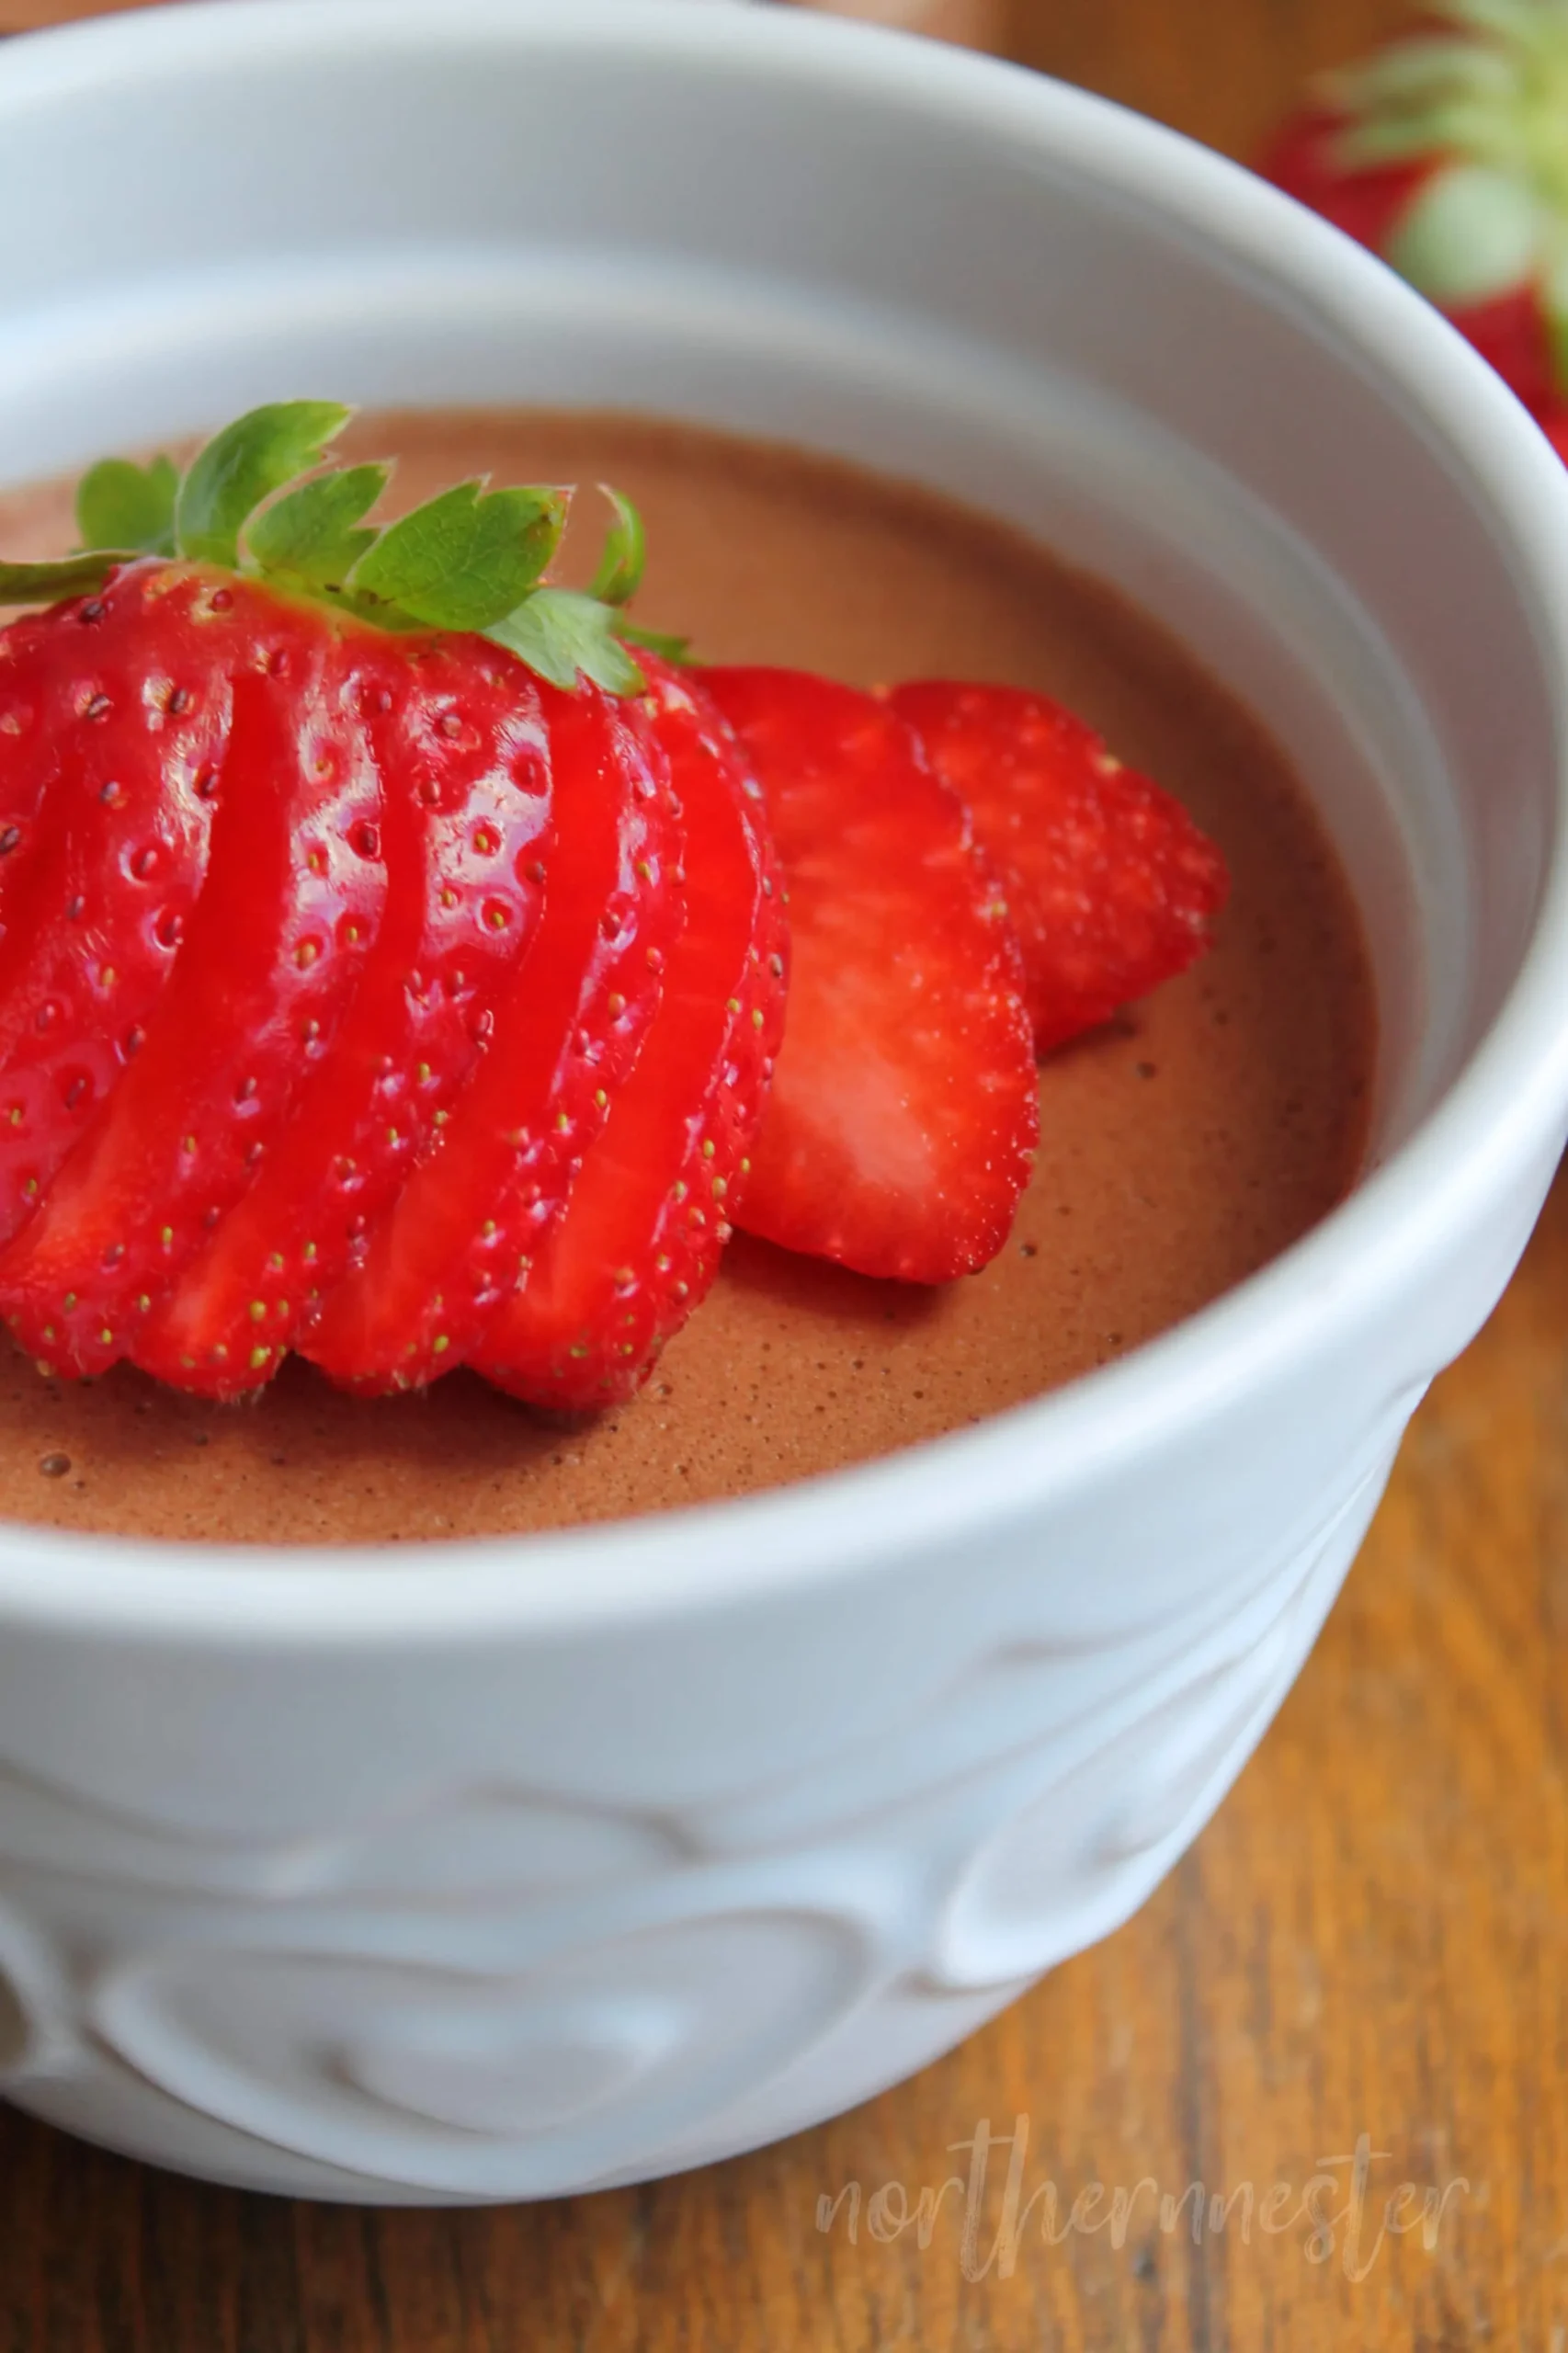
- Before serving, remove plastic wrap and garnish with optional toppings like dairy-free whipped cream or fresh berries if desired.
Tips
- Whisk Dry Ingredients Thoroughly: Take extra time to blend cocoa powder, cornstarch, and sugar completely to avoid any lumpy texture.
- Slow and Steady Wins: When heating the pudding, use medium heat and stir continuously to prevent burning and ensure a smooth consistency.
- Test Thickness Carefully: The pudding is ready when it coats the back of a spoon and leaves a clear trail when you run your finger through it.
- Prevent Skin Formation: Always cover the pudding surface directly with plastic wrap while cooling to prevent a skin from forming.
- Chill Completely: Allow at least 2 hours of refrigeration for the best texture and flavor development.
- Get Creative with Toppings: Enhance your pudding with dairy-free whipped cream, fresh berries, chopped nuts, or a sprinkle of sea salt for extra excitement.
- Make Ahead Friendly: This pudding can be prepared up to 3 days in advance, making it perfect for meal prep or entertaining.
Nutrition Facts
Calories: 160kcal
Carbohydrates: 30g
Protein: 2g
Fat: 3g
Saturated Fat: 1g
Cholesterol: 0mg