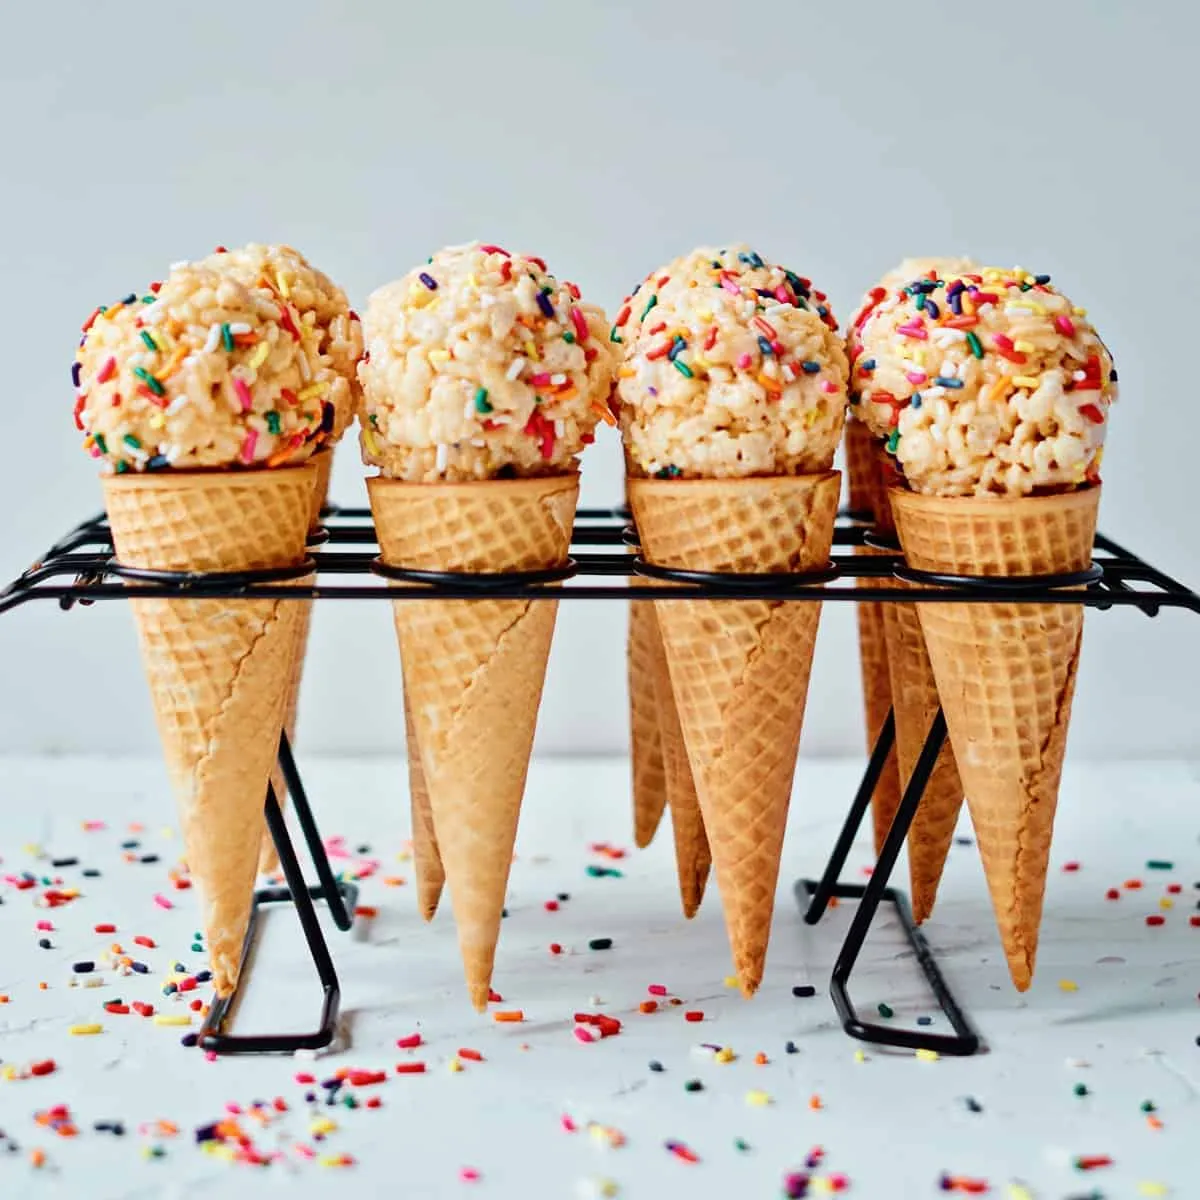
Get ready to transform your ordinary ice cream experience into an extraordinary culinary adventure! These Rice Krispie Ice Cream Cones are not just a dessert - they're a magical fusion of childhood nostalgia and gourmet creativity. Imagine biting into a crispy, marshmallow-coated cone that's not only edible but absolutely delicious, turning your ice cream serving into an interactive treat that will have both kids and adults cheering with delight.
Prep Time: 15 mins
Cook Time: -
Total Time: 15 mins
Cuisine: American
Serves: 12 cones
Ingredients
- 6 cups Rice Krispies cereal
- 4 cups mini marshmallows
- 3 tbsp butter
- 12 ice cream cones
- Chocolate or candy melts (for dipping)
- Sprinkles (optional)
Instructions
- Prepare your workspace by lining a baking sheet with parchment paper and gathering all ingredients.
- In a large microwave-safe bowl, melt butter completely, then add mini marshmallows and microwave in 30-second intervals, stirring between each interval until marshmallows are fully melted and smooth.
- Immediately add Rice Krispies cereal to the melted marshmallow mixture, stirring gently but quickly to ensure even coating of all cereal pieces.
- Allow the mixture to cool slightly for 2-3 minutes until it's comfortable to handle but still pliable.
- Grease your hands lightly with butter or cooking spray to prevent sticking, then carefully mold the Rice Krispies mixture around each ice cream cone, creating a thick coating that covers about 2/3 of the cone.
- Place the coated cones on the prepared baking sheet and allow them to set and cool completely at room temperature for about 10 minutes.
- Melt chocolate or candy melts in a microwave-safe bowl, stirring every 15 seconds to prevent burning.
- Dip the Rice Krispies-covered portion of each cone into the melted chocolate, allowing excess to drip off.
- If desired, immediately sprinkle with decorative sprinkles before the chocolate sets.
- Place the finished cones back on the parchment paper and refrigerate for 5-10 minutes to help the chocolate set quickly.
- Serve immediately or store in an airtight container at room temperature for up to 2 days.
Tips
- Temperature Matters: Let the marshmallow mixture cool slightly before molding to prevent burning your hands and ensure a smooth coating.
- Greased Hands Are Key: Always lightly butter or spray your hands to prevent the sticky mixture from clinging to your fingers.
- Consistency is Crucial: Stir the cereal into marshmallow mixture quickly but gently to maintain the right texture.
- Chocolate Dipping Trick: Melt chocolate in short intervals and stir frequently to prevent burning.
- Decoration Timing: Add sprinkles immediately after chocolate dipping for best adhesion.
- Storage Hack: These cones are best enjoyed fresh but can be stored in an airtight container for up to 2 days.Pro tip: For a fun variation, experiment with different chocolate types or colored candy melts to create unique, eye-catching designs!
Nutrition Facts
Calories: 412kcal
Carbohydrates: 76g
Protein: 5g
Fat: 9g
Saturated Fat: 4g
Cholesterol: 8mg