Are you ready to revolutionize your plant-based cooking without breaking the bank or compromising on flavor? This nut-free vegan parmesan is about to become your new secret weapon in the kitchen! Imagine sprinkling a cheesy, savory topping on your favorite dishes that's not only incredibly delicious but also completely dairy-free and allergy-friendly. In just 5 minutes, you'll create a game-changing condiment that will make your taste buds dance and your meals sing with flavor.
Prep Time: 5 mins
Cook Time: -
Total Time: 5 mins
Cuisine: Italian
Serves: 1 cup
Ingredients
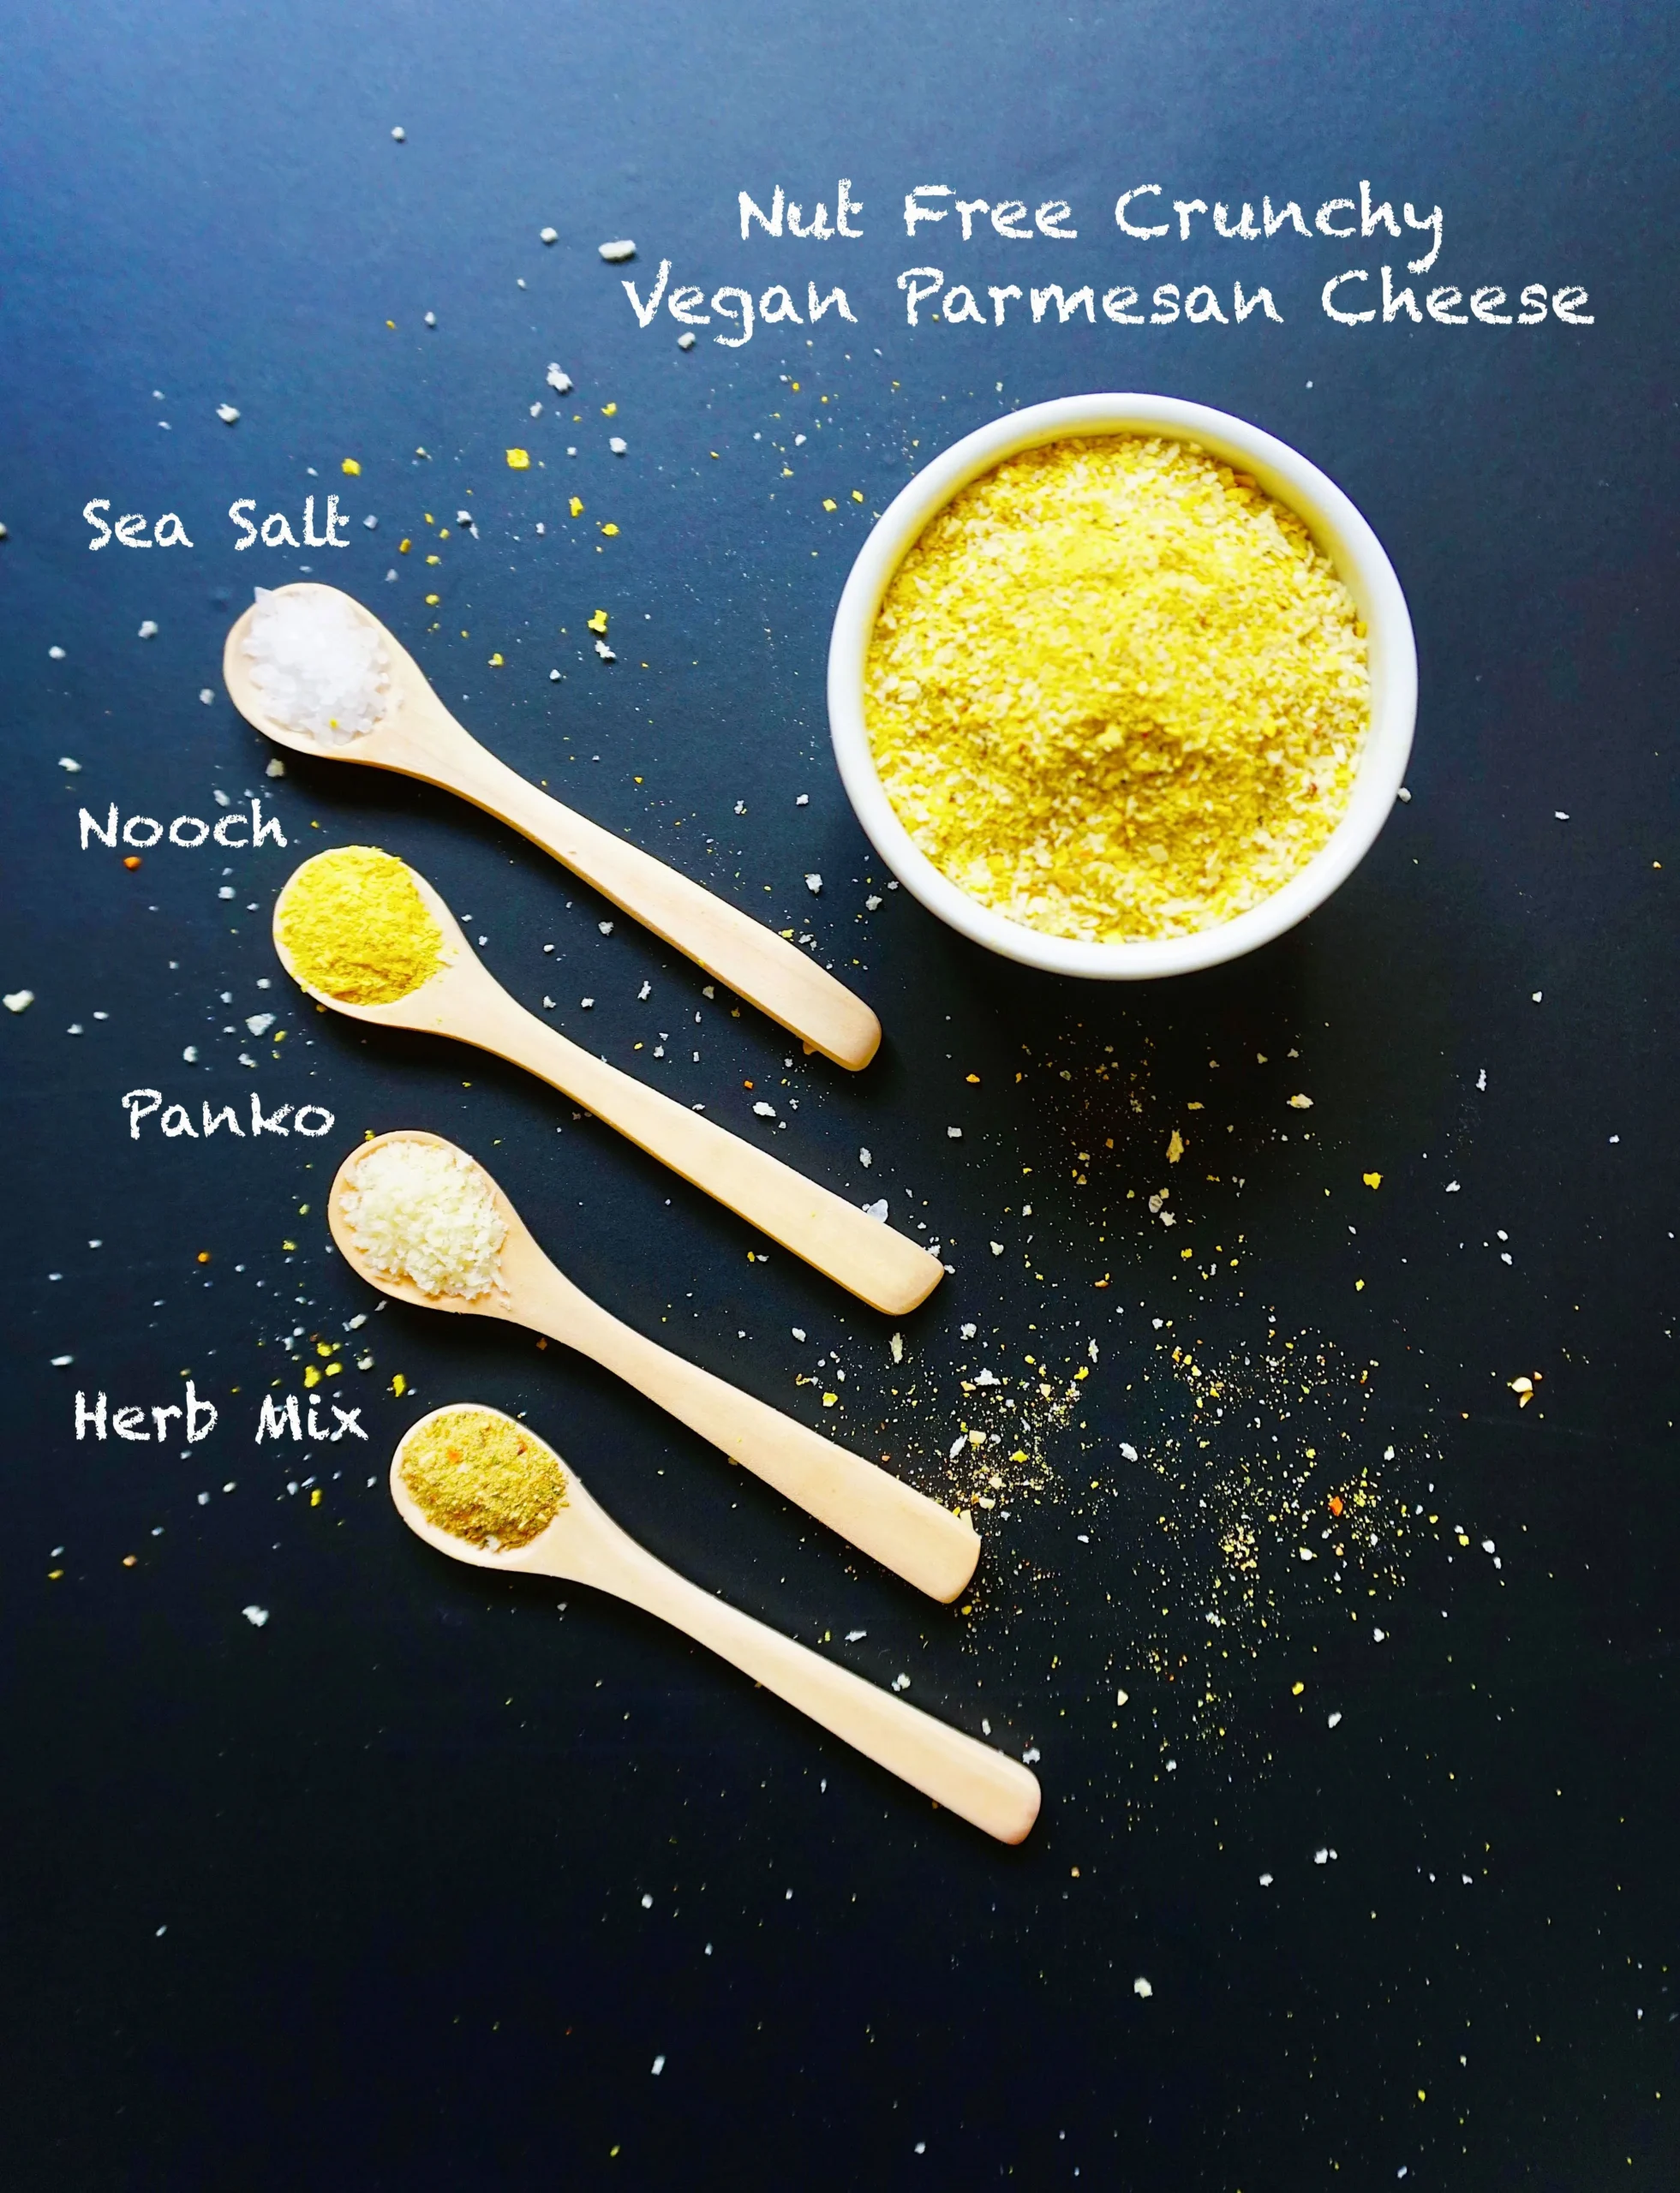
- 1 cup nutritional yeast
- 1/4 cup garlic powder
- 1/4 cup onion powder
- 1/4 cup salt
Instructions
- Gather all the ingredients: 1 cup of nutritional yeast, 1/4 cup of garlic powder, 1/4 cup of onion powder, and 1/4 cup of salt.
- In a mixing bowl, combine the nutritional yeast, garlic powder, onion powder, and salt. Ensure that the measurements are accurate for the best flavor.
- Using a whisk or a fork, mix the ingredients together thoroughly until they are well combined and the mixture has a uniform color.
- If you prefer a finer texture, you can transfer the mixture to a food processor or a spice grinder. Pulse it a few times until you achieve your desired consistency.
- Once blended, taste the mixture and adjust the seasoning if necessary. You can add a bit more salt or garlic powder according to your preference.
- Transfer the vegan parmesan to an airtight container for storage. This will help maintain its freshness.
- Store the vegan parmesan in the refrigerator for up to a month, or in a cool, dry place for longer shelf life.
- Use this nut-free vegan parmesan as a topping for pasta, salads, or any dish where you would typically use cheese.
Tips
- Precision is key: Measure your ingredients carefully to achieve the perfect balance of flavors.
- For an extra fine texture, use a food processor or spice grinder to create a more uniform consistency.
- Experiment with the salt and seasoning levels to match your personal taste preferences.
- Store in an airtight container to maintain maximum freshness and flavor.
- Try toasting the mixture lightly in a dry pan for a deeper, more complex flavor profile.
- Use within a month for the best taste and quality.
- Get creative - this versatile topping works on pasta, salads, roasted vegetables, and so much more!
- For a lower-sodium version, reduce the salt and add some dried herbs like basil or oregano for extra flavor.
Nutrition Facts
Calories: 60kcal
Carbohydrates: 8g
Protein: 5g
Fat: 1g
Saturated Fat: 0g
Cholesterol: 0mg