Imagine capturing the essence of sun-ripened strawberries in a jar, with a recipe so simple it'll make you wonder why you ever bought store-bought jam! This Easy Homemade Strawberry Jam is your ticket to transforming ordinary breakfast toast into a gourmet experience. With just a handful of ingredients and minimal cooking skills, you'll create a luscious, vibrant spread that will have your family and friends begging for more. Get ready to become the jam-making hero of your kitchen!
Prep Time: 10 mins
Cook Time: 30 mins
Total Time: 40 mins
Cuisine: American
Serves: 2 cups
Ingredients
- 2 cups fresh strawberries, hulled and chopped
- 1 cup granulated sugar
- 1 tablespoon lemon juice
- 1/2 teaspoon pectin (optional)
Instructions
- Begin by preparing your ingredients. Wash the fresh strawberries thoroughly under cold running water. Hull the strawberries by removing the green leafy tops and then chop them into small pieces. You should have about 2 cups of chopped strawberries.
- In a large mixing bowl, combine the chopped strawberries with 1 cup of granulated sugar. Gently stir the mixture to coat the strawberries with sugar. Allow this mixture to sit for about 10 minutes. This process helps to draw out the natural juices from the strawberries, creating a syrupy base for your jam.
- After the strawberries have macerated, transfer the mixture to a medium saucepan. Add 1 tablespoon of lemon juice to the saucepan. The lemon juice not only enhances the flavor but also helps with the preservation of the jam.
- Place the saucepan over medium heat and bring the mixture to a gentle boil. Stir occasionally to prevent the strawberries from sticking to the bottom of the pan. As the mixture heats up, the sugar will dissolve, and the strawberries will start to break down.
- Once the mixture reaches a boil, reduce the heat to low and let it simmer for about 20-30 minutes. Stir frequently to ensure even cooking. If you prefer a smoother jam, you can use a potato masher or an immersion blender to mash the strawberries to your desired consistency.
- If you are using pectin for a thicker consistency, sprinkle 1/2 teaspoon of pectin into the mixture during the last 5 minutes of cooking, stirring well to incorporate it evenly. This step is optional and can be skipped if you prefer a more rustic jam.
- To test the jam for doneness, place a small spoonful on a cold plate and let it sit for a minute. Run your finger through the jam; if it holds its shape and doesn’t run, it’s ready. If it’s still too runny, continue to simmer for a few more minutes and test again.
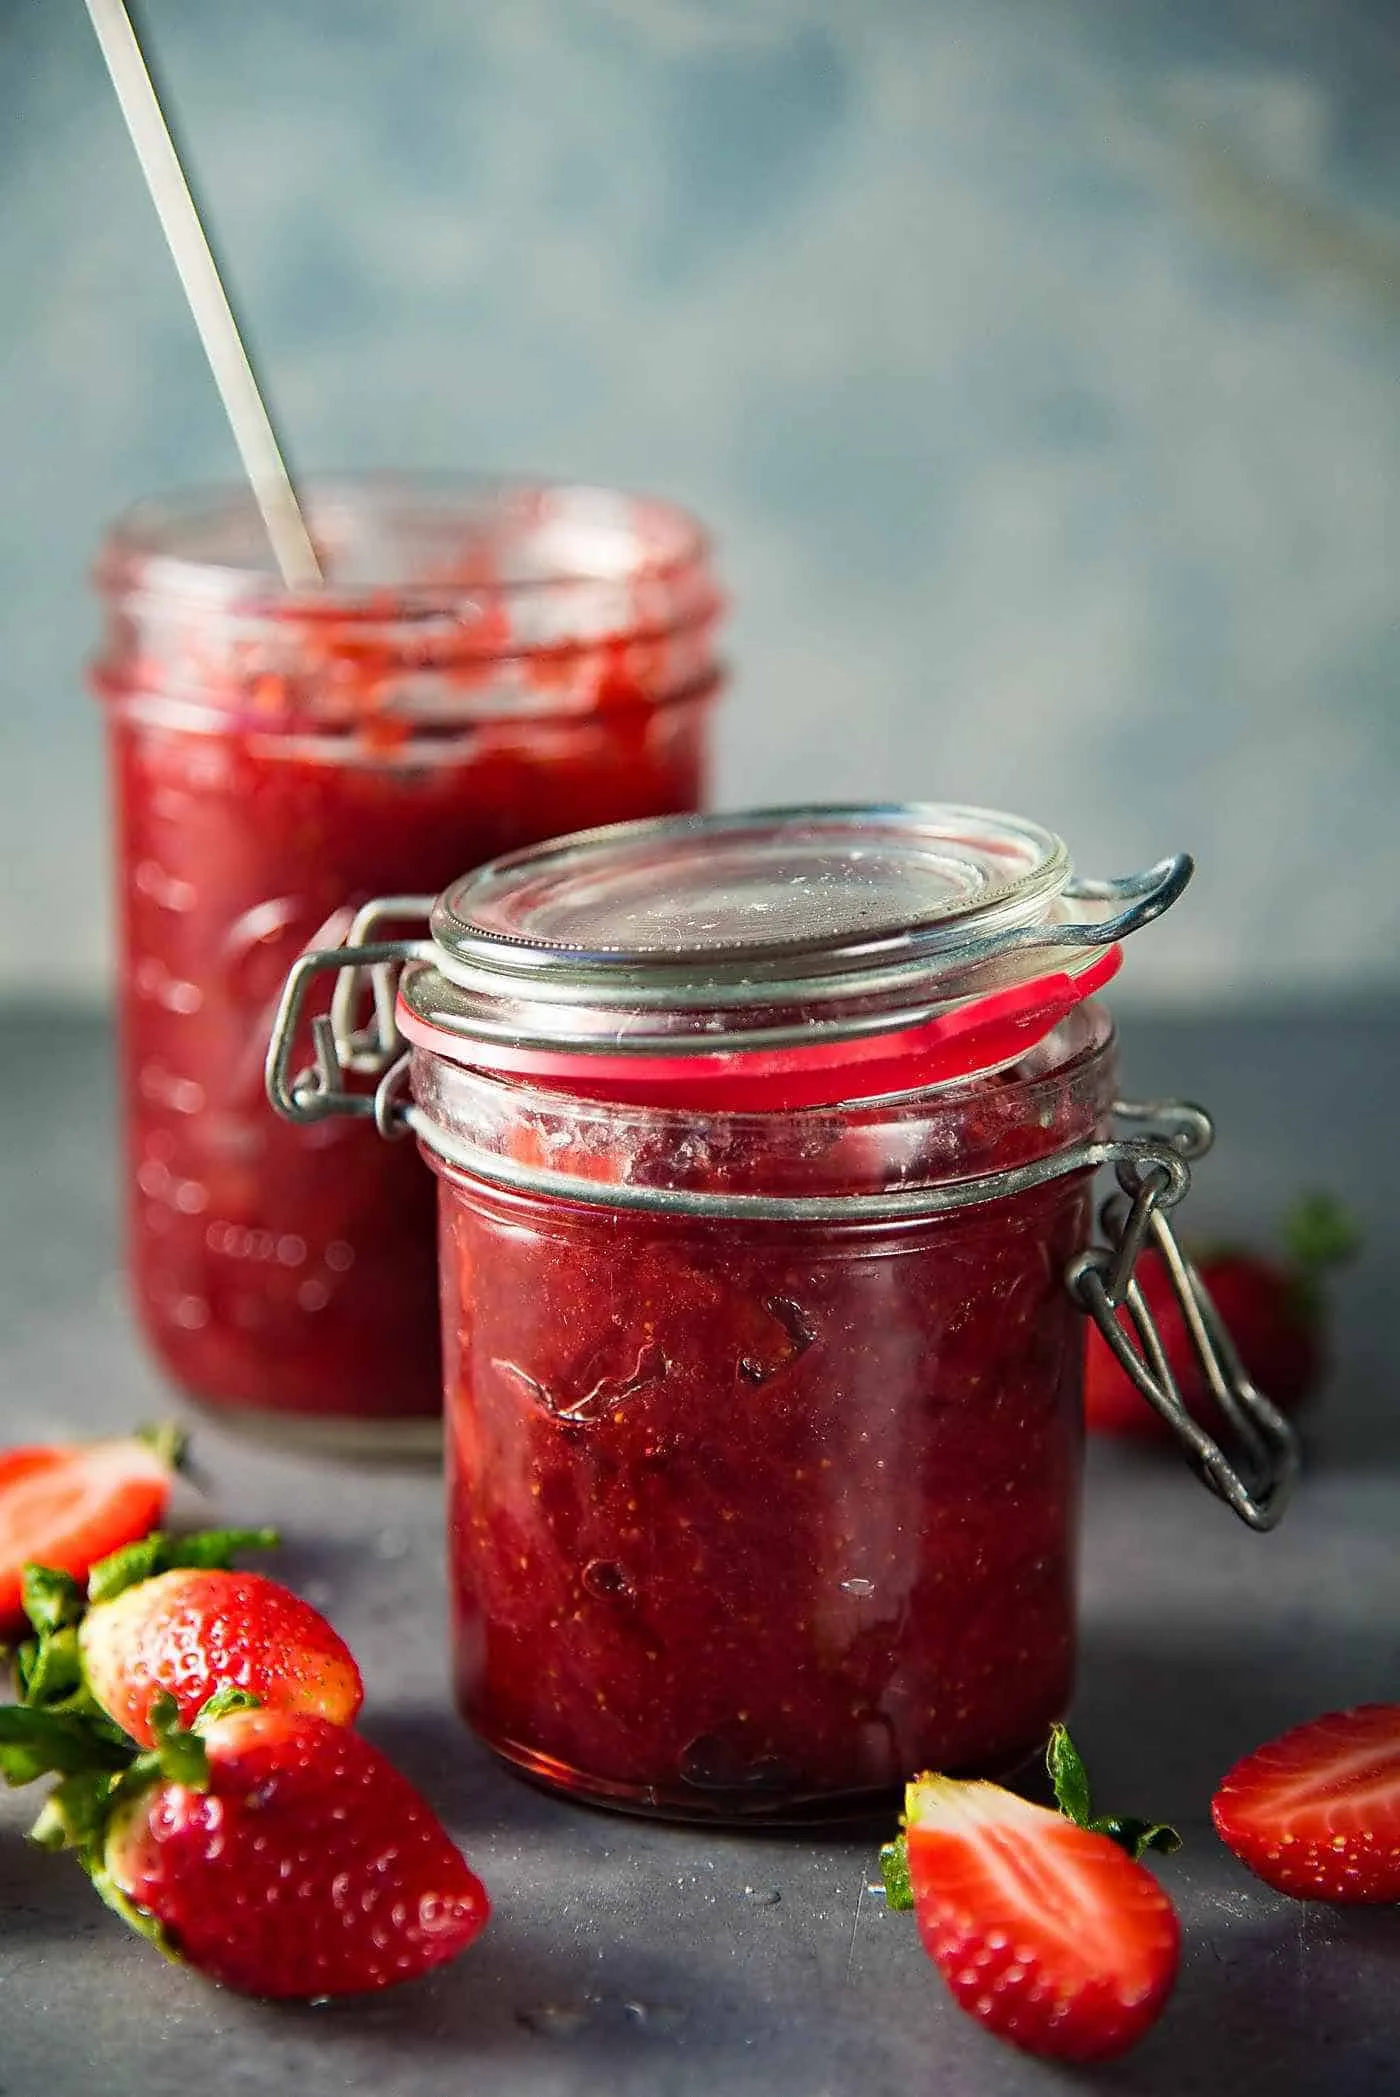
- Once the jam has reached the desired consistency, remove the saucepan from the heat. Allow it to cool for a few minutes before transferring the jam to clean, sterilized jars. Leave some space at the top of the jars for expansion.
- Seal the jars with lids while the jam is still warm. Let them cool to room temperature before storing them in the refrigerator. The jam can be kept in the fridge for up to 2 weeks or can be processed in a water bath for longer shelf life.
- Enjoy your homemade strawberry jam spread on toast, mixed into yogurt, or as a topping for desserts!
Tips
- Choose the Ripest Strawberries: The secret to exceptional jam is using perfectly ripe, sweet strawberries. Look for deep red, fragrant berries with no white or green patches.
- Use Fresh Lemon Juice: Always use fresh lemon juice instead of bottled. It provides better flavor and helps with natural pectin activation.
- Sterilize Your Jars: Properly cleaned and sterilized jars are crucial for preventing bacterial growth and ensuring your jam stays fresh longer.
- Don't Rush the Cooking Process: Low and slow is the key to developing rich flavors and achieving the perfect jam consistency.
- Test for Doneness: The cold plate method is foolproof. If the jam wrinkles when you push it with your finger, it's ready!
- Storage Matters: For maximum freshness, store your jam in the refrigerator and consume within 2 weeks, or process in a water bath for longer shelf life.
Nutrition Facts
Calories: 60kcal
Carbohydrates: 15g
Protein: 0g
Fat: 0g
Saturated Fat: 0g
Cholesterol: 0mg