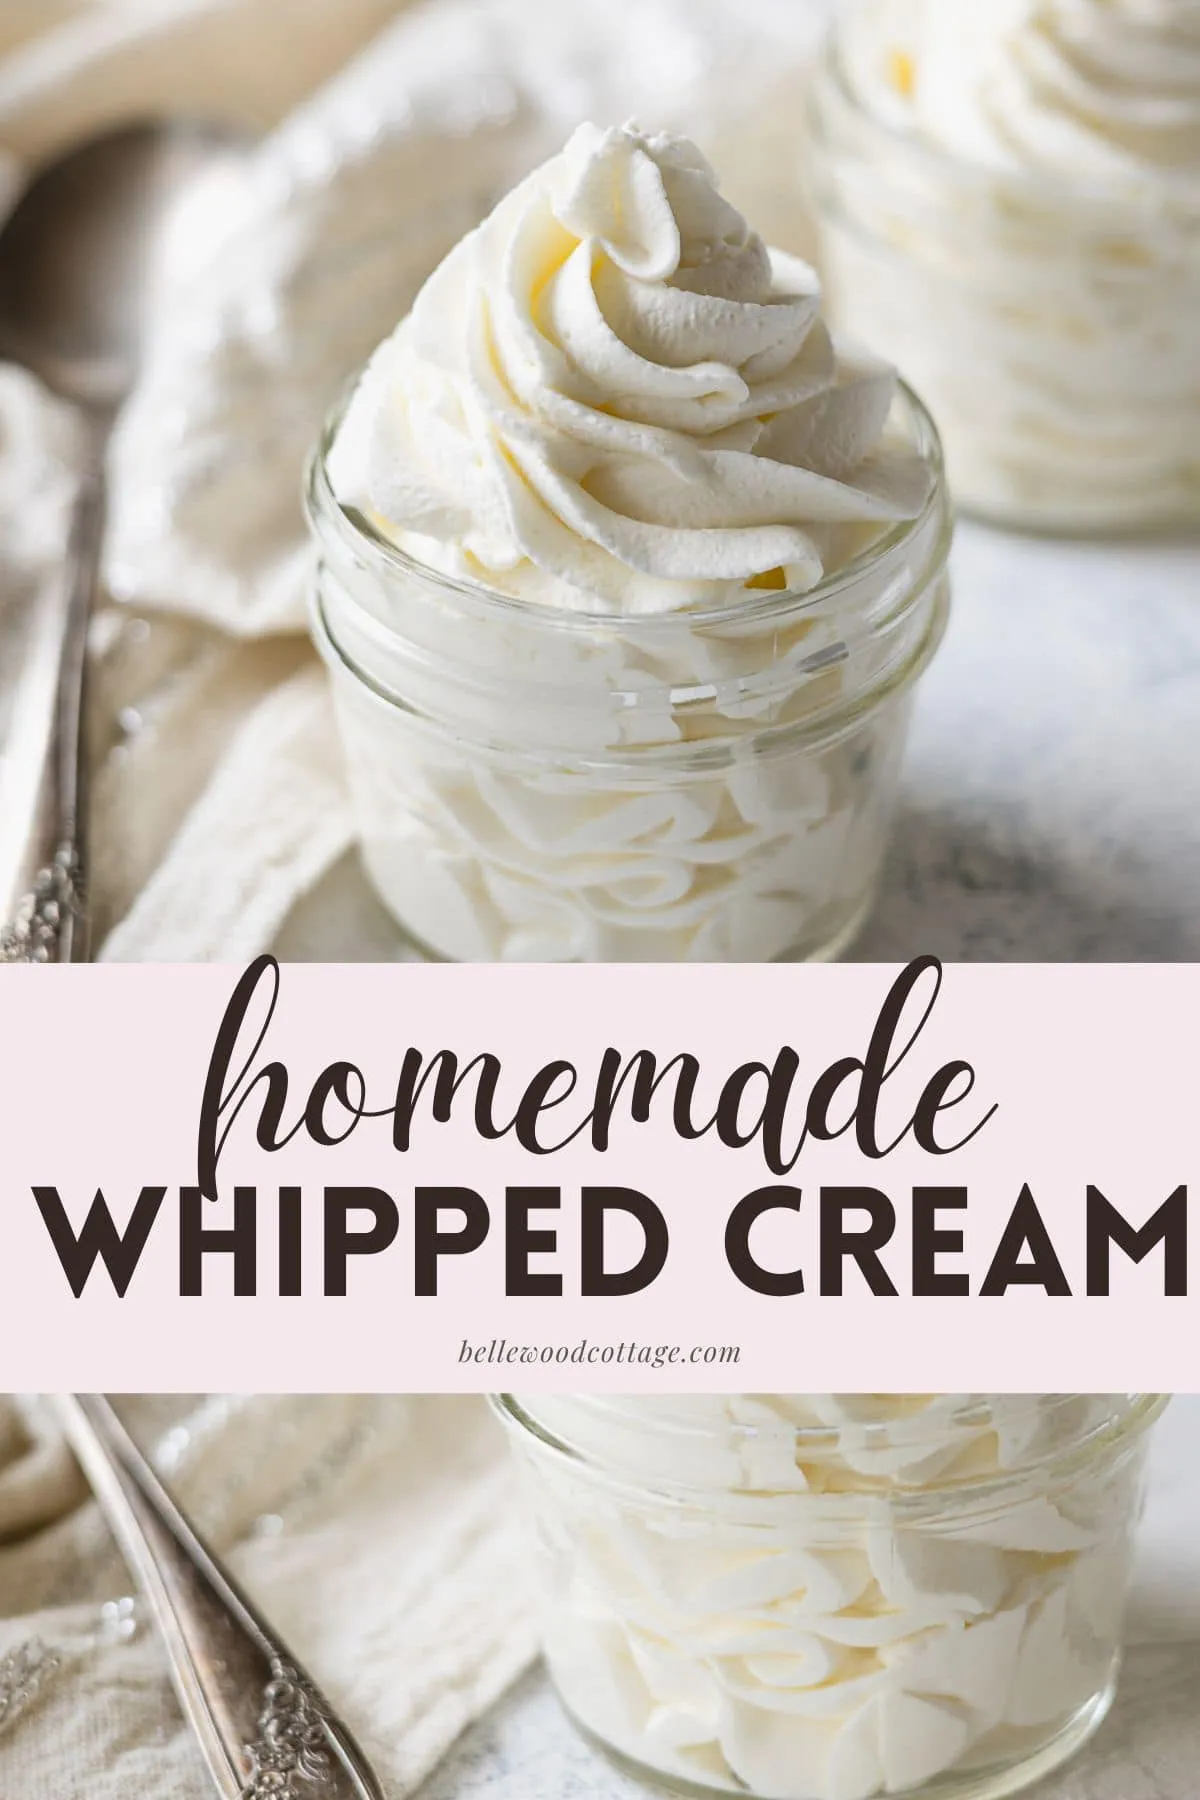
If you’ve ever craved a dollop of fluffy, homemade whipped cream but thought it was too complicated to make, think again! With just a few simple ingredients and a Mason jar, you can whip up this delightful topping in a matter of minutes. Imagine the satisfaction of shaking your way to a light and airy whipped cream that’s perfect for drizzling over desserts, coffee, or even fresh fruit. Ready to impress your friends and family with this easy recipe? Let’s dive into the delicious world of homemade whipped cream!
Prep Time: 5 mins
Cook Time: -
Total Time: 5 mins
Cuisine: American
Serves: 1 cup
Ingredients
- 1 cup heavy whipping cream
- 2 tablespoons powdered sugar
- 1 teaspoon vanilla extract
Instructions
- Begin by gathering all your ingredients: 1 cup of heavy whipping cream, 2 tablespoons of powdered sugar, and 1 teaspoon of vanilla extract. Make sure you have a clean Mason jar with a tight-fitting lid ready for use.
- Pour the heavy whipping cream into the Mason jar, filling it to about halfway to allow space for the cream to expand as you shake it.
- Add the powdered sugar to the jar. This will sweeten the whipped cream, so adjust the amount to your taste if desired.
- Next, add the vanilla extract to the jar. This will enhance the flavor of your whipped cream.
- Secure the lid tightly on the Mason jar to prevent any spillage during the shaking process.
- Shake the jar vigorously for about 3-5 minutes. You'll notice the cream will start to thicken and eventually form soft peaks. Make sure to shake evenly to ensure consistent whipping.
- Once the cream has reached your desired consistency, remove the lid. If you prefer stiffer peaks, continue shaking for an additional minute or two.
- After achieving the desired texture, use a spatula to scrape down any whipped cream that may have clung to the sides of the jar.
- Your whipped cream is now ready to be served! Use it immediately as a topping for desserts, coffee, or any other dish you desire.
- Store any leftovers in the refrigerator, covered, for up to 24 hours. Remember to give it a gentle shake before using again, as it may separate slightly.
Tips
- Chill Your Ingredients: For the best results, chill your heavy whipping cream and the Mason jar in the fridge for about 30 minutes before starting. Cold ingredients whip up better!
- Adjust Sweetness: Feel free to tweak the amount of powdered sugar to suit your taste. You can even experiment with flavored sugars for a unique twist!
- Flavor Variations: Don’t stop at vanilla! Try adding a splash of almond extract or a bit of cocoa powder for a chocolatey treat.
- Shake It Up: Make sure to shake the jar evenly. If you notice one side is getting more action, switch hands or turn the jar to ensure all the cream gets whipped.
- Storage Tips: If you have leftovers, store them in the fridge in the Mason jar, but remember that homemade whipped cream is best enjoyed fresh. Give it a gentle shake before serving again, as it may separate slightly.
Nutrition Facts
Calories: 820kcal
Carbohydrates: 8g
Protein: 7g
Fat: 88g
Saturated Fat: 54g
Cholesterol: 325mg