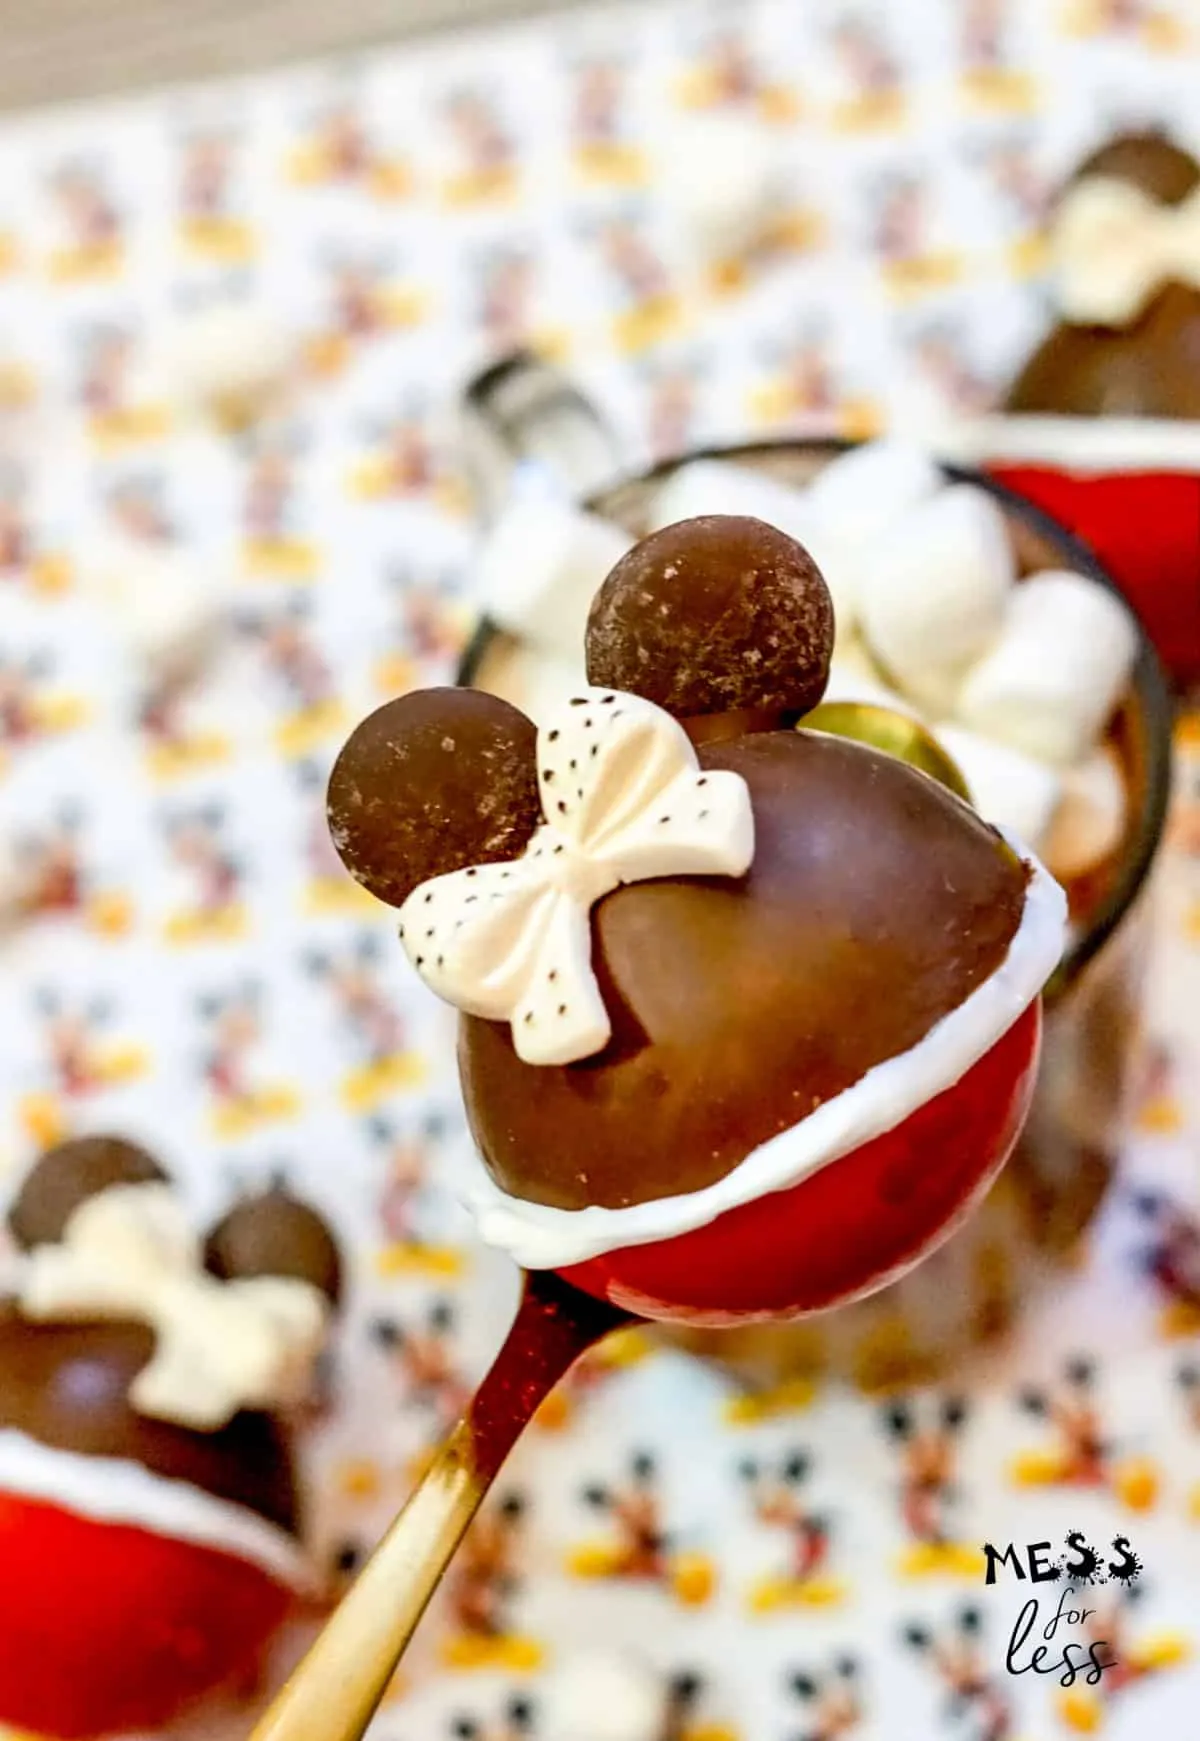
Get ready to bring the enchantment of Disney right into your kitchen with these adorable Minnie Mouse Hot Cocoa Bombs! Imagine the pure joy of watching a chocolate sphere melt into a rich, marshmallow-filled hot cocoa that's as magical as a day at Disneyland. These cute and delicious treats are not just a drink, but an experience that will delight both kids and adults alike, transforming an ordinary winter day into a whimsical celebration of flavor and fun!
Prep Time: 30 mins
Cook Time: 5 mins
Total Time: 35 mins
Cuisine: American
Serves: 6 bombs
Ingredients
- 1 cup chocolate chips
- 1 cup hot cocoa mix
- 1/2 cup mini marshmallows
- Red and black sprinkles
- Silicone mold
Instructions
- Gather all your ingredients: 1 cup of chocolate chips, 1 cup of hot cocoa mix, 1/2 cup of mini marshmallows, red and black sprinkles, and a silicone mold.
- Begin by melting the chocolate chips. You can do this in a microwave-safe bowl by heating them in 30-second intervals, stirring in between until the chocolate is fully melted and smooth.
- Once the chocolate is melted, take your silicone mold and use a spoon to coat the inside of each cavity with a layer of melted chocolate. Make sure to cover the sides evenly, creating a thick enough layer to hold the cocoa bomb together.
- Place the coated mold in the refrigerator for about 10 minutes to allow the chocolate to set. You want it to harden enough to hold its shape when you remove it from the mold.
- After the chocolate has set, remove the mold from the refrigerator. If the chocolate is hard, carefully pop the chocolate shells out of the mold. If they are too soft, return them to the fridge for a few more minutes.
- In a separate bowl, mix together the hot cocoa mix and mini marshmallows. This will be the filling for your hot cocoa bombs.
- Take one half of the chocolate shell and fill it generously with the hot cocoa mix and mini marshmallows. Be careful not to overfill, as you will need to seal it with another half.
- Next, take another half of the chocolate shell and gently warm the edge by placing it in the microwave for just a few seconds, or by briefly touching it to a warm skillet. This will help it melt slightly and create a seal.
- Press the warmed half onto the filled half, ensuring the edges are sealed well. You can smooth the seam with your fingers if needed.
- To decorate, melt a small amount of chocolate and drizzle it over the top of each cocoa bomb. Immediately sprinkle red and black sprinkles on top for a festive Minnie Mouse touch.
- Allow the chocolate to set completely at room temperature or place the bombs back in the fridge for a few minutes to harden.
- Your Minnie Mouse hot cocoa bombs are now ready to be enjoyed! To serve, place a bomb in a mug and pour hot milk over it. Watch it dissolve and enjoy a delicious cup of hot cocoa!
Tips
- Use high-quality chocolate chips for the best melting and flavor
- Keep your chocolate at a consistent temperature to prevent cracking
- Use a food-safe paintbrush to create even chocolate shell layers
- Work in a cool room to help chocolate set properly
- If shells crack, you can "glue" them back together with melted chocolate
- Store completed cocoa bombs in an airtight container in a cool, dry place
- For extra Disney magic, consider using mouse-ear shaped silicone molds
- Allow chocolate to set completely before handling to prevent fingerprints
- Experiment with different sprinkle colors for variety
- Have patience - practice makes perfect with these delicate treats!
Nutrition Facts
Calories: 250kcal
Carbohydrates: 35g
Protein: 3g
Fat: 12g
Saturated Fat: 7g
Cholesterol: 5mg