Are you ready to elevate your baking game with a loaf that’s not just bread, but a culinary masterpiece? Introducing the Fresh Milled Whole Wheat Walnut Sourdough—a delightful fusion of earthy whole wheat and crunchy walnuts that will tantalize your taste buds and impress your guests! This artisan bread, with its rich flavor and rustic charm, is not only a feast for the senses but also a healthy choice packed with nutrients. Whether you’re a seasoned baker or just starting out, this recipe will guide you through each step, making the process enjoyable and rewarding. Get ready to transform your kitchen into a bakery and create a loaf that’s sure to become a family favorite!
Ingredients
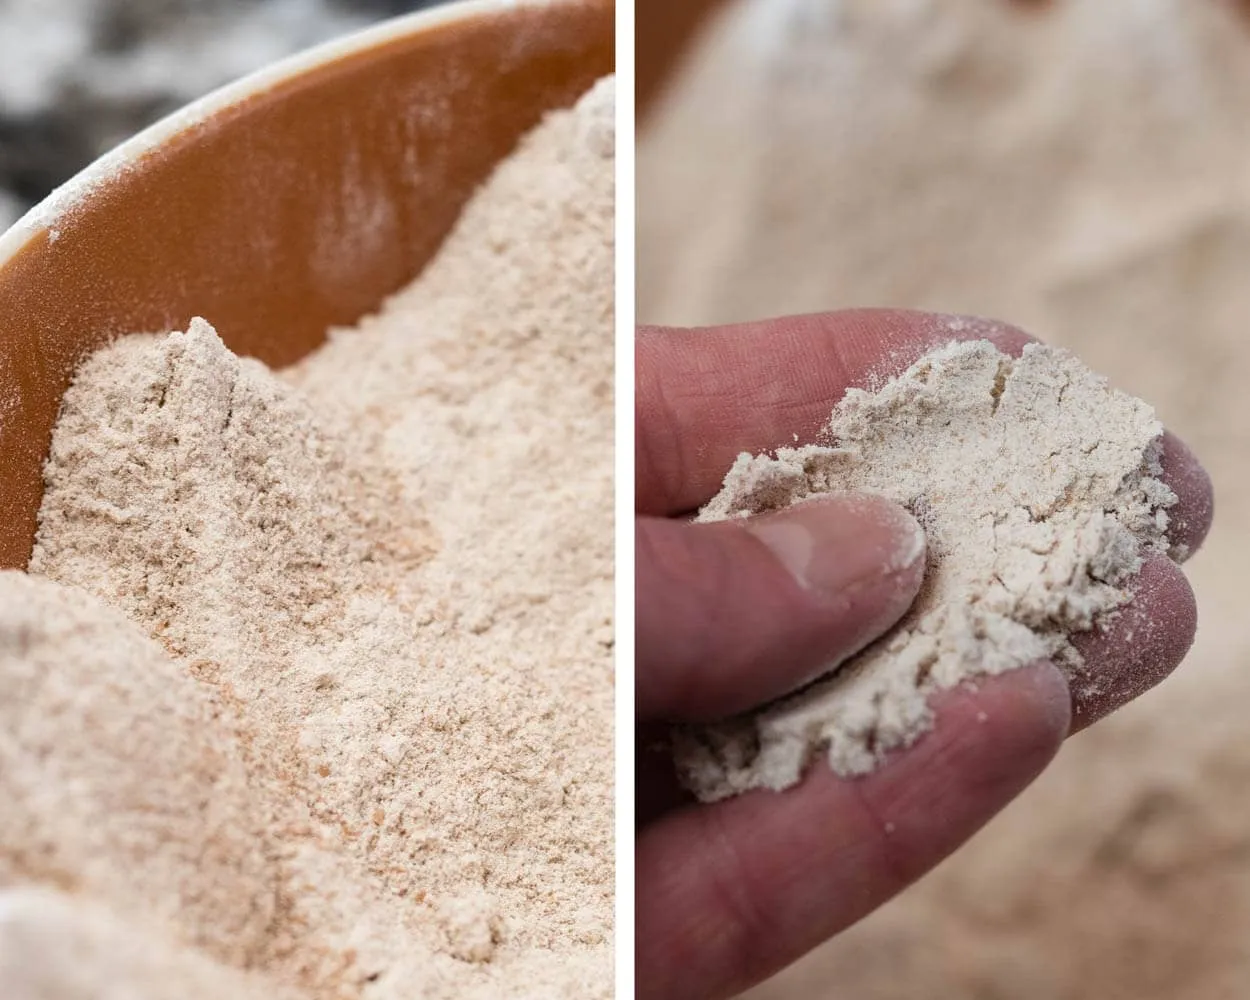
- 500g fresh milled whole wheat flour
- 350g water
- 100g sourdough starter
- 10g salt
- 100g walnuts, chopped
Instructions
- In a large mixing bowl, combine 500g of fresh milled whole wheat flour and 100g of chopped walnuts. Stir the dry ingredients together until the walnuts are evenly distributed throughout the flour.
- In a separate bowl, mix 350g of water with 100g of sourdough starter. Stir until the starter is fully dissolved in the water.
- Pour the water and sourdough starter mixture into the bowl with the flour and walnuts. Using your hands or a wooden spoon, mix the ingredients together until a shaggy dough forms. Ensure all the flour is incorporated.
- Cover the bowl with a damp cloth or plastic wrap and let the dough rest for about 30 minutes. This process is called autolyse and helps to develop the gluten in the dough.
- After the autolyse, add 10g of salt to the dough. Wet your hands slightly to prevent sticking, then pinch and fold the dough over itself to incorporate the salt. Continue this process for about 5 minutes until the salt is fully integrated.
- Once the salt is mixed in, cover the bowl again and let the dough rise at room temperature for about 4 to 6 hours. During this time, perform stretch and folds every 30 minutes for the first 2 hours. To do this, wet your hands, grab one side of the dough, stretch it up, and fold it over itself. Rotate the bowl and repeat this process until you have stretched and folded the dough from all sides.
- After the bulk fermentation, lightly flour your work surface and gently turn the dough out onto it. Shape the dough into a round or oval loaf by folding the edges towards the center and then flipping it over so the seam is on the bottom.
- Place the shaped dough into a well-floured proofing basket or bowl, seam side up. Cover it with a cloth and let it proof for another 2 to 4 hours at room temperature, or overnight in the refrigerator for a slower fermentation.
- About 30 minutes before baking, preheat your oven to 450°F (232°C) with a Dutch oven inside to heat up. This will create steam for a better crust.
- Once the oven is preheated, carefully remove the hot Dutch oven. Gently invert the proofed dough onto a piece of parchment paper. You can score the top of the dough with a sharp knife or a razor blade to allow for controlled expansion during baking.
- Using the parchment paper as a sling, carefully lift the dough and place it into the hot Dutch oven. Cover with the lid and bake for 30 minutes.
- After 30 minutes, remove the lid and continue to bake for an additional 15 minutes, or until the loaf is deep golden brown and sounds hollow when tapped on the bottom.
- Once baked, carefully remove the loaf from the Dutch oven and let it cool on a wire rack for at least 1 hour before slicing. This allows the crumb to set properly.
Tips
- Use Freshly Milled Flour: For the best flavor and nutritional benefits, mill your own whole wheat flour just before baking. This ensures maximum freshness and enhances the bread's texture.
- Hydration Matters: Adjust the water content based on the humidity of your environment. If the dough feels too dry, add a little more water, but do so gradually to avoid making it too sticky.
- Be Patient with Fermentation: Allowing the dough to rise for the full 4 to 6 hours at room temperature is crucial for developing flavor and texture. If time permits, try the overnight proofing in the refrigerator for a more complex taste.
- Master the Stretch and Fold Technique: This technique helps build gluten strength without kneading. Be gentle but thorough during the first two hours of bulk fermentation to ensure a well-structured loaf.
- Preheat Your Dutch Oven: This step is essential for achieving a crispy crust. The steam created in the Dutch oven mimics a professional bakery environment, giving your bread that perfect artisanal finish.
- Cooling is Key: Resist the temptation to slice into your loaf immediately after baking. Let it cool on a wire rack for at least an hour to allow the crumb to set properly, ensuring a better texture and flavor.
- Experiment with Add-ins: While walnuts add a delightful crunch, feel free to mix in other ingredients like seeds, dried fruits, or herbs to customize your loaf to your liking!
Nutrition Facts
Calories: 280kcal
Carbohydrates: 35g
Protein: 10g
Fat: 12g
Saturated Fat: g
Cholesterol: 0mg