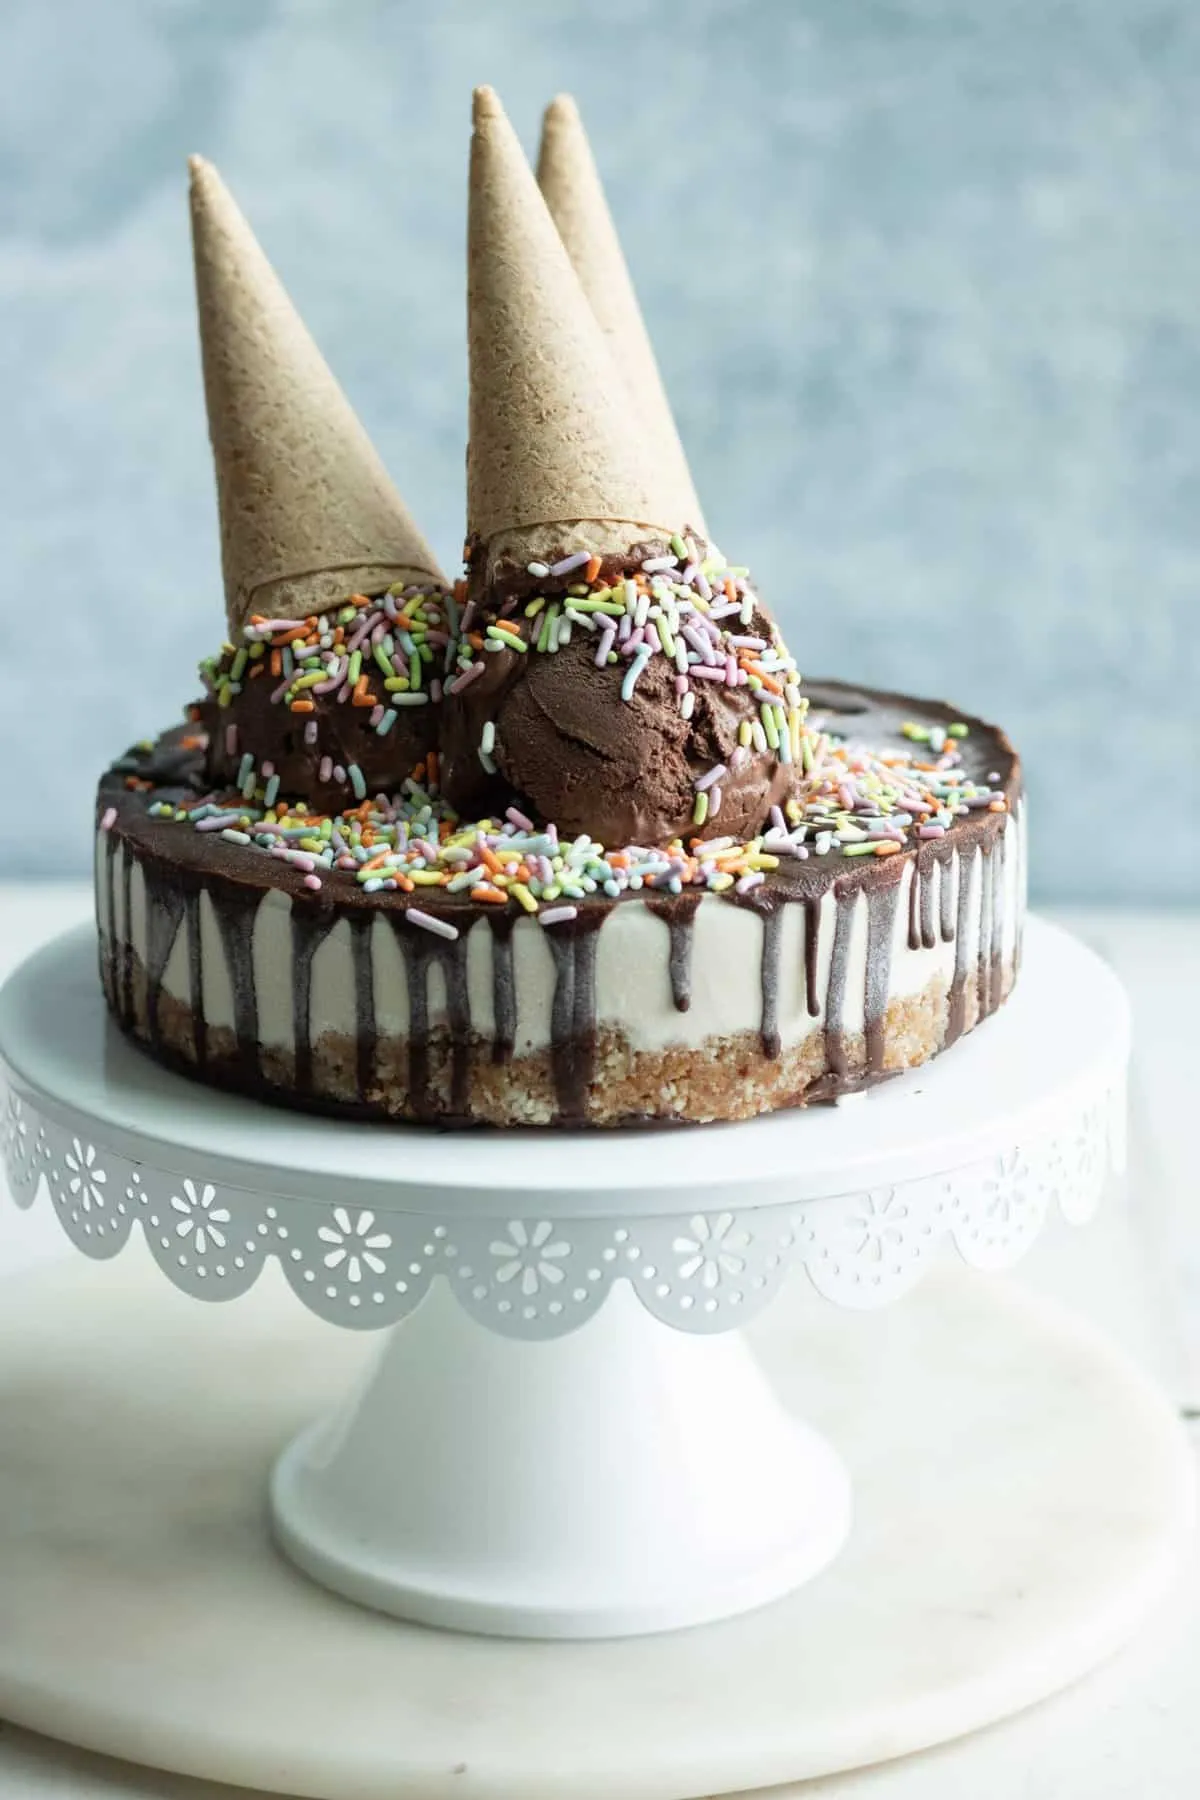
Imagine a dessert that's not just decadent, but also completely vegan and gluten-free - a chocolate lover's dream that doesn't compromise on taste or texture! These Individual Chocolate Ice Cream Cakes are about to revolutionize your dessert game, proving that plant-based treats can be just as luxurious and satisfying as traditional recipes. With a rich, chocolatey base and creamy vegan ice cream topping, these mini cakes are perfect for those moments when you want something extraordinary without the dairy or gluten.
Prep Time: 20 mins
Cook Time: -
Total Time: 4 hrs 20 mins
Cuisine: Vegan
Serves: 4 servings
Ingredients
- 1 cup almond flour
- 1/2 cup cocoa powder
- 1/4 cup maple syrup
- 1/4 cup coconut oil, melted
- 1/2 tsp vanilla extract
- 1/4 tsp salt
- 2 cups vegan chocolate ice cream
Instructions
- Begin by gathering all your ingredients: almond flour, cocoa powder, maple syrup, melted coconut oil, vanilla extract, salt, and vegan chocolate ice cream. Make sure the ice cream is slightly softened for easier assembly.
- In a mixing bowl, combine 1 cup of almond flour and 1/2 cup of cocoa powder. Whisk them together until they are well mixed and free of any lumps.
- Add 1/4 cup of maple syrup, 1/4 cup of melted coconut oil, 1/2 tsp of vanilla extract, and 1/4 tsp of salt to the dry ingredients. Mix everything together until you achieve a smooth, thick batter. The mixture should be moist but not overly sticky.
- Prepare your individual cake molds or ramekins by lightly greasing them with a little coconut oil to prevent sticking. You can also line them with parchment paper for easier removal later.
- Evenly distribute the batter into the prepared molds, filling each one about halfway. Use a spatula to smooth the tops for an even finish.
- Once the batter is evenly divided, place the molds in the freezer for about 1 hour, or until the bases are firm to the touch.
- After the bases have set, remove them from the freezer and carefully spoon 1/2 cup of softened vegan chocolate ice cream on top of each cake base. Smooth the ice cream with a spatula or the back of a spoon for an even layer.
- Return the filled molds to the freezer and let them chill for an additional 3 hours, or until the ice cream is completely firm.
- Once the individual chocolate ice cream cakes are fully frozen, remove them from the freezer. To release the cakes from the molds, gently run a knife around the edges and invert them onto a plate. If needed, you can warm the outside of the molds slightly with your hands or under warm water to help them release.
- Serve immediately, or store the individual cakes in an airtight container in the freezer until ready to enjoy. Optionally, garnish with fresh fruit, vegan whipped cream, or a drizzle of chocolate sauce before serving.
Tips
- Temperature is Key: Make sure your vegan chocolate ice cream is slightly softened but not completely melted when assembling. This makes spreading easier and helps create a smooth layer.
- Prep Your Molds: Use silicone molds or ramekins for the easiest cake removal. Lightly greasing with coconut oil or using parchment paper liners will prevent sticking.
- Freezing Technique: Allow sufficient freezing time for both the cake base and the ice cream layer. Patience ensures a perfectly firm and sliceable dessert.
- Make Ahead Friendly: These individual cakes can be prepared in advance and stored in the freezer for up to a week, making them perfect for entertaining or a make-ahead dessert.
- Creative Garnishing: Experiment with toppings like crushed nuts, vegan chocolate shavings, or a drizzle of maple syrup to elevate the presentation and add extra flavor.
Nutrition Facts
Calories: 380kcal
Carbohydrates: 25g
Protein: 7g
Fat: 30g
Saturated Fat: 15g
Cholesterol: 0mg