Are you tired of tough, disappointing pie crusts that crumble instead of melt in your mouth? Get ready to revolutionize your baking game with this ultimate Butter Shortening Pie Crust recipe that promises bakery-quality results right in your own kitchen! Whether you're a novice baker or a seasoned pro, this foolproof method will transform your pies from ordinary to extraordinary, creating a buttery, tender crust that will have everyone begging for your secret.
Prep Time: 15 mins
Cook Time: -
Total Time: 15 mins
Cuisine: American
Serves: 2 crusts
Ingredients
- 2 1/2 cups all-purpose flour
- 1 teaspoon salt
- 1 tablespoon sugar
- 1/2 cup unsalted butter, chilled
- 1/2 cup shortening, chilled
- 6-8 tablespoons ice water
Instructions
- In a large mixing bowl, combine the all-purpose flour, salt, and sugar. Whisk together until well blended.
- Remove the chilled butter and shortening from the refrigerator. Cut the butter and shortening into small 1/4-inch cubes using a sharp knife.
- Add the chilled butter and shortening cubes to the flour mixture. Using a pastry blender or your fingertips, work the fats into the flour mixture until it resembles coarse, pea-sized crumbs. Be careful not to overmix or warm the fat too much.
- Prepare a small bowl of ice water. Gradually add 6 tablespoons of ice water to the flour mixture, stirring gently with a fork. Add additional water one tablespoon at a time if needed, until the dough just begins to come together.
- Gently gather the dough with your hands and divide it into two equal portions. Shape each portion into a flat disk, about 1-inch thick.
- Wrap each disk tightly in plastic wrap and refrigerate for at least 1 hour, or up to 2 days. This resting period allows the gluten to relax and the fats to firm up, ensuring a flaky crust.
- When ready to use, remove the dough from the refrigerator and let it sit at room temperature for 5-10 minutes to soften slightly.
- On a lightly floured surface, roll out each disk into a circle about 1/8-inch thick and 2 inches larger than your pie plate.
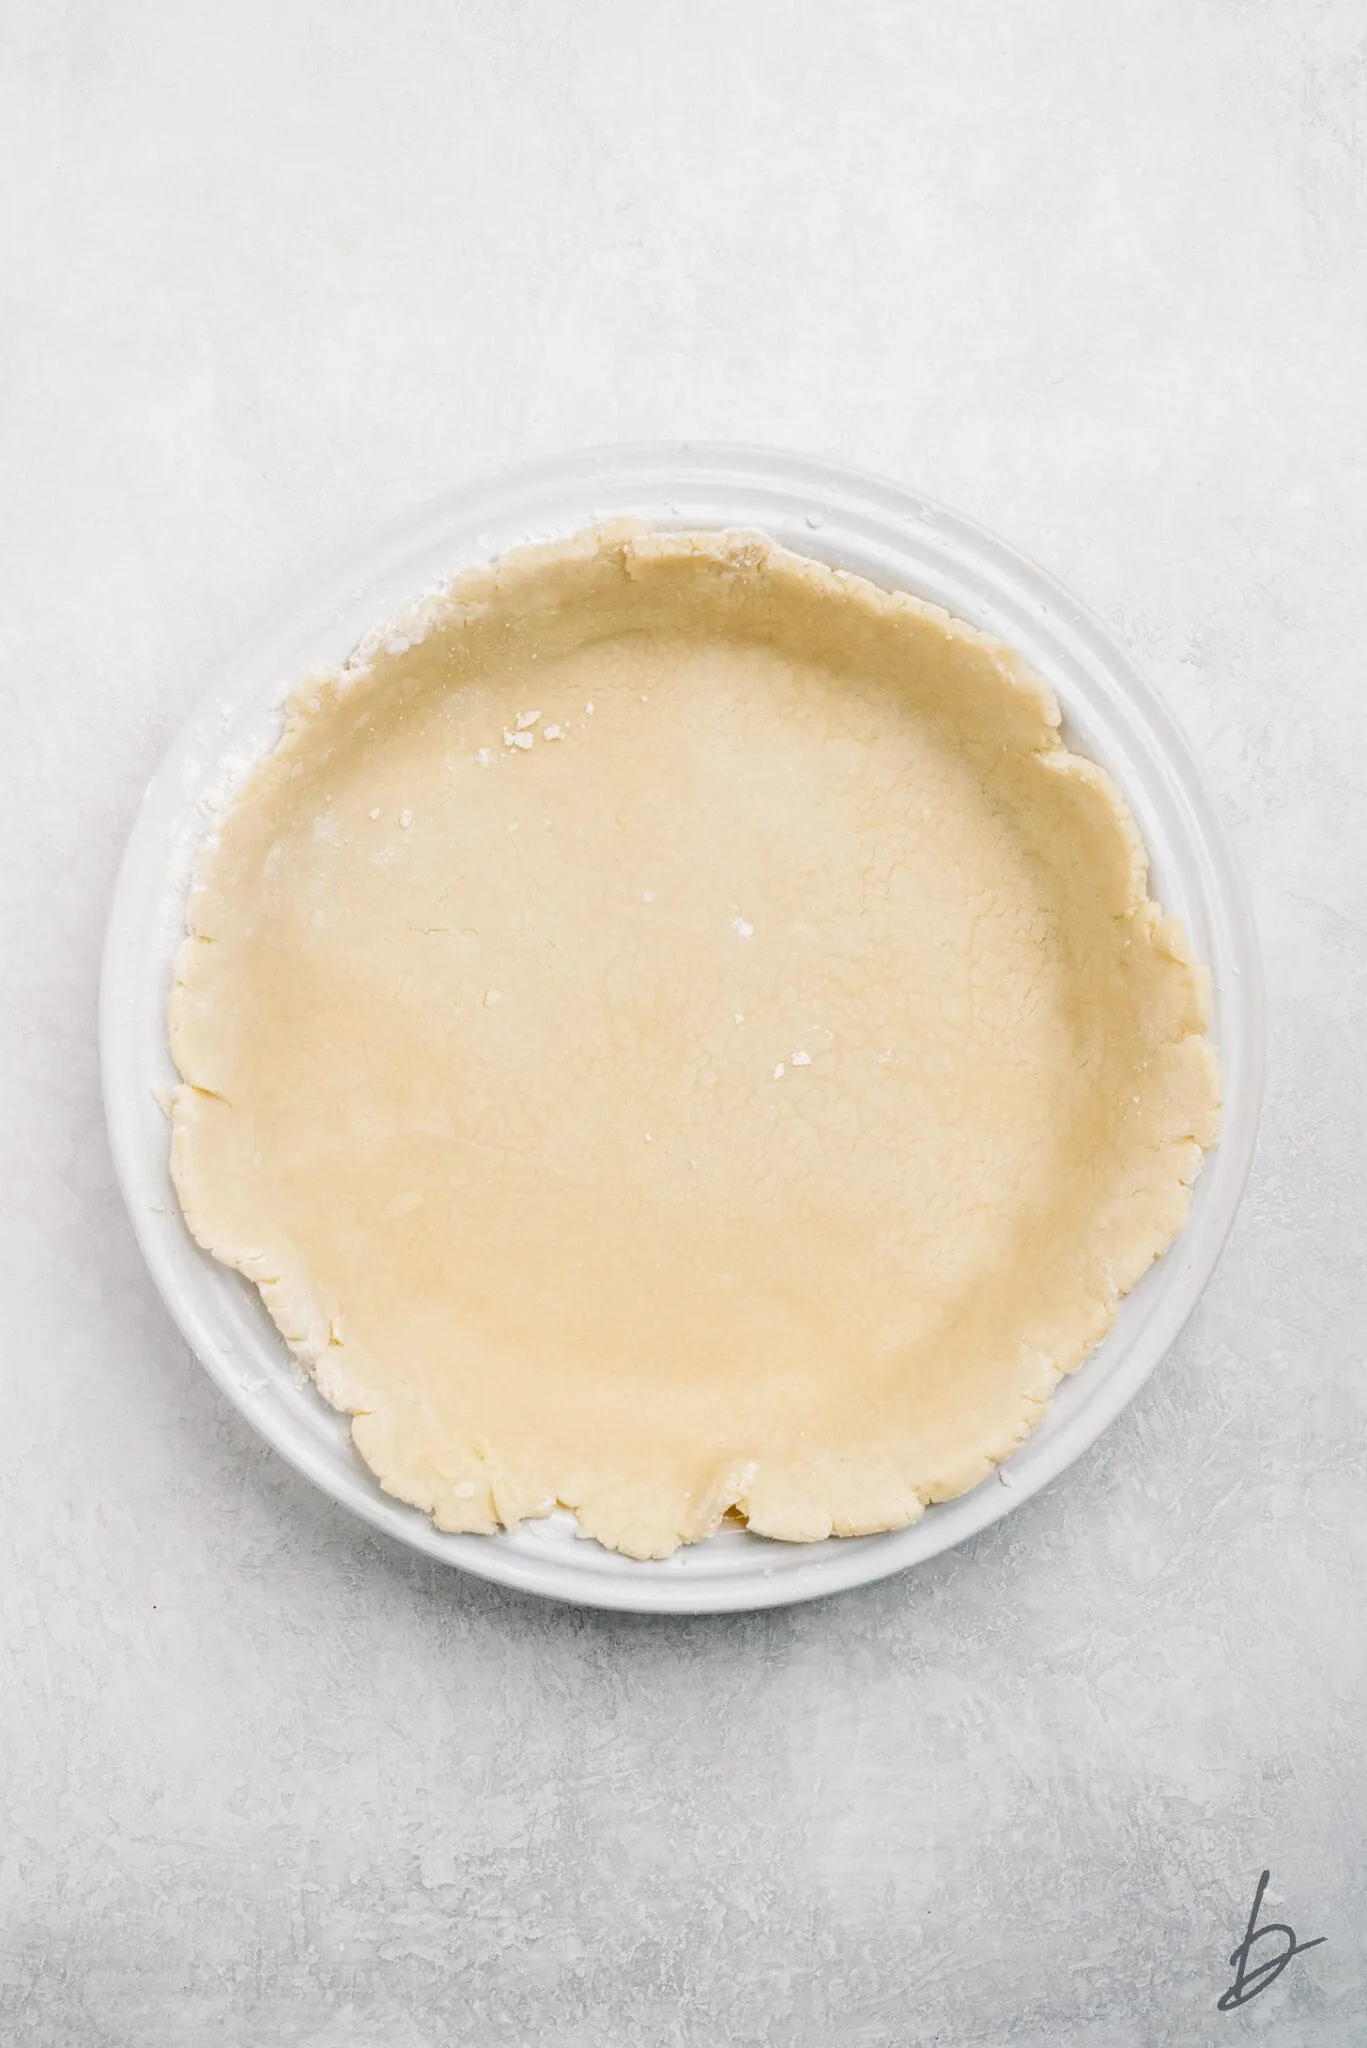
- Carefully transfer the dough to your pie plate, trim the edges, and crimp as desired. The crust is now ready to be filled or pre-baked as your recipe requires.
Tips
- Temperature is Key: Keep your butter and shortening ice-cold! Cold fats create those coveted flaky layers that make pie crusts irresistible.
- Don't Overwork the Dough: Mix just until the dough comes together. Overworking develops gluten, which can make your crust tough and chewy.
- Chill, Chill, Chill: The refrigeration step is crucial. Letting the dough rest allows the gluten to relax and the fats to firm up, ensuring maximum flakiness.
- Use Ice Water: Literally use ice water, not just cold water. This helps keep the fat from melting and maintains those perfect crumbly texture.
- Practice Your Crimping: A beautiful edge not only looks professional but helps seal in your delicious pie filling.
- Versatility Matters: This recipe makes two crusts, perfect for double-crust pies or keeping one in reserve for your next baking adventure!
Nutrition Facts
Calories: 160kcal
Carbohydrates: 12g
Protein: 2g
Fat: 12g
Saturated Fat: 6g
Cholesterol: 20mg