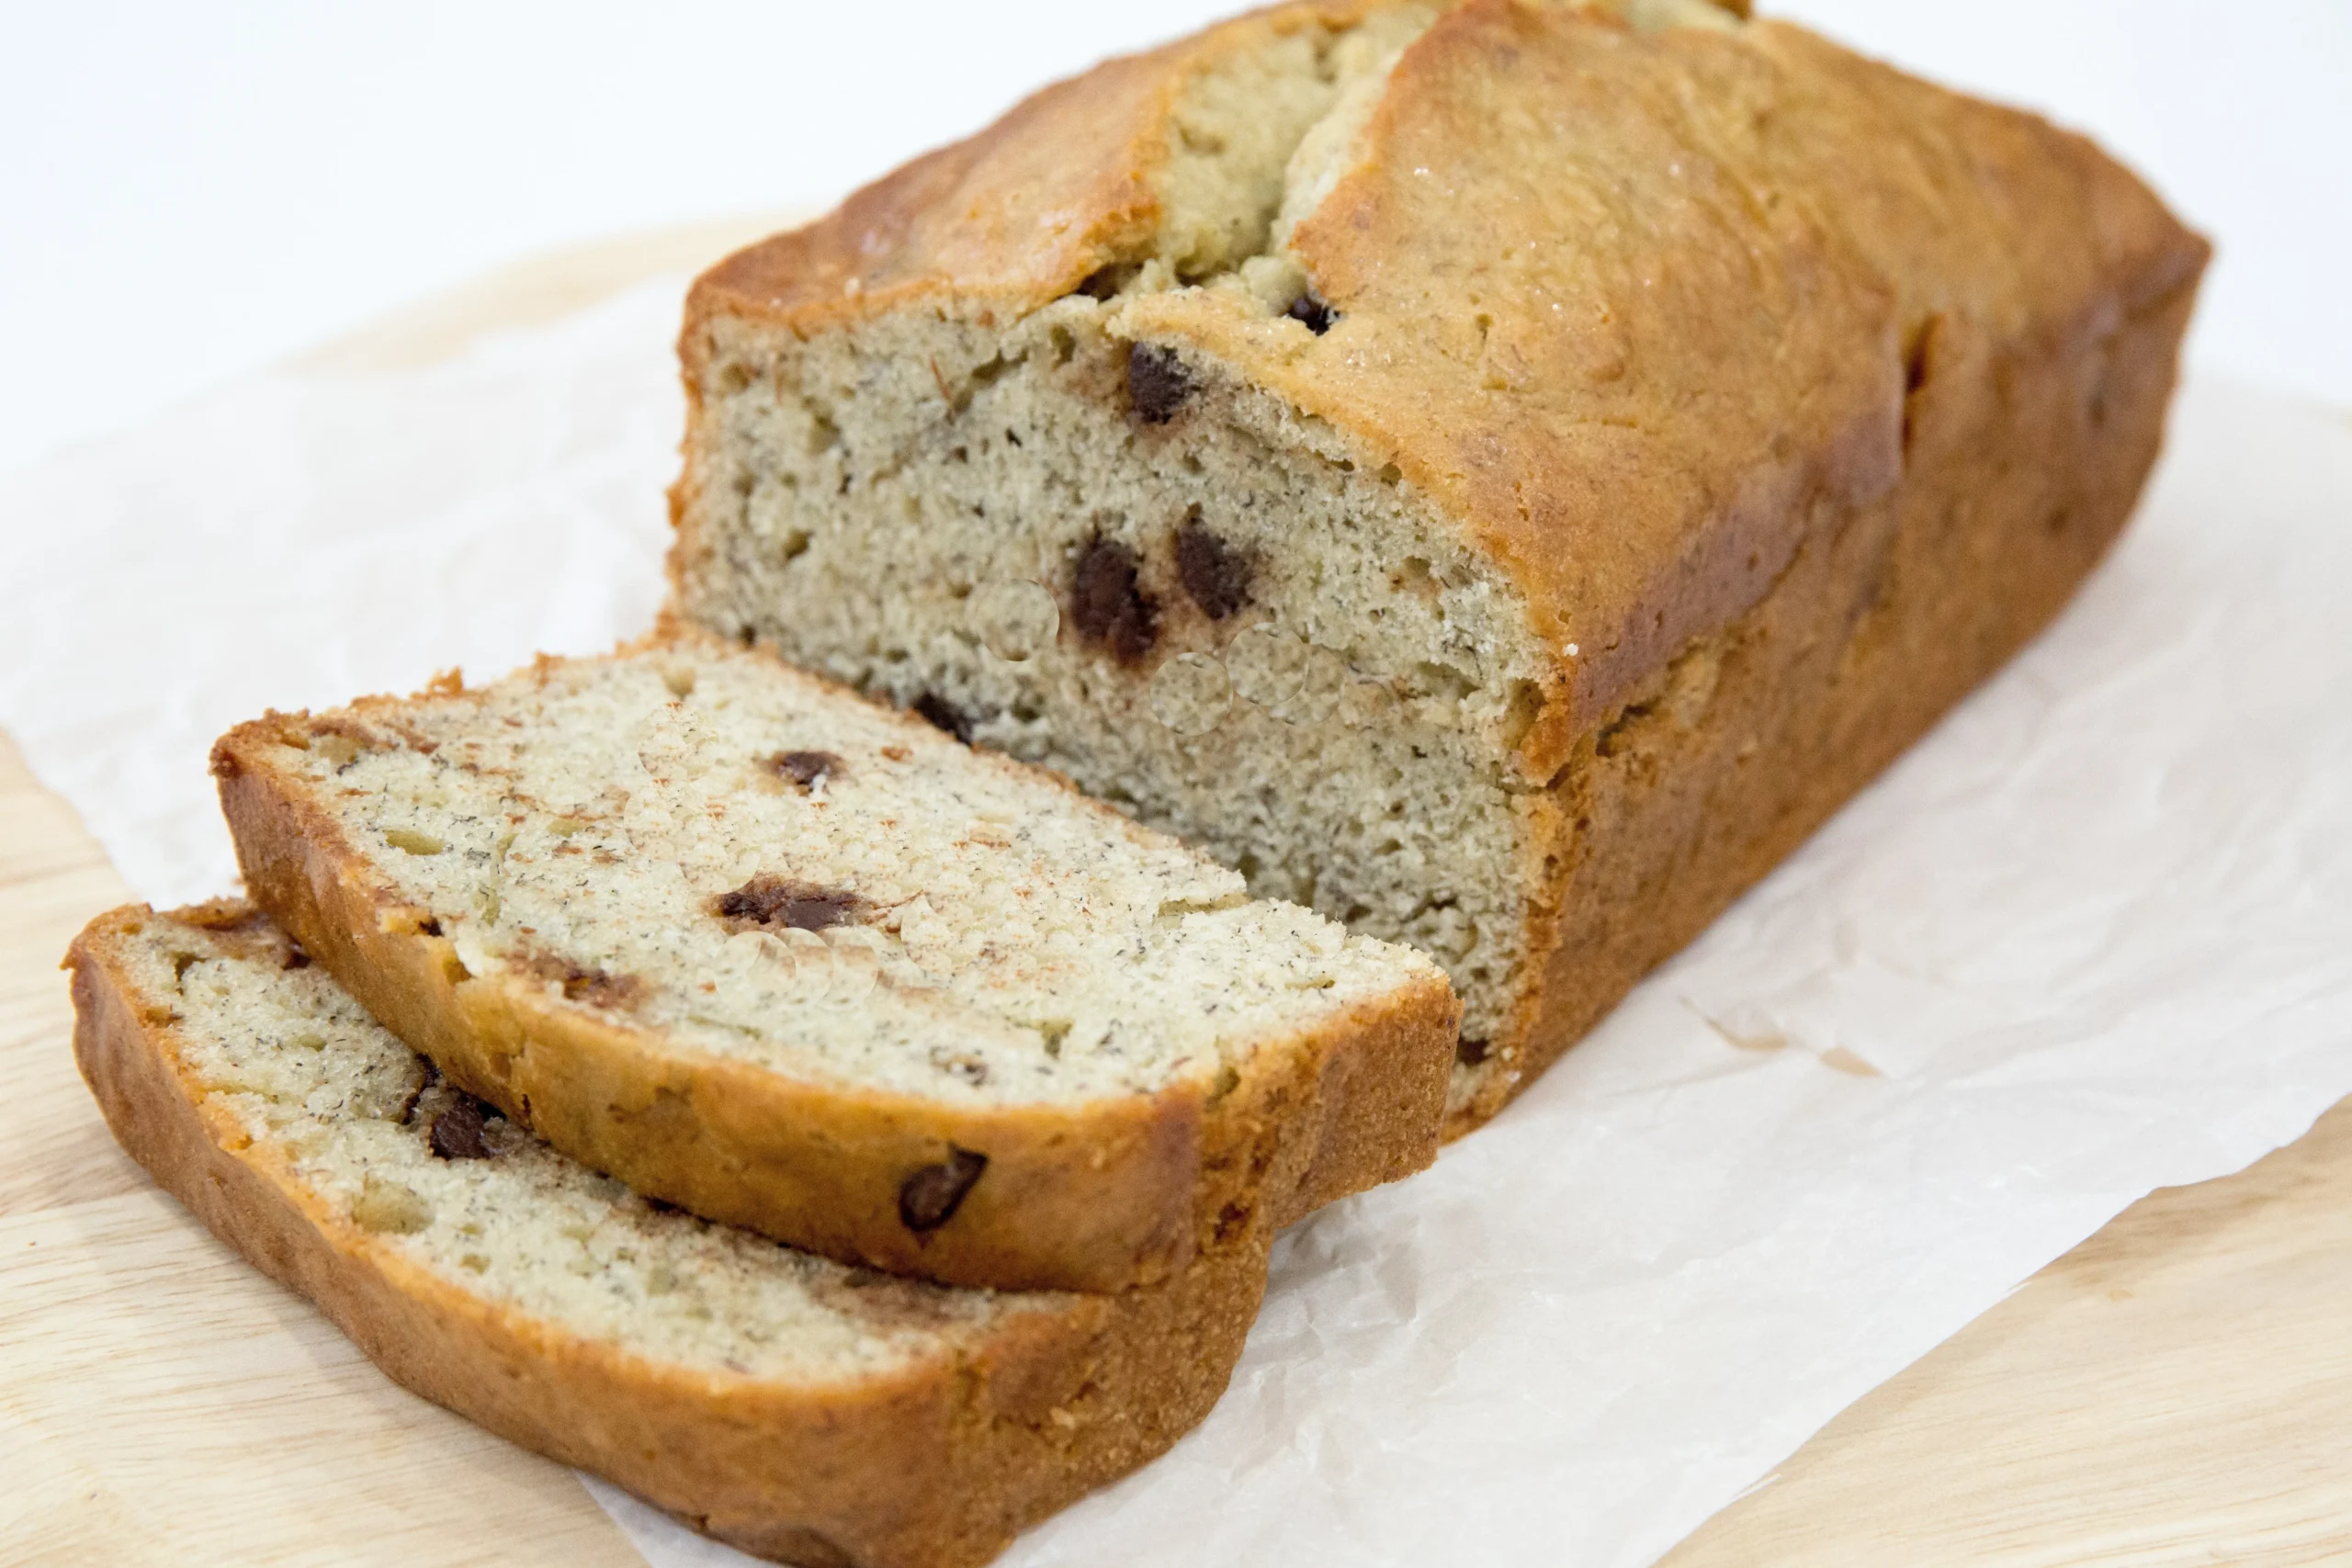
Are you tired of dense, flat banana breads that fall short of your baking dreams? Discover the secret to perfect banana bread that rises beautifully, even in the most challenging high-altitude environments! This foolproof recipe transforms ordinary ingredients into a moist, delectable loaf that will have your family and friends begging for seconds. Whether you're living in the mountains or just looking for a guaranteed baking success, this high-altitude banana bread recipe is about to become your new kitchen superhero!
Prep Time: 10 mins
Cook Time: 60 mins
Total Time: 1 hrs 10 mins
Cuisine: American
Serves: 1 loaf
Ingredients
- 3 ripe bananas
- 150g sugar
- 1 large egg
- 75g melted butter
- 200g all-purpose flour
- 1 tsp baking soda
- 1/2 tsp salt
Instructions
- Preheat your oven to 350°F (175°C). If you're at a high altitude (above 3,500 feet), consider increasing the temperature to 375°F (190°C) to help the bread rise properly.
- In a large mixing bowl, mash the 3 ripe bananas with a fork or potato masher until smooth. Ensure there are no large lumps, as this will help create a uniform texture in the bread.
- Add 150g of sugar to the mashed bananas and mix well until fully combined. The mixture should be slightly glossy and well integrated.
- Crack 1 large egg into the bowl and whisk it into the banana-sugar mixture until fully incorporated.
- Pour in 75g of melted butter and stir until the mixture is smooth and homogeneous.
- In a separate bowl, combine 200g of all-purpose flour, 1 tsp of baking soda, and 1/2 tsp of salt. Mix these dry ingredients together to ensure that the baking soda and salt are evenly distributed.
- Gradually add the dry ingredients to the wet banana mixture, stirring gently until just combined. Be careful not to overmix, as this can lead to a dense loaf. It’s okay if there are a few small lumps.
- Prepare a loaf pan by greasing it lightly with butter or non-stick spray. You can also line it with parchment paper for easier removal.
- Pour the banana bread batter into the prepared loaf pan, smoothing the top with a spatula to ensure even baking.
- Place the loaf pan in the preheated oven and bake for approximately 60 minutes. Check for doneness by inserting a toothpick into the center of the loaf; it should come out clean or with a few moist crumbs.
- If the top of the bread begins to brown too quickly, loosely cover it with aluminum foil to prevent burning while the inside continues to bake.
- Once baked, remove the banana bread from the oven and let it cool in the pan for about 10 minutes. Then, carefully transfer it to a wire rack to cool completely.
- Once cooled, slice the banana bread and enjoy! It can be served plain or with butter, and it also freezes well for future enjoyment.
Tips
- Temperature Matters: At high altitudes, increase your oven temperature by 25°F to help the bread rise properly and prevent a dense texture.
- Moisture is Key: High-altitude baking can dry out your bread quickly, so be careful not to overbake. Check your bread a few minutes earlier than the recommended baking time.
- Reduce Leavening Slightly: Consider reducing the baking soda by 1/4 to 1/2 teaspoon to prevent over-rising and subsequent falling.
- Add Extra Moisture: Consider adding an extra tablespoon of liquid (like milk or yogurt) to prevent dryness common in high-altitude baking.
- Use Room Temperature Ingredients: Ensure your eggs and butter are at room temperature for better incorporation and a more consistent texture.
- Don't Overmix: Mix your batter just until the ingredients are combined. Overmixing can lead to a tough, dense bread, especially at high altitudes.
- Use the Toothpick Test: Always check for doneness by inserting a toothpick into the center of the bread. It should come out clean or with just a few moist crumbs.
Nutrition Facts
Calories: 350kcal
Carbohydrates: 55g
Protein: 5g
Fat: 14g
Saturated Fat: 8g
Cholesterol: 55mg