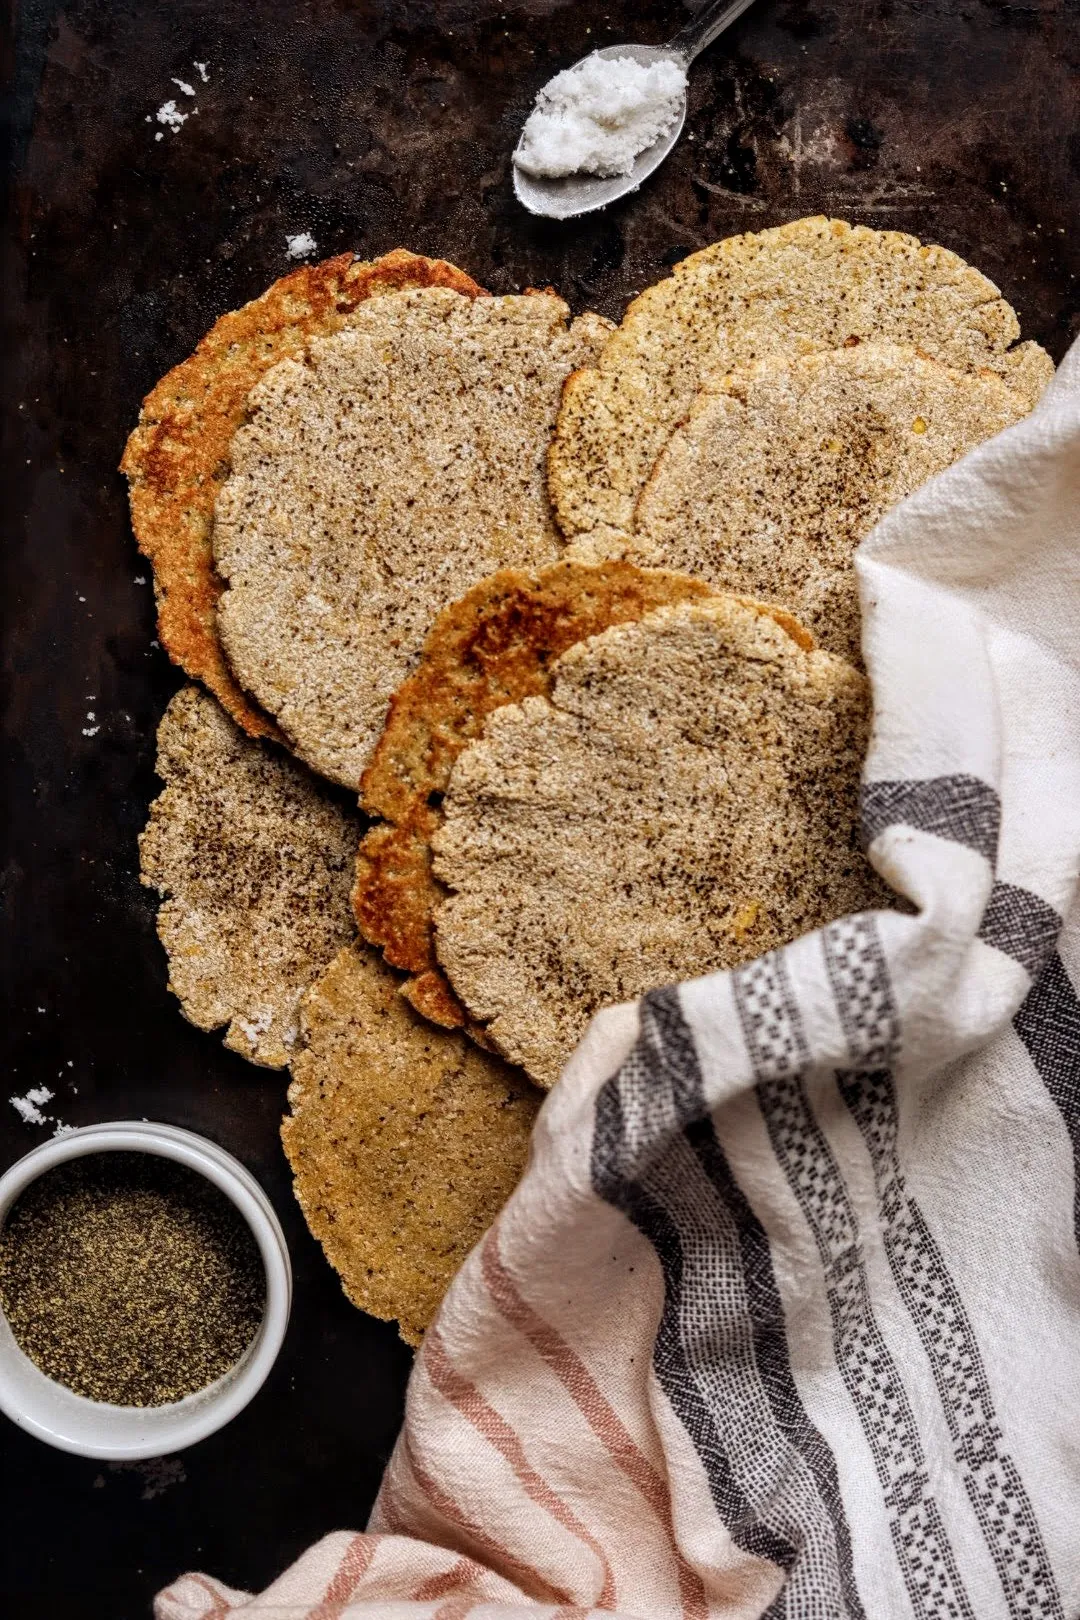
Are you ready to transform your kitchen into a haven of delicious, health-conscious baking? Prepare to be amazed by the AIP Day Dream Bread - a revolutionary recipe that proves dietary restrictions don't mean sacrificing flavor or texture! This incredible bread is not just a recipe; it's a culinary adventure that will make your taste buds dance and your body thank you. Whether you're following the Autoimmune Protocol diet or simply looking for a nutritious, mouth-watering bread alternative, this recipe is about to become your new obsession!
Prep Time: 15 mins
Cook Time: 30 mins
Total Time: 45 mins
Cuisine: American
Serves: 1 loaf
Ingredients
- 1 cup almond flour
- 1/2 cup tapioca flour
- 1/4 cup coconut flour
- 1/2 teaspoon baking soda
- 1/4 teaspoon salt
- 4 eggs
- 1/4 cup apple cider vinegar
- 1/4 cup water
Instructions
- Preheat the oven to 350°F (175°C). Line a standard 9x5 inch loaf pan with parchment paper, ensuring the paper overhangs the sides for easy removal.
- In a large mixing bowl, sift together the almond flour, tapioca flour, coconut flour, baking soda, and salt. Whisk the dry ingredients thoroughly to remove any lumps and ensure even distribution.
- In a separate medium bowl, crack the eggs and whisk them until they are well beaten and slightly frothy. Add the apple cider vinegar and water, mixing until fully combined.
- Gradually pour the wet ingredients into the dry ingredients, stirring continuously with a spatula or wooden spoon. Mix until a smooth, consistent batter forms with no dry flour pockets.
- Transfer the batter to the prepared loaf pan, using a spatula to spread it evenly and smooth the top. Gently tap the pan on the counter to release any air bubbles.
- Place the loaf pan in the preheated oven and bake for 30-35 minutes. The bread is done when a toothpick inserted into the center comes out clean and the top is golden brown.
- Remove the bread from the oven and let it cool in the pan for 10 minutes. Then, using the parchment paper, lift the bread out and transfer to a wire rack to cool completely.
- Once cooled, slice the bread and serve. Store any leftovers in an airtight container in the refrigerator for up to 5 days.
Tips
- Ingredient Temperature Matters: Ensure your eggs are at room temperature for better mixing and a more consistent batter.
- Sifting is Crucial: Take extra time to sift your flours to prevent lumps and achieve a smoother texture.
- Don't Overmix: Stir the batter just until ingredients are combined to keep the bread light and fluffy.
- Parchment Paper Trick: Let the parchment paper overhang the sides of the pan for easy bread removal.
- Cooling is Key: Allow the bread to cool completely before slicing to help it set and maintain its structure.
- Storage Wisdom: Wrap the bread tightly and refrigerate to maintain freshness and prevent quick spoilage.
- Customize Creatively: Try adding herbs or spices to the dry mix for a personalized flavor twist.
- Patience Pays Off: Use a toothpick test to ensure the bread is fully baked, avoiding a gummy center.
Nutrition Facts
Calories: 130kcal
Carbohydrates: 7g
Protein: 5g
Fat: 10g
Saturated Fat: 1g
Cholesterol: 70mg


