Are you tired of spending hours soaking and simmering beans, only to end up with unevenly cooked, tough legumes? Say goodbye to traditional bean cooking methods and hello to the game-changing technique of pressure cooker beans! In just 30 minutes, you'll unlock a foolproof way to create tender, delicious beans that will transform your culinary experience. Whether you're a busy home cook or a kitchen novice, this simple method will have you serving restaurant-quality beans with minimal effort and maximum flavor.
Prep Time: 5 mins
Cook Time: 25 mins
Total Time: 30 mins
Cuisine: General
Serves: 4 servings
Ingredients
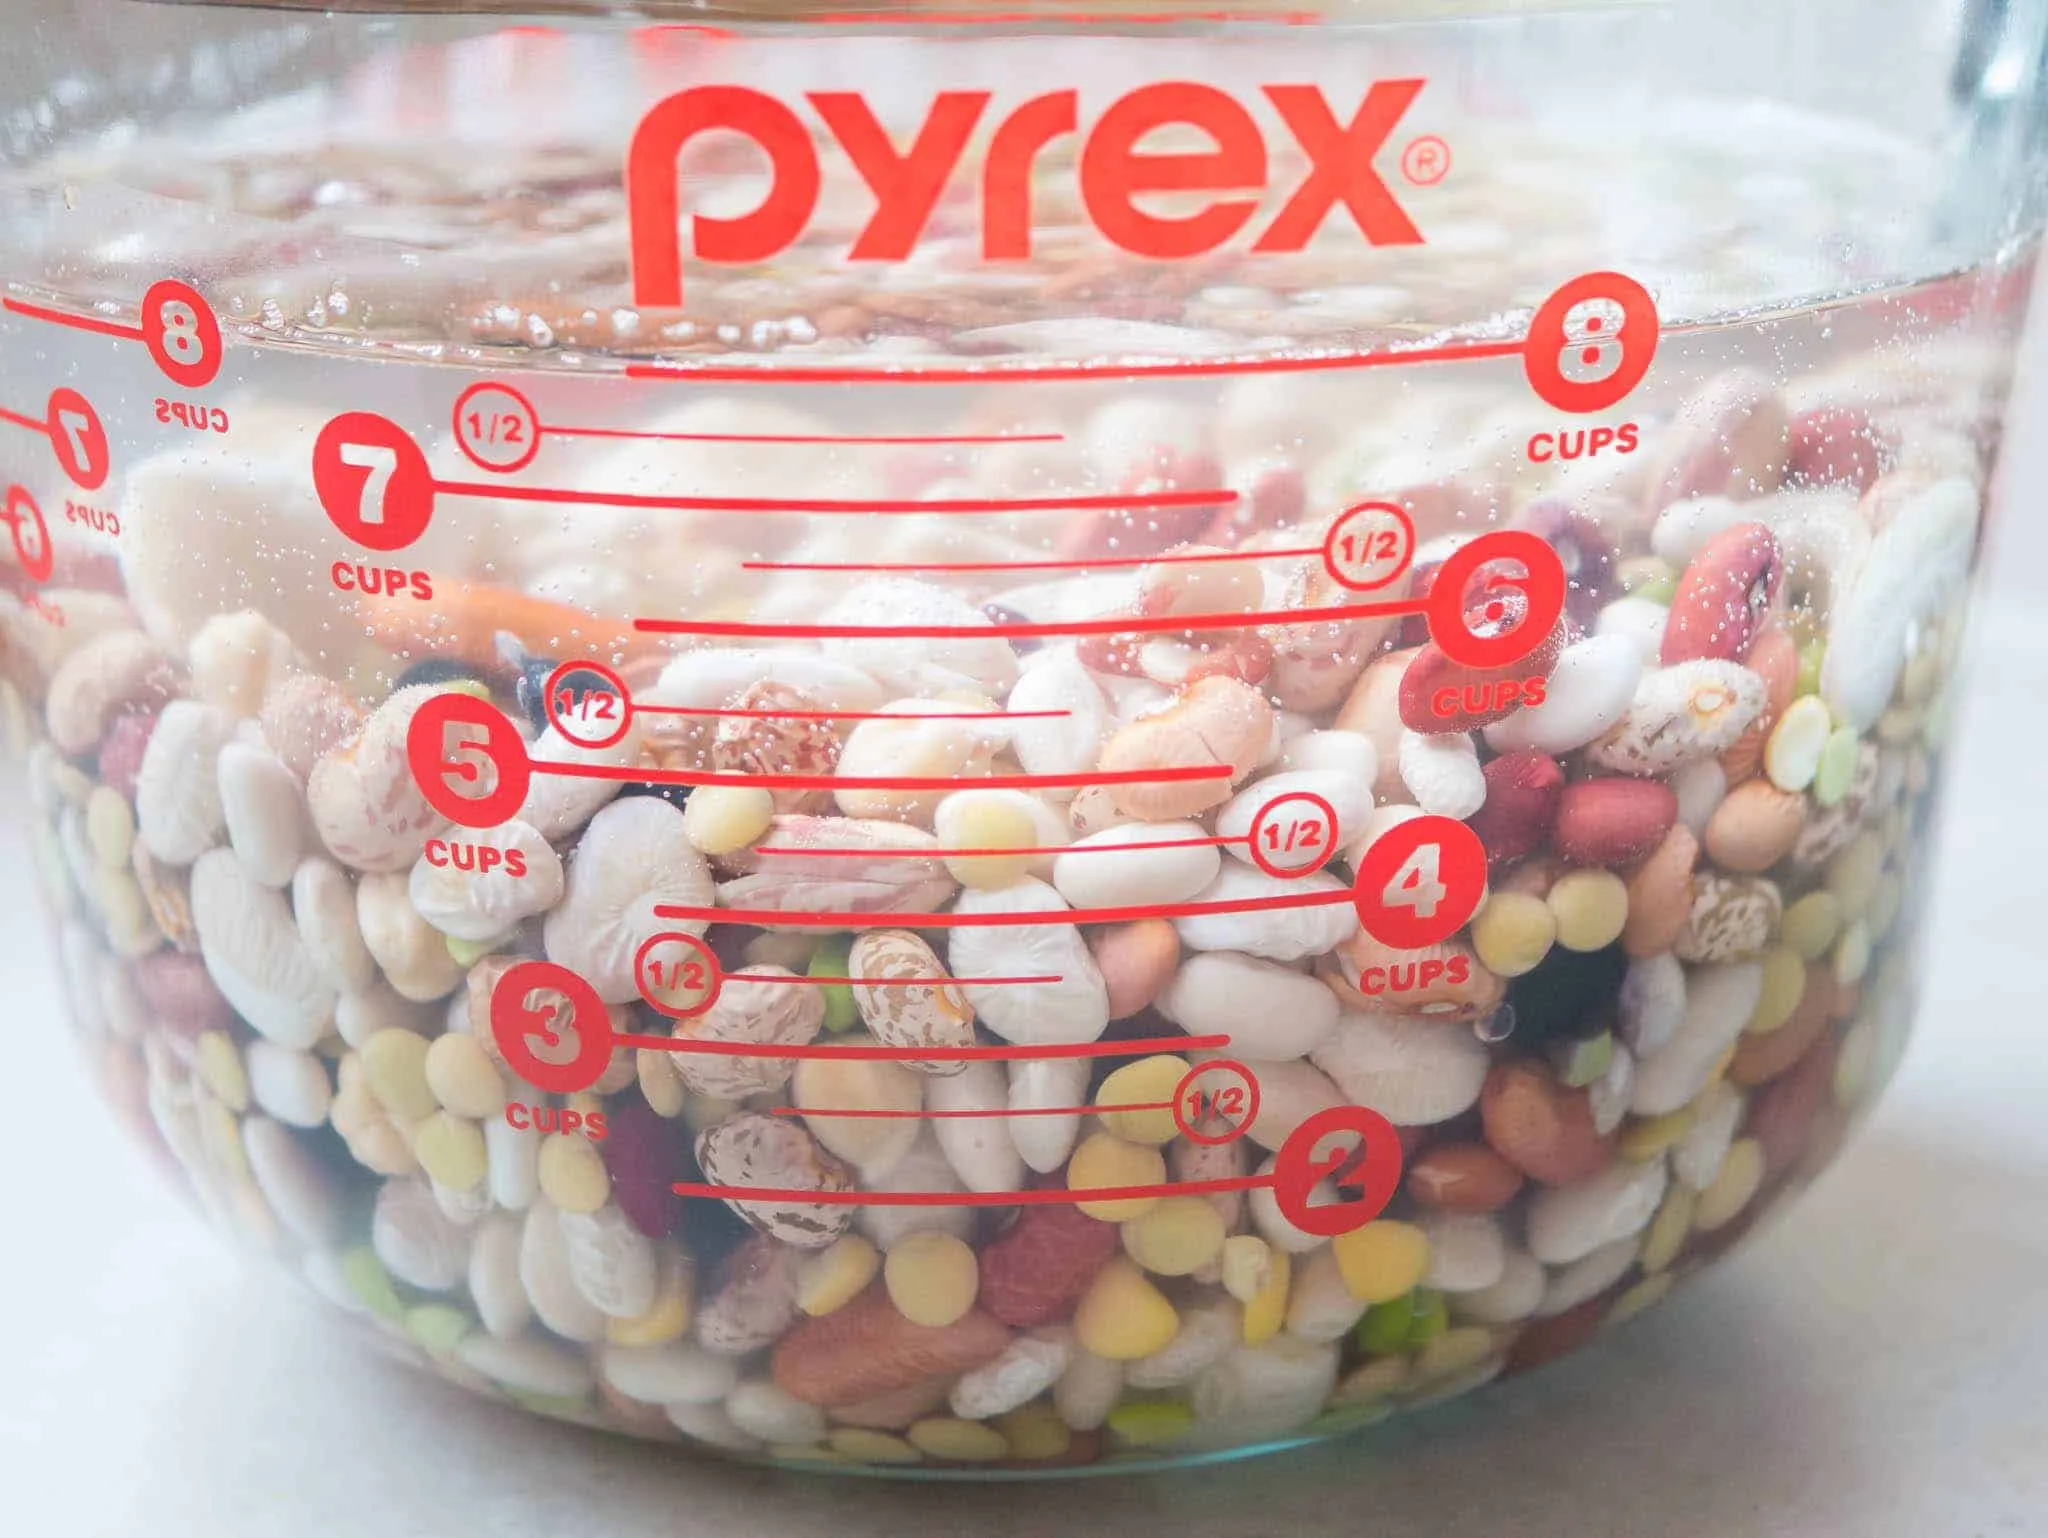
- 1 cup dried beans of choice
- 4 cups water
- 1 onion, halved
- 2 cloves garlic, smashed
- 1 teaspoon salt
Instructions
- Begin by sorting through the dried beans to remove any debris or damaged beans. Rinse the beans under cold running water in a colander to clean them thoroughly.
- In your pressure cooker, add the rinsed beans, 4 cups of water, the halved onion, the smashed garlic cloves, and 1 teaspoon of salt. Make sure the ingredients are well distributed in the pot.
- Close the lid of the pressure cooker securely. If you are using a stovetop pressure cooker, ensure the pressure regulator is in place. For an electric pressure cooker, select the 'Beans' or 'Manual' setting.
- Set the pressure cooker to cook on high pressure for 25 minutes. If you are using a stovetop pressure cooker, bring it to high pressure over medium-high heat, then reduce the heat to maintain that pressure.
- Once the cooking time is complete, allow the pressure to release naturally for about 10 minutes. After that, carefully release any remaining pressure according to your pressure cooker’s instructions.
- Open the lid once the pressure has fully released. Remove the onion and garlic from the pot and discard them. Stir the beans gently and check for doneness; they should be tender but not mushy.
- If the beans are not fully cooked to your liking, you can simmer them for a few more minutes on the stovetop without the lid, adding a little more water if necessary.
- Serve the beans warm as a side dish, or use them in your favorite recipes such as soups, salads, or tacos. Enjoy your perfectly cooked pressure cooker beans!
Tips
- Bean Selection Matters: Choose fresh, high-quality dried beans for the best results. Avoid beans that are more than a year old, as they can become tough and take longer to cook.
- Sorting and Rinsing: Always take a few extra moments to sort through your beans, removing any small stones or damaged beans. A thorough rinse helps remove dust and any potential debris.
- Salt Timing: Add salt after cooking to prevent the beans from becoming tough. The salt can interfere with the beans' softening process if added before cooking.
- Natural Pressure Release: Allow the pressure to release naturally for the first 10 minutes. This helps the beans continue cooking gently and prevents them from becoming mushy.
- Customization is Key: Feel free to experiment with additional flavor enhancers like bay leaves, herbs, or a piece of kombu seaweed to add depth to your beans.
- Storage Tip: Cooked beans can be stored in the refrigerator for up to 5 days or frozen for up to 3 months, making them a convenient meal prep option.
- Adjusting for Bean Types: Cooking times may vary slightly depending on the type of beans. Smaller beans like black beans might cook faster, while larger beans like kidney beans might need a few extra minutes.
Nutrition Facts
Calories: 114kcal
Carbohydrates: 25g
Protein: 8g
Fat: g
Saturated Fat: 0g
Cholesterol: 0mg