Imagine capturing the essence of summer's most luscious fruit in a jar of pure, vibrant cherry pie filling that will transform your desserts from ordinary to extraordinary! This classic American recipe is not just a cooking method, but a culinary journey that brings the sweet, tangy magic of fresh cherries right into your kitchen. Whether you're a baking enthusiast or a home cook looking to elevate your dessert game, this cherry pie filling will become your new secret weapon for creating mouthwatering treats that will have everyone asking for your recipe.
Prep Time: 15 mins
Cook Time: 30 mins
Total Time: 45 mins
Cuisine: American
Serves: 6 jars
Ingredients
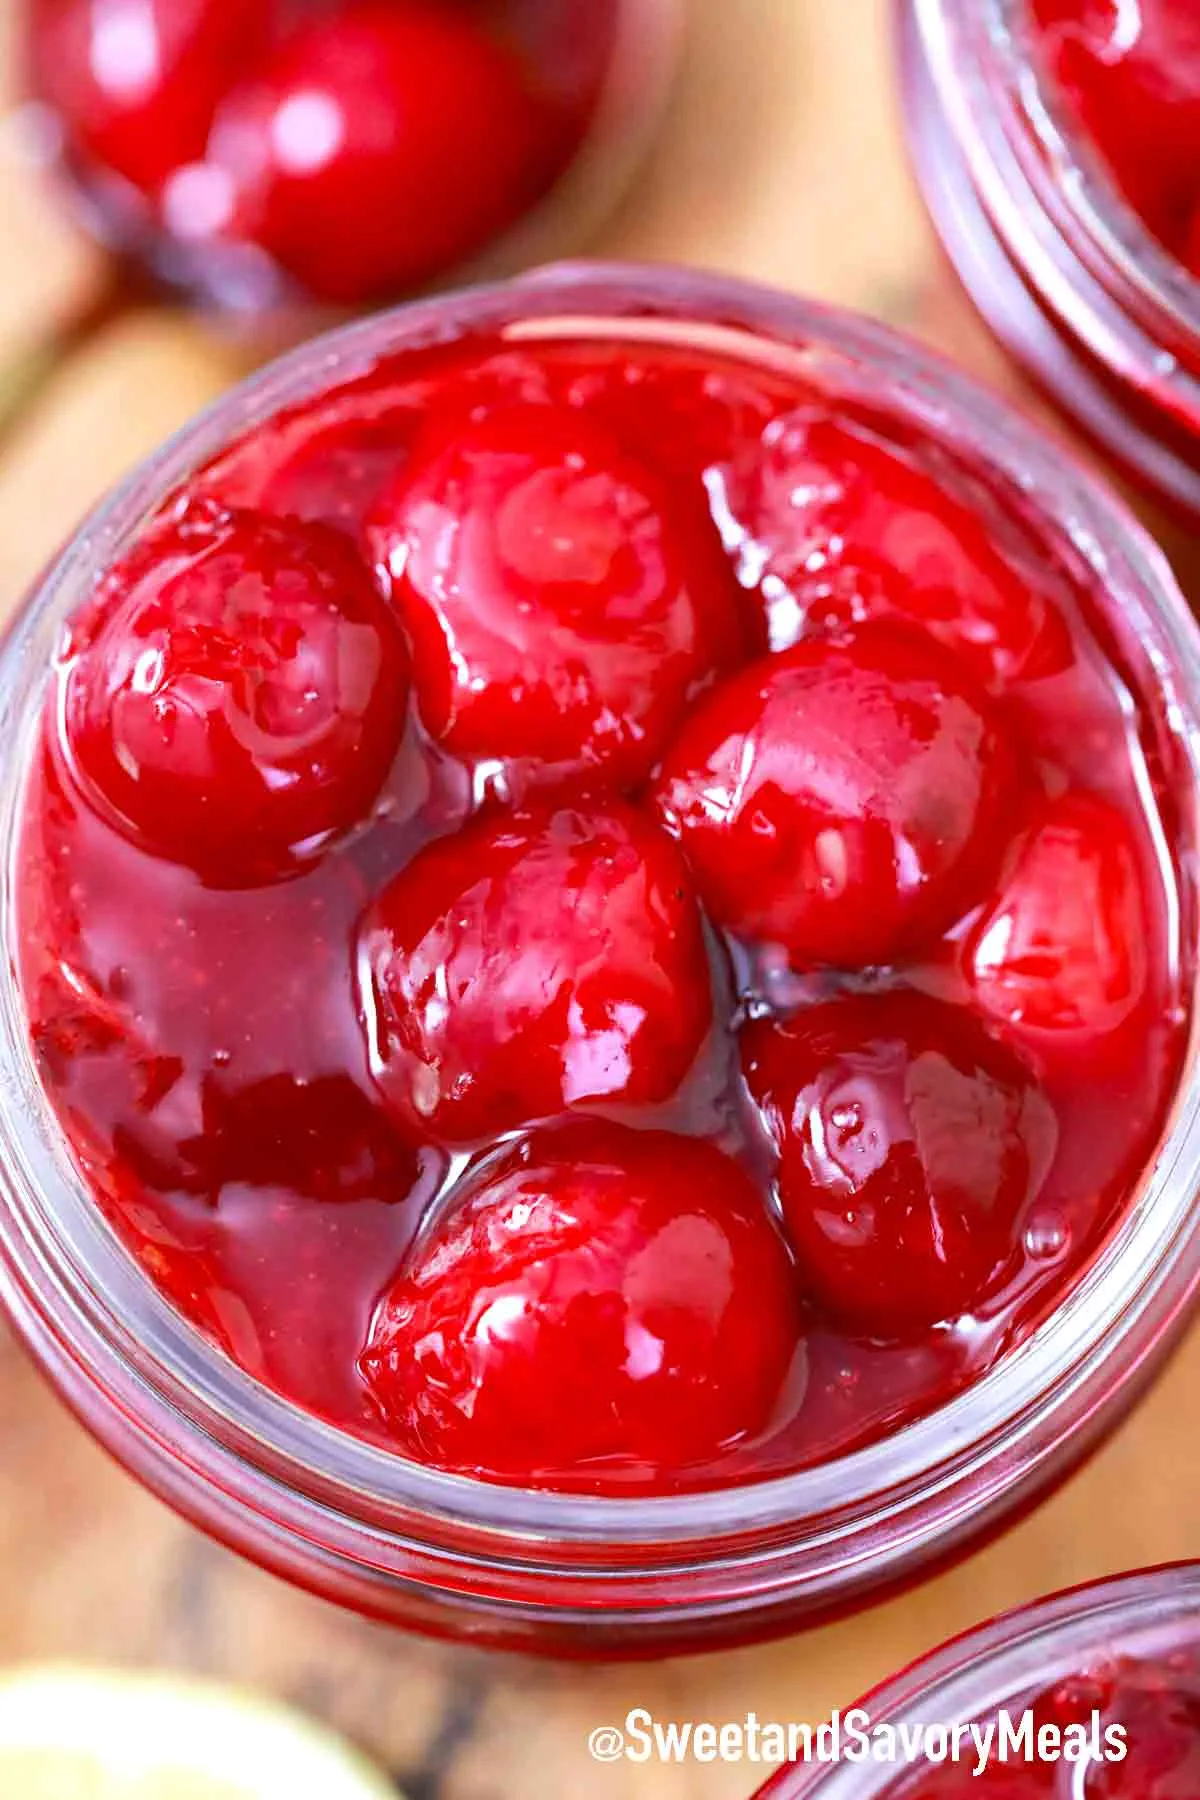
- 6 cups pitted cherries
- 2 cups sugar
- 1/4 cup cornstarch
- 1/4 teaspoon salt
- 1 tablespoon lemon juice
Instructions
- Begin by preparing your cherries. If you haven't done so already, wash the cherries thoroughly under cold water. Remove the stems and pits, then place the pitted cherries in a large mixing bowl. You should have about 6 cups of cherries once pitted.
- In a separate bowl, combine the sugar, cornstarch, and salt. Mix these dry ingredients together until they are well blended. This mixture will help thicken the cherry filling as it cooks.
- Pour the dry mixture over the pitted cherries in the mixing bowl. Add the tablespoon of lemon juice to the bowl as well. Gently toss the cherries with the sugar mixture until all the cherries are evenly coated. This will enhance the flavor and ensure even sweetness.
- Transfer the cherry mixture into a large saucepan. Place the saucepan over medium heat and stir the mixture occasionally. As the cherries heat up, they will release their juices, and the sugar will begin to dissolve.
- Continue cooking the cherry mixture for about 10 minutes, stirring frequently. You want to bring the mixture to a gentle simmer. As it heats, the cornstarch will start to activate and thicken the filling.
- Once the mixture is simmering, reduce the heat to low and let it cook for an additional 15-20 minutes. Stir regularly to prevent sticking and ensure even cooking. The filling should become thick and glossy, with the cherries softening but still holding their shape.
- After cooking, remove the saucepan from the heat. Allow the cherry filling to cool for a few minutes. It will continue to thicken as it cools.
- While the filling is cooling, prepare your jars for canning. Make sure they are clean and sterilized. You can do this by placing them in boiling water for a few minutes or running them through a dishwasher cycle.
- Once the cherry filling has cooled slightly, ladle it into the prepared jars, leaving about 1/2 inch of headspace at the top of each jar. Wipe the rims of the jars with a clean cloth to remove any residue.
- Seal the jars with lids and process them in a water bath canner for 10 minutes to ensure they are properly sealed. Follow the manufacturer's instructions for your canner to ensure safety and effectiveness.
- After processing, carefully remove the jars from the canner and let them cool on a clean kitchen towel or cooling rack. You should hear the satisfying "pop" of the lids sealing as they cool.
- Once completely cooled, check the seals on the jars. If the lid is depressed and does not pop back when pressed, the jar has sealed properly. Store sealed jars in a cool, dark place. Your cherry pie filling is now ready to use for pies, tarts, or other delicious desserts!
Tips
- Choose the Right Cherries: Use fresh, ripe cherries for the best flavor. Sweet cherries like Bing or sour cherries like Montmorency both work wonderfully.
- Pitting Perfection: Invest in a cherry pitter to make the process faster and cleaner. If you don't have one, a paperclip or small knife can work in a pinch.
- Cornstarch Consistency: Mix cornstarch with sugar before adding to cherries to prevent clumping and ensure smooth thickening.
- Lemon Juice Magic: The lemon juice not only adds a bright flavor but helps preserve the vibrant color of the cherries.
- Slow and Steady Wins: Cook the filling on medium-low heat to prevent burning and allow proper thickening.
- Cooling is Crucial: Let the filling cool naturally; it will continue to thicken as it reaches room temperature.
- Sterilization Matters: Always use clean, sterilized jars to ensure your pie filling stays fresh and safe for storage.
- Storage Tip: Properly sealed jars can be stored in a cool, dark place for up to a year, making this a perfect batch cooking recipe!
Nutrition Facts
Calories: 180kcal
Carbohydrates: 46g
Protein: 1g
Fat: g
Saturated Fat: 0g
Cholesterol: 0mg