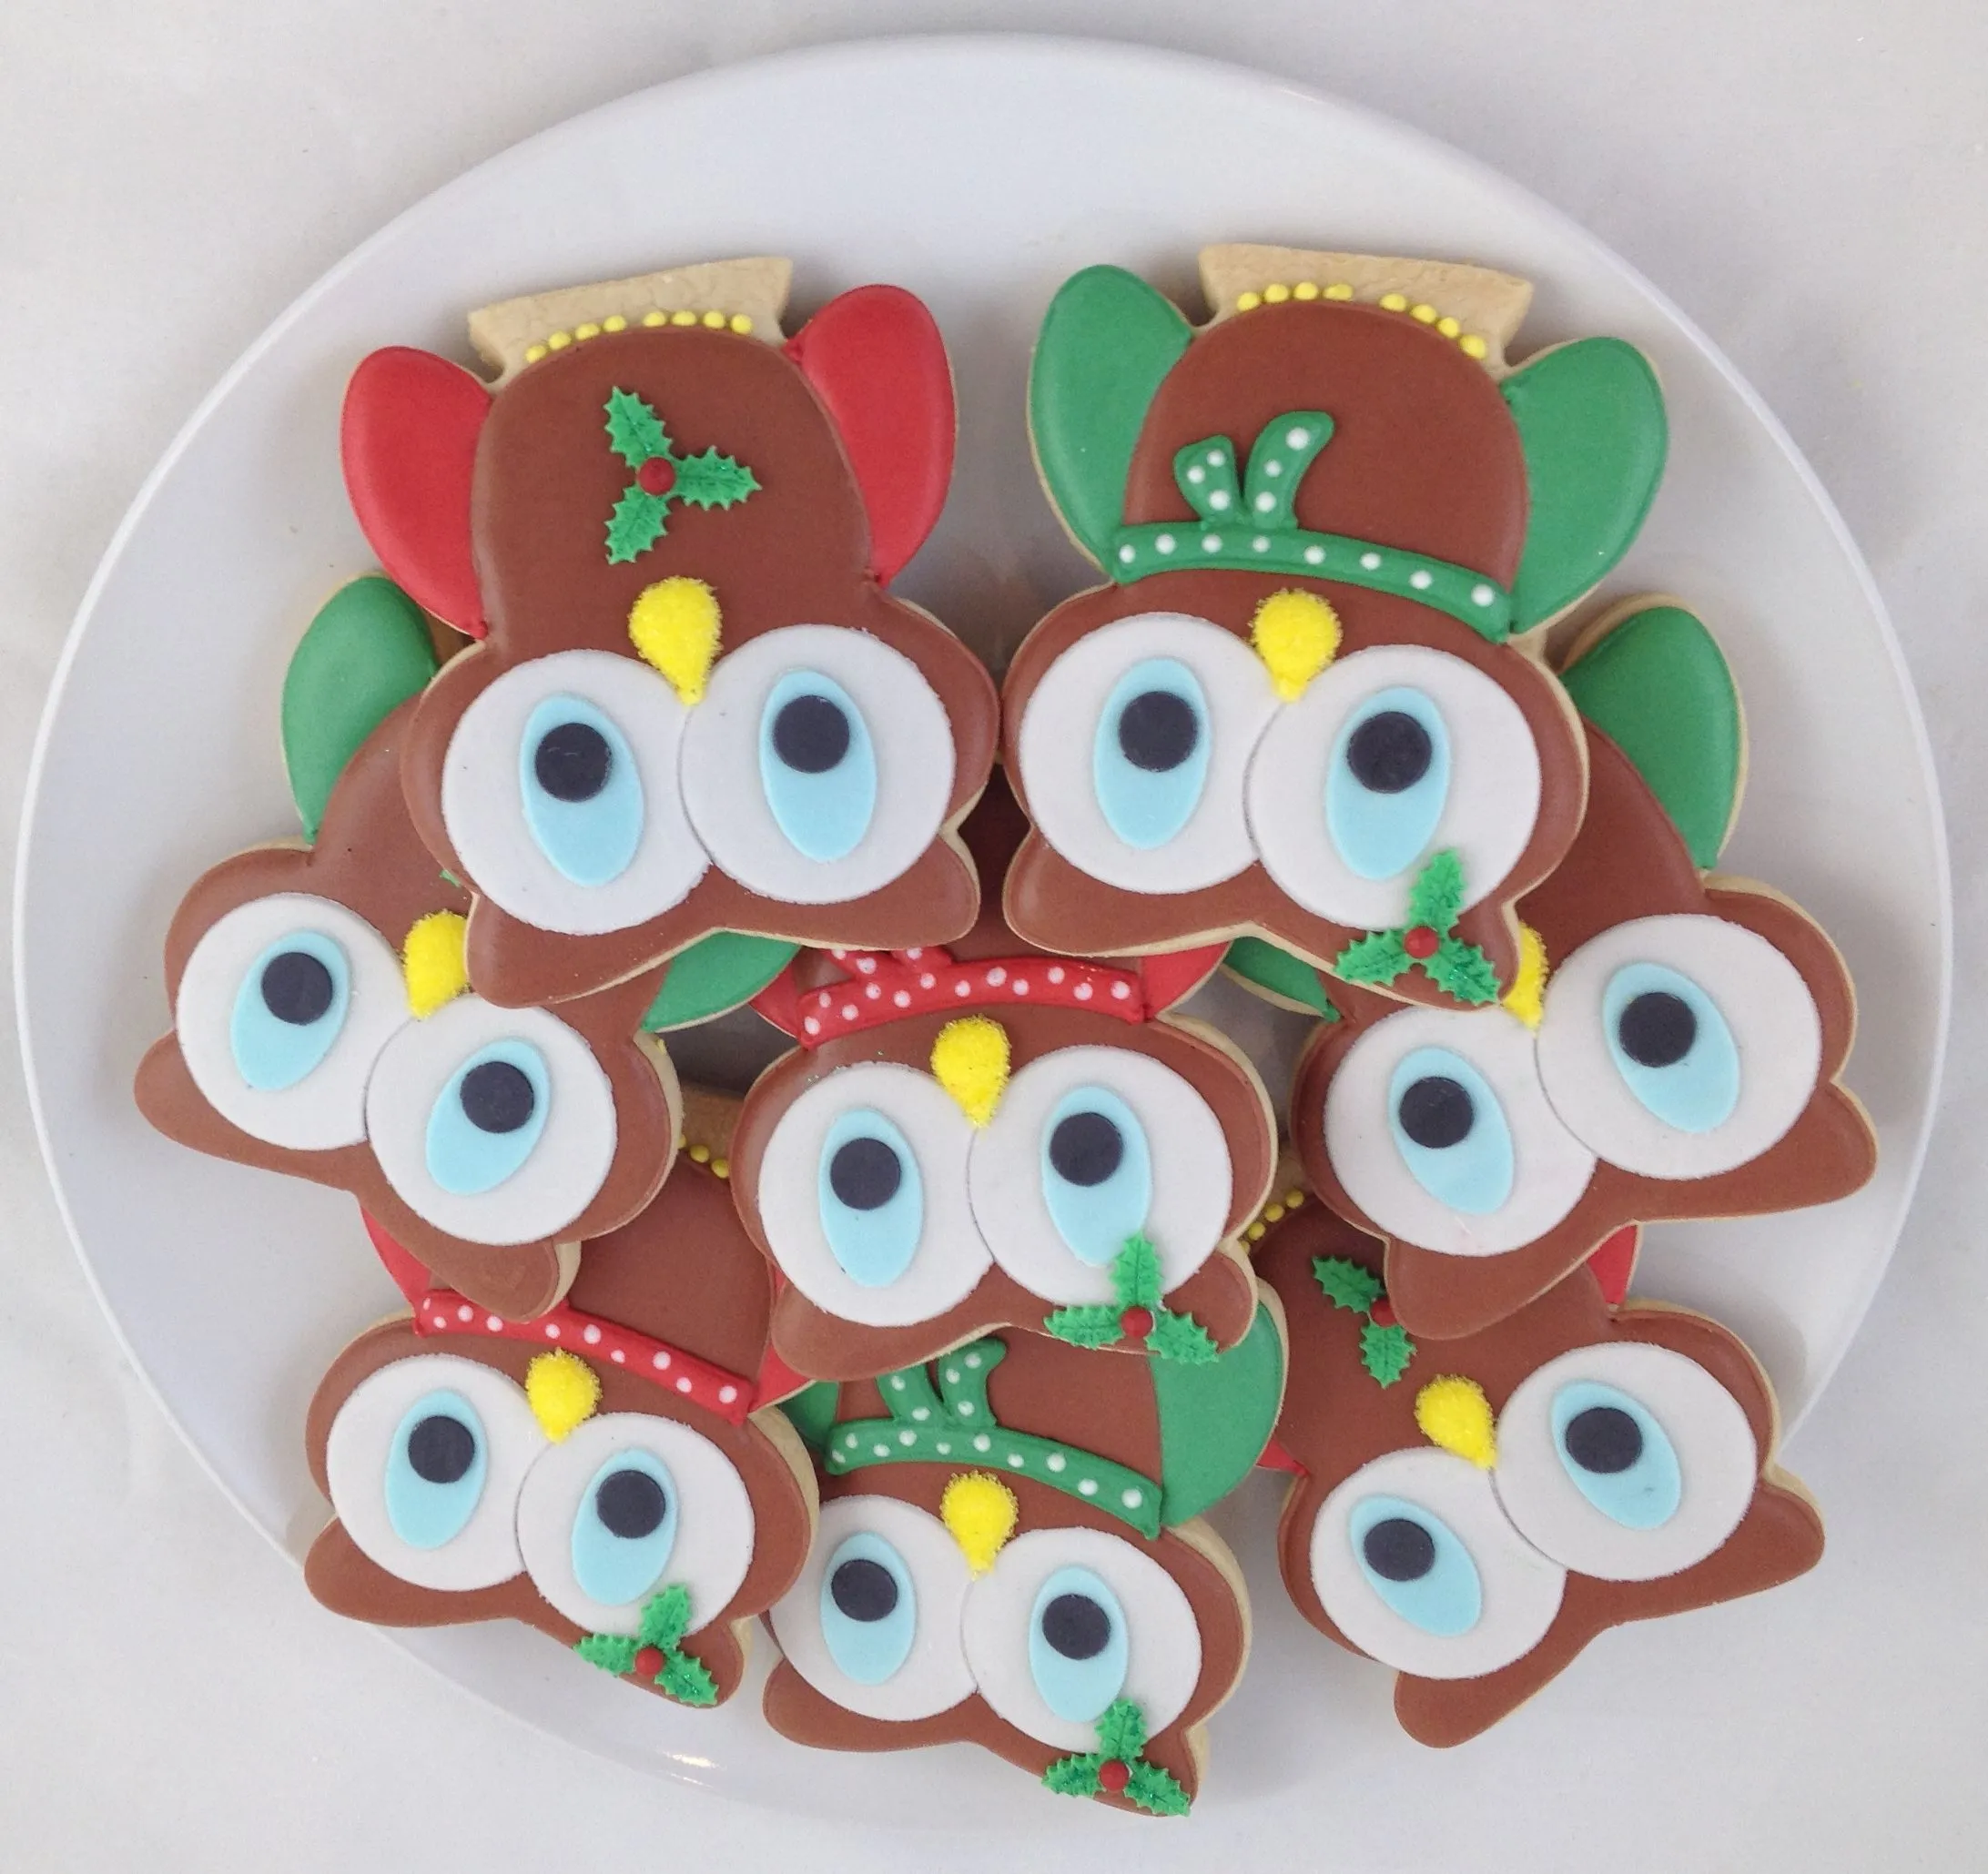
Imagine creating adorable owl-shaped cookies that are not just delicious treats, but edible works of art that will make your holiday gatherings unforgettable! These charming Christmas Woodland Owl Cookies are more than just a recipe – they're a magical baking experience that transforms simple ingredients into whimsical woodland creatures that will delight both children and adults. With their intricate decorations and irresistible flavor, these cookies are guaranteed to become the star of your holiday dessert table and create lasting memories.
Prep Time: 25 mins
Cook Time: 15 mins
Total Time: 40 mins
Cuisine: American
Serves: 24 cookies
Ingredients
- 2 cups all-purpose flour
- 1/2 cup butter, softened
- 1 cup brown sugar
- 1 egg
- 1 teaspoon baking powder
- Decorative candies (for eyes and feathers)
- Royal icing
Instructions
- Prepare your workspace by preheating the oven to 350°F (175°C) and lining two baking sheets with parchment paper.
- In a medium mixing bowl, cream together the softened butter and brown sugar until light and fluffy, using an electric mixer on medium speed for about 3-4 minutes.
- Add the egg to the butter-sugar mixture and mix until fully incorporated, scraping down the sides of the bowl to ensure even mixing.
- In a separate bowl, whisk together the all-purpose flour and baking powder to ensure even distribution of the leavening agent.
- Gradually add the dry ingredients to the wet mixture, mixing on low speed until a soft cookie dough forms. Be careful not to overmix.
- Chill the dough in the refrigerator for 15-20 minutes to make it easier to handle and shape.
- On a lightly floured surface, roll out the dough to approximately 1/4 inch thickness.
- Use an owl-shaped cookie cutter or create a template to cut out owl shapes from the rolled dough.
- Carefully transfer the owl-shaped cookies to the prepared baking sheets, leaving about 1 inch of space between each cookie.
- Bake in the preheated oven for 12-15 minutes, or until the edges are lightly golden brown.
- Remove from the oven and let the cookies cool on the baking sheet for 5 minutes before transferring to a wire rack to cool completely.
- Once cooled, prepare royal icing in different colors for decorating.
- Use round candies or royal icing to create large owl eyes, adding details like feather textures with piped icing.
- Add additional decorative elements like small candy accents or intricate icing patterns to create a woodland theme.
- Allow the decorated cookies to dry completely before storing in an airtight container.
Tips
- Chill the dough thoroughly to prevent spreading and maintain the owl shape during baking.
- Use a sharp, clean cookie cutter for precise owl outlines.
- Let cookies cool completely before decorating to ensure crisp, clean icing details.
- Use royal icing in varying consistencies for different decorative techniques.
- Invest in small piping bags or squeeze bottles for intricate eye and feather designs.
- Work on a cool, dry surface when decorating to prevent icing from running.
- Allow decorated cookies to dry completely (24 hours recommended) for the most professional finish.
- Store in a single layer with parchment paper between cookies to preserve delicate decorations.
Nutrition Facts
Calories: 120kcal
Carbohydrates: 18g
Protein: g
Fat: 5g
Saturated Fat: 3g
Cholesterol: 15mg