Imagine sinking your teeth into a perfectly golden, crispy bread bowl that's not just a vessel for your favorite soup, but a culinary masterpiece in its own right. These homemade bread bowls are about to transform your dining experience from ordinary to extraordinary! Forget store-bought options - you're about to learn how to create restaurant-quality bread bowls that will impress your family and friends with minimal effort and maximum flavor.
Prep Time: 20 mins
Cook Time: 25 mins
Total Time: 45 mins
Cuisine: American
Serves: 4 servings
Ingredients
- 2 cups all-purpose flour
- 1 cup whole wheat flour
- 1 tablespoon sugar
- 1 teaspoon salt
- 1 packet active dry yeast
- 1 cup warm water
- 1 tablespoon olive oil
Instructions
- In a large mixing bowl, combine the all-purpose flour, whole wheat flour, sugar, and salt. Mix thoroughly to distribute ingredients evenly.
- In a separate small bowl, dissolve the active dry yeast in warm water (approximately 110°F). Let it sit for 5-7 minutes until the mixture becomes foamy and activated.
- Create a well in the center of the dry ingredients and pour in the yeast mixture and olive oil. Stir with a wooden spoon until the ingredients begin to come together.
- Turn the dough out onto a lightly floured surface and knead for 8-10 minutes. The dough should become smooth, elastic, and slightly tacky but not sticky.
- Place the kneaded dough in a lightly oiled bowl, cover with a clean kitchen towel, and let rise in a warm, draft-free area for about 1 hour or until the dough has doubled in size.
- Punch down the risen dough and divide it into 4 equal portions. Shape each portion into a round ball, tucking the edges underneath to create a smooth surface.
- Place the dough balls on a baking sheet lined with parchment paper, leaving space between each. Cover and let rise for an additional 30 minutes.
- Preheat the oven to 425°F. Using a sharp knife, make a few shallow cuts on the top of each bread bowl to allow steam to escape.
- Bake the bread bowls for 20-25 minutes, or until they are golden brown and sound hollow when tapped on the bottom.
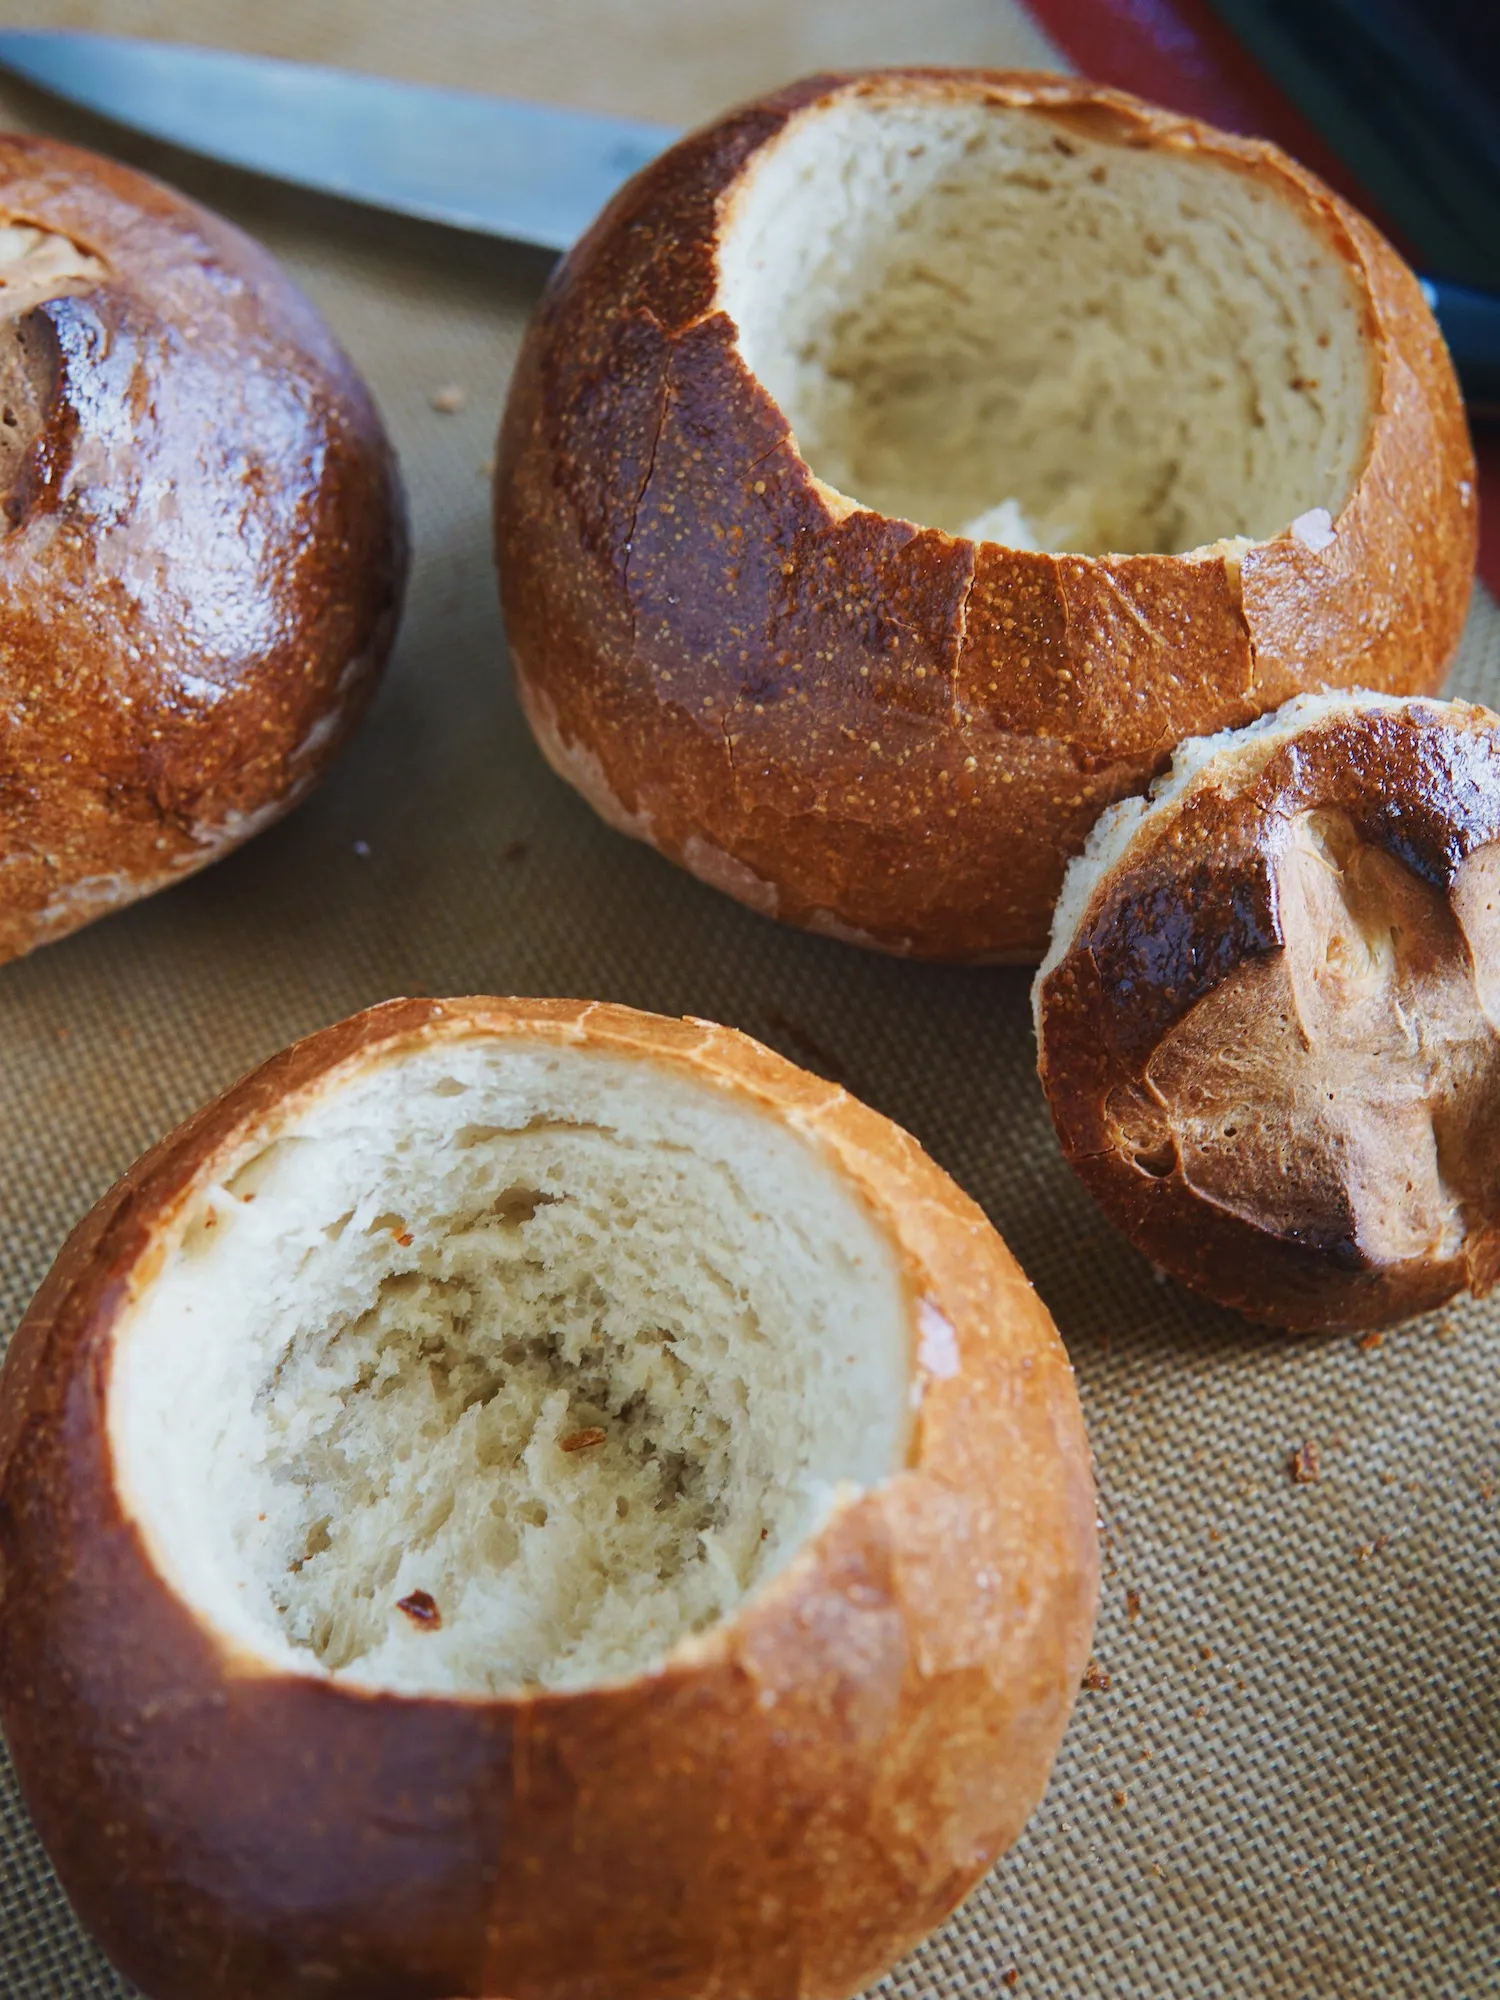
- Remove from the oven and let cool for 10-15 minutes. Using a serrated knife, cut off the top and hollow out the center to create a bowl shape.
- Serve warm with your favorite soup, stew, or dip. The bread bowls can be stored in an airtight container for up to 2 days.
Tips
- Water Temperature is Crucial: Ensure your water is precisely between 105-110°F when activating the yeast. Too hot, and you'll kill the yeast; too cool, and it won't activate properly.
- Kneading Technique Matters: When kneading, use the heel of your hand to push and fold the dough. This develops the gluten and creates that perfect, elastic texture.
- Rising Environment: Choose a warm, draft-free spot for rising - near a preheating oven or in a slightly warm (not hot) area works best.
- Scoring Matters: Those shallow cuts on top aren't just decorative - they help steam escape and create a beautiful, professional-looking crust.
- Cooling is Key: Let the bread bowls cool slightly before cutting and hollowing out to prevent crushing the delicate interior.
- Storage Hack: If not serving immediately, wrap cooled bread bowls in foil to maintain freshness and reheat briefly before serving.Pro Tip: These versatile bread bowls aren't just for soup - try filling them with creamy dips, chili, or even a hearty breakfast scramble for a show-stopping meal!
Nutrition Facts
Calories: 220kcal
Carbohydrates: 42g
Protein: 6g
Fat: g
Saturated Fat: g
Cholesterol: 0mg