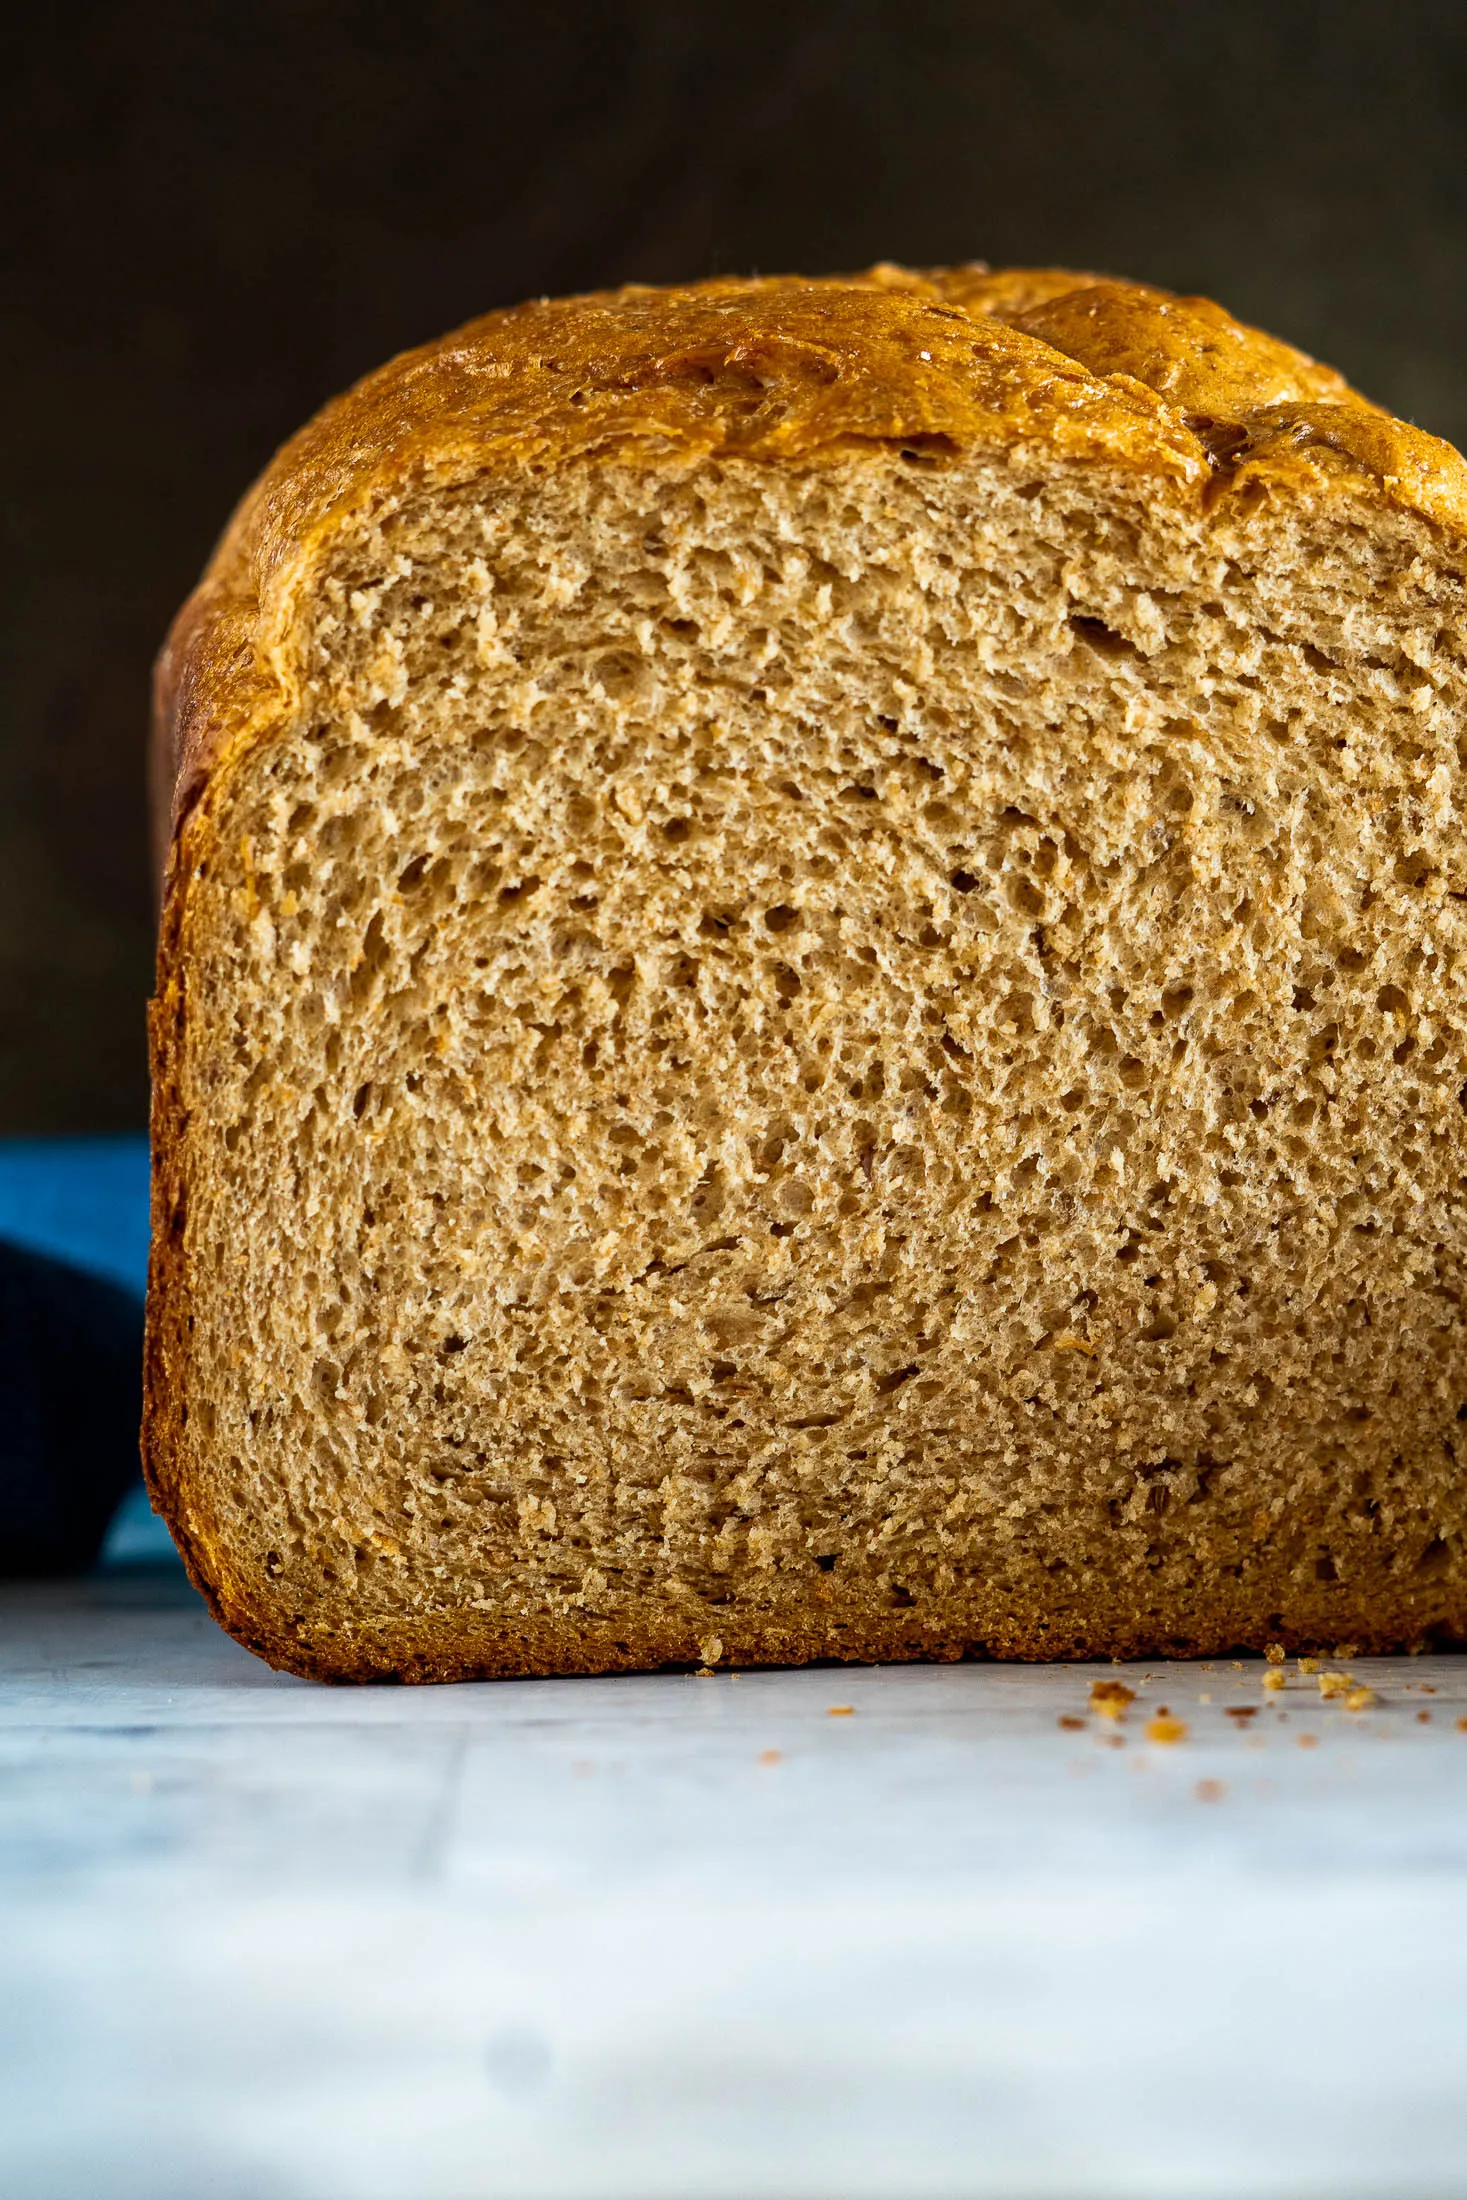
Imagine sinking your teeth into a slice of bread so rich, nutritious, and flavorful that it redefines your entire bread-eating experience. This Daks Rye Oat Bran Bread isn't just another recipe – it's a game-changing culinary creation that combines the robust earthiness of rye flour with the nutty, wholesome goodness of oat bran. Perfect for health-conscious foodies and bread lovers alike, this bread machine recipe promises to deliver a homemade loaf that's both incredibly delicious and packed with nutritional benefits.
Prep Time: 10 mins
Cook Time: 3 hrs
Total Time: 3 hrs 10 mins
Cuisine: American
Serves: 1 loaf
Ingredients
- 2 cups rye flour
- 1 cup oat bran
- 1 1/2 cups water
- 2 tbsp honey
- 1 tbsp salt
- 2 tbsp olive oil
- 2 tsp active dry yeast
Instructions
- Gather all ingredients and ensure they are at room temperature. Measure each ingredient precisely using standard measuring cups and spoons.
- Add water to the bread machine pan first, ensuring the water is lukewarm (approximately 110°F) to activate the yeast effectively.
- Pour olive oil and honey into the bread machine pan, distributing evenly over the water.
- In a separate mixing bowl, combine rye flour, oat bran, and salt. Whisk dry ingredients together to ensure even distribution.
- Carefully add the mixed dry ingredients on top of the liquid ingredients in the bread machine pan, creating a slight well in the center.
- Sprinkle active dry yeast into the well, ensuring it does not directly contact the liquid or salt.
- Select the whole wheat or multigrain setting on your bread machine, typically with a medium crust color preference.
- Close the bread machine lid and start the baking cycle. Allow the machine to complete the entire mixing, kneading, rising, and baking process.
- Once the baking cycle completes, use oven mitts to carefully remove the bread pan from the machine.
- Gently turn the bread out onto a wire cooling rack and let it cool completely for approximately 1 hour before slicing.
- Store the bread in an airtight container or bread box to maintain freshness for 3-4 days.
Tips
- Temperature is Key: Ensure your water is precisely lukewarm (around 110°F) to activate the yeast without killing it. Use a kitchen thermometer for accuracy.
- Ingredient Layering Matters: Always add liquids first, followed by dry ingredients, with yeast as the final top layer to prevent premature activation.
- Freshness Check: Use fresh, unexpired yeast to guarantee proper rising and texture.
- Measuring Precision: Use standard measuring cups and level off ingredients for consistent results every time.
- Cooling is Crucial: Allow the bread to cool completely before slicing to prevent a gummy texture and help it set properly.
- Storage Hack: Wrap the cooled bread in a clean kitchen towel or store in an airtight container to maintain moisture and freshness.
- Experiment Safely: Once you're comfortable with the base recipe, try adding seeds, nuts, or dried fruits for extra flavor and nutrition.
Nutrition Facts
Calories: 88kcal
Carbohydrates: g
Protein: g
Fat: 3g
Saturated Fat: g
Cholesterol: 0mg