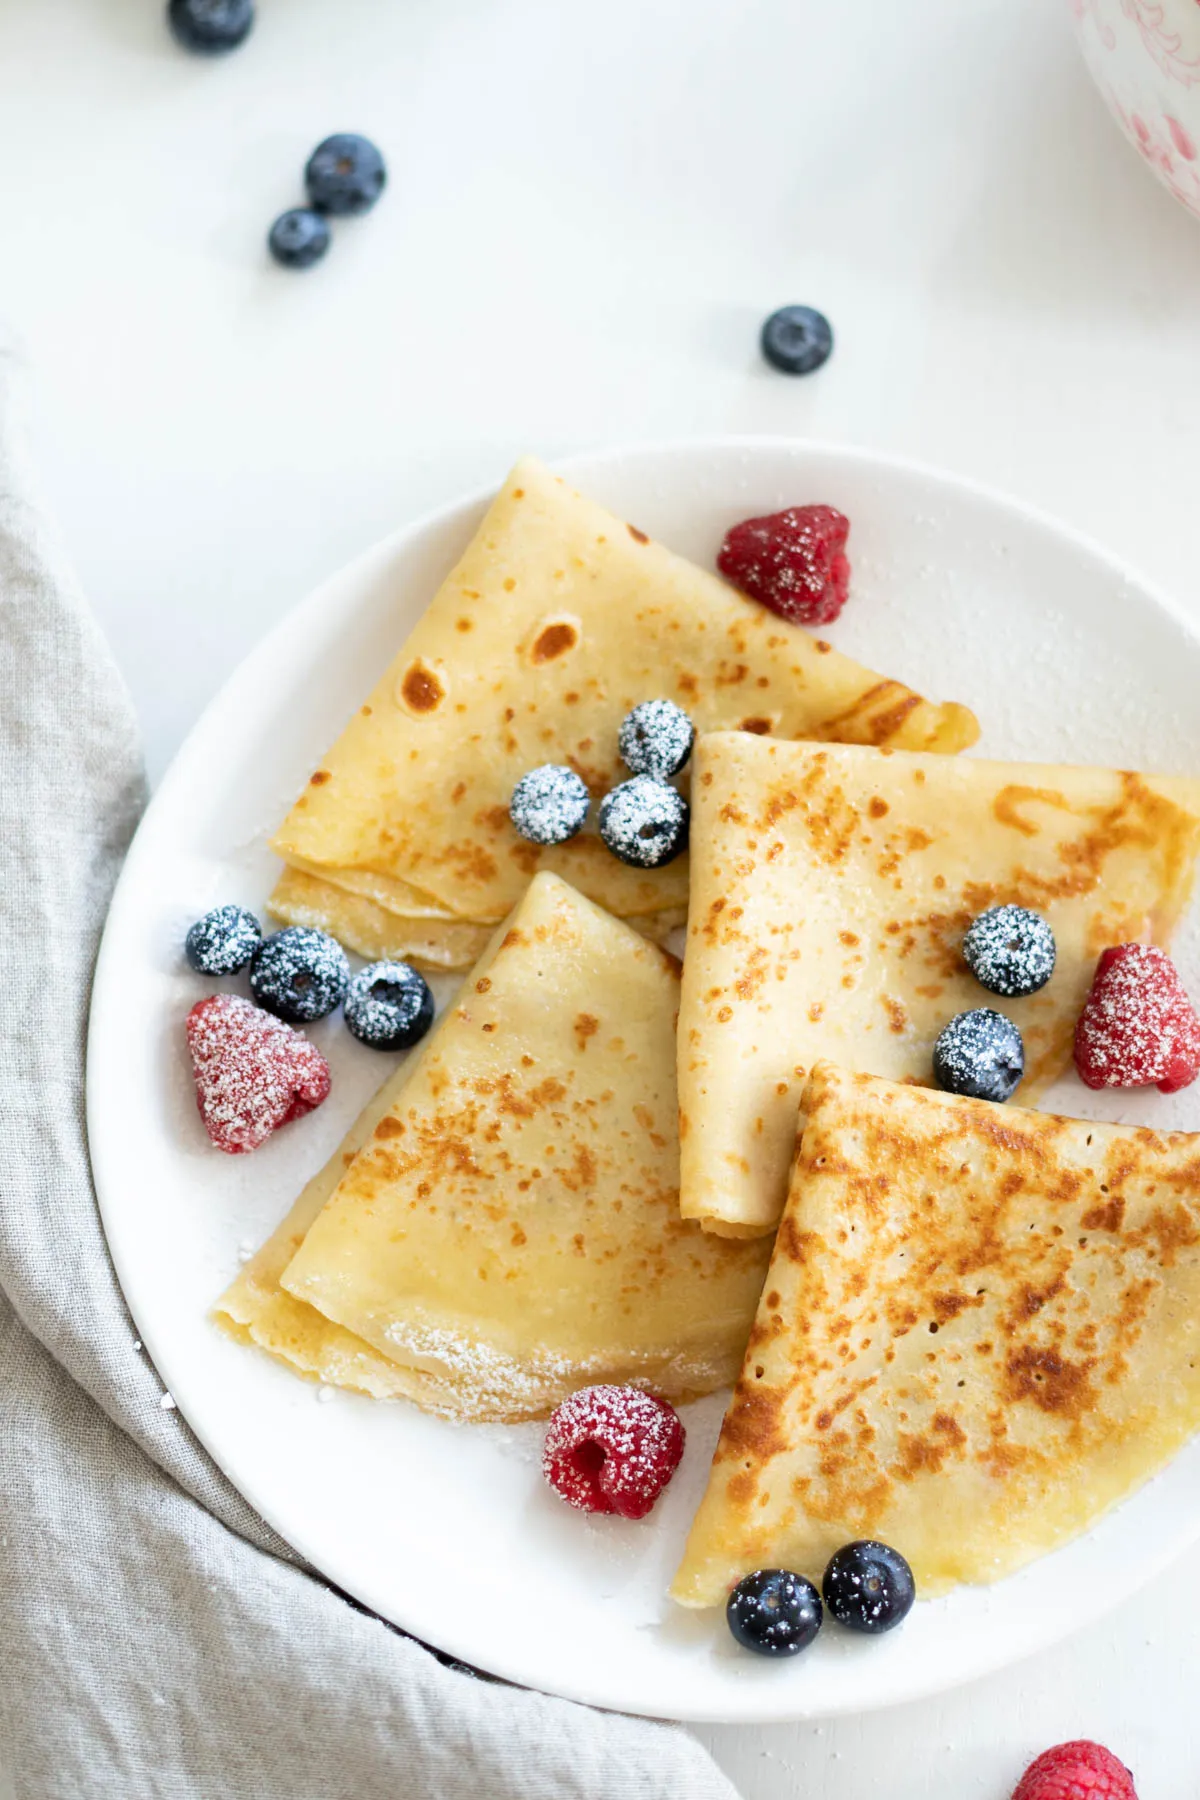
Indulge in the delightful world of Russian cuisine with our Easiest Delicious Russian Crepes Blini! These thin, delicate pancakes are not only a staple in Russian households but also a versatile dish that can be enjoyed sweet or savory. Imagine flipping golden blini that are perfect for breakfast, brunch, or even as a fancy appetizer at your next gathering. With just a few simple ingredients and 35 minutes of your time, you can create a dish that will impress your family and friends. Ready to master the art of blini-making? Let’s dive into this easy recipe that will have everyone asking for seconds!
Prep Time: 15 mins
Cook Time: 20 mins
Total Time: 35 mins
Cuisine: Russian
Serves: 8 servings
Ingredients
- 1 cup all-purpose flour
- 2 cups milk
- 2 large eggs
- 1 tablespoon sugar
- 1/2 teaspoon salt
- 2 tablespoons melted butter
Instructions
- In a large mixing bowl, sift the all-purpose flour to remove any lumps and ensure a smooth batter.
- Create a well in the center of the flour and crack the two large eggs into it. Whisk the eggs gently to begin incorporating them with the flour.
- Gradually pour in the milk while continuously whisking to create a smooth, lump-free batter. The consistency should be similar to heavy cream.
- Add sugar, salt, and melted butter to the mixture. Whisk thoroughly until all ingredients are completely integrated.
- Let the batter rest at room temperature for 10-15 minutes. This allows the flour to fully absorb the liquid and helps create tender blini.
- Heat a non-stick skillet or traditional crepe pan over medium heat. Lightly grease the surface with butter or oil.
- Using a ladle or measuring cup, pour a small amount of batter (about 1/4 cup) into the center of the pan, quickly tilting and rotating the pan to spread the batter evenly and thinly.
- Cook each blini for approximately 1-2 minutes until the edges become golden and the surface looks dry.
- Carefully flip the blini using a thin spatula and cook the other side for an additional 30-45 seconds.
- Transfer the cooked blini to a plate and cover with a clean kitchen towel to keep warm and prevent drying.
- Repeat the cooking process with the remaining batter, adjusting heat as needed to prevent burning.
- Serve warm with traditional accompaniments like sour cream, caviar, smoked salmon, jam, or honey.
Tips
- Sift the Flour: Always sift your flour before mixing to ensure a smooth batter free of lumps. This step is crucial for achieving the perfect texture.
- Rest the Batter: Allowing your batter to rest for 10-15 minutes is key! This helps the flour absorb the liquid fully, resulting in tender and fluffy blini.
- Temperature Control: Make sure your skillet is at the right temperature—medium heat is ideal. Too hot, and your blini will burn; too cool, and they won’t cook properly.
- Use a Non-Stick Pan: A non-stick skillet or crepe pan is best for easy flipping. If you don’t have one, make sure to grease your pan lightly with butter or oil before each blin.
- Perfecting the Flip: Use a thin spatula to gently flip the blini. If you’re feeling adventurous, try flipping them in the air with a quick wrist motion!
- Serving Suggestions: Get creative with toppings! Traditional accompaniments like sour cream, caviar, or smoked salmon are fantastic, but don’t shy away from sweet options like jam or honey.
- Keep Them Warm: As you cook each blin, stack them on a plate and cover with a clean kitchen towel to keep them warm and moist until serving.
Nutrition Facts
Calories: 180kcal
Carbohydrates: 20g
Protein: 6g
Fat: 9g
Saturated Fat: 5g
Cholesterol: 65mg