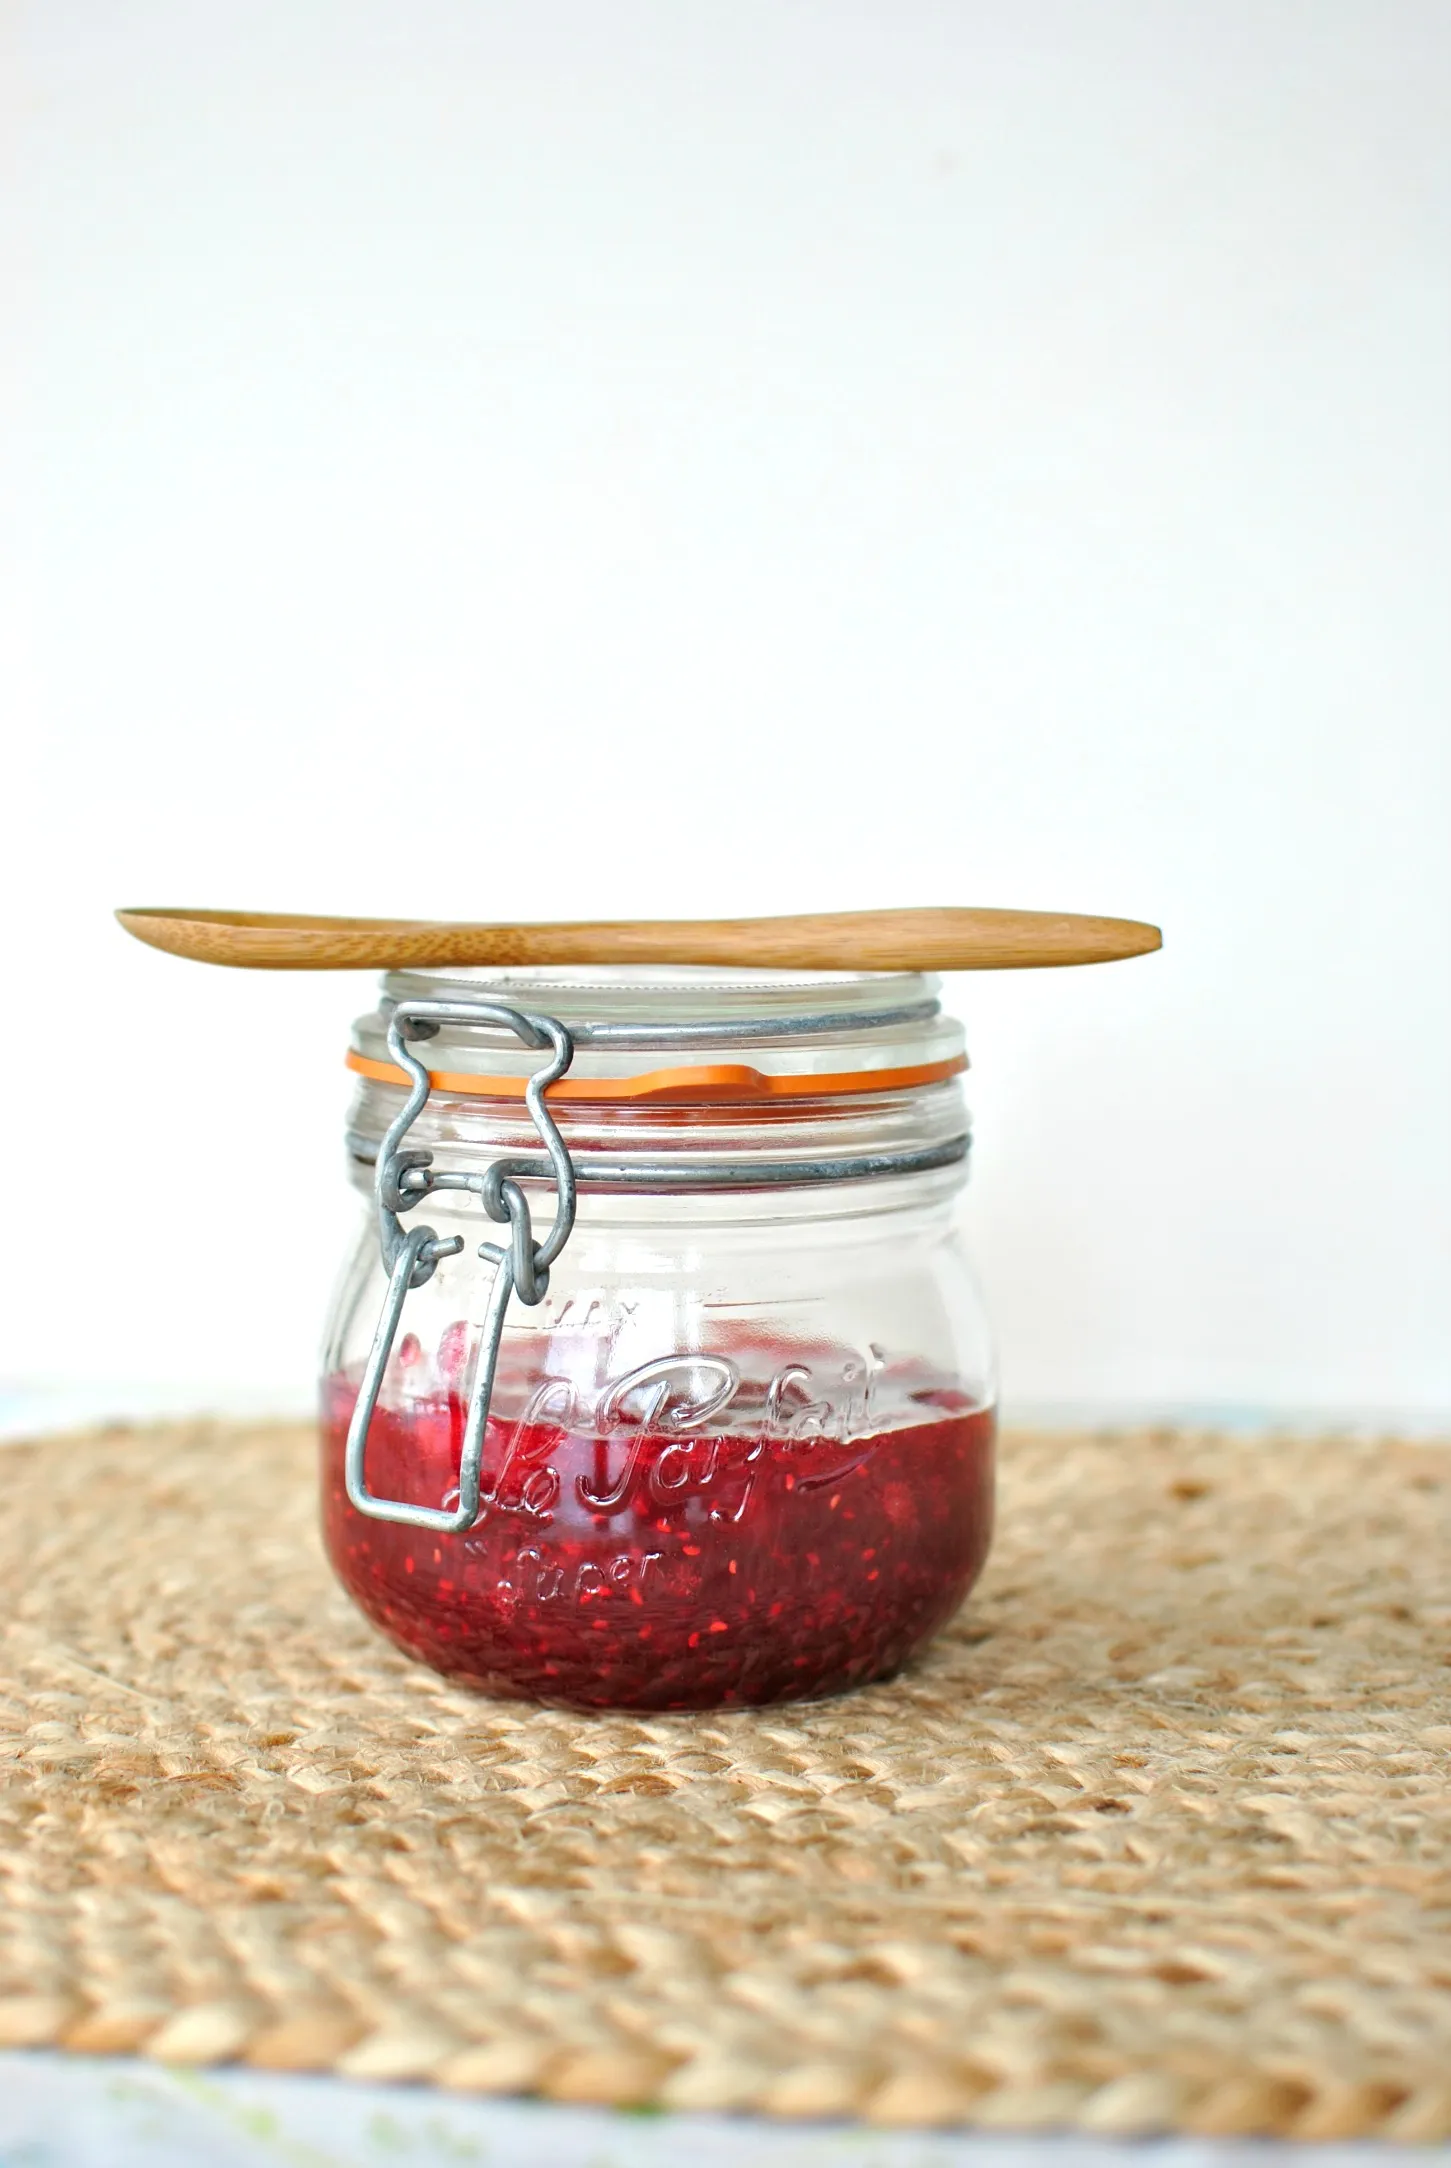
Are you ready to elevate your breakfast game and impress your friends with a homemade delight? Discover the joy of crafting your very own Easy Skillet Raspberry Jam! In just 20 minutes, you can transform fresh raspberries into a luscious, sweet-tart spread that will have everyone asking for seconds. Perfect for slathering on toast, drizzling over desserts, or simply enjoying by the spoonful, this simple recipe is a must-try for any kitchen enthusiast. Don’t miss out on this deliciously easy way to capture the taste of summer in a jar!
Prep Time: 5 mins
Cook Time: 15 mins
Total Time: 20 mins
Cuisine: American
Serves: 1 cup
Ingredients
- 2 cups fresh raspberries
- 1 cup sugar
- 1 tbsp lemon juice
- 1/2 tsp vanilla extract
Instructions
- Wash the fresh raspberries thoroughly under cool running water, gently patting them dry with paper towels to remove excess moisture.
- Select a heavy-bottomed skillet or wide saucepan that will allow the raspberries to spread evenly across the cooking surface.
- Place the raspberries into the skillet and use a potato masher or the back of a wooden spoon to gently crush the berries, releasing their natural juices.
- Add the sugar to the crushed raspberries, stirring to ensure the sugar is evenly distributed throughout the fruit.
- Pour in the lemon juice, which will help activate the pectin in the raspberries and assist with the jam's thickening process.
- Place the skillet over medium heat and bring the mixture to a gentle simmer, stirring constantly to prevent burning.
- Continue cooking and stirring for approximately 12-15 minutes, allowing the mixture to reduce and thicken to a jam-like consistency.
- To test jam readiness, perform the cold plate test by placing a small amount on a chilled plate. If the jam wrinkles when pushed with a finger, it's ready.
- Remove the skillet from heat and stir in the vanilla extract, which will enhance the raspberry flavor.
- Allow the jam to cool in the skillet for 5-10 minutes, during which it will continue to thicken.
- Transfer the jam to a clean glass jar or container, and let it cool completely at room temperature before sealing.
- Store the jam in the refrigerator for up to 2 weeks. Enjoy on toast, pastries, or as a dessert topping.
Tips
- Choose Fresh Berries: For the best flavor, select ripe, fresh raspberries. Look for plump, vibrant berries without any signs of mold or mushiness.
- Use a Heavy-Bottomed Skillet: A heavy-bottomed skillet helps distribute heat evenly, preventing the jam from burning while it cooks.
- Don’t Rush the Cooking: Allow the mixture to simmer gently. Stir frequently to ensure it thickens properly without sticking to the bottom of the pan.
- Cold Plate Test: To check if your jam is ready, use the cold plate test. Place a small dollop of jam on a chilled plate and push it with your finger. If it wrinkles, it’s time to remove it from the heat!
- Experiment with Flavor: Feel free to add a pinch of cinnamon or a splash of almond extract for a unique twist on the classic raspberry flavor.
- Storage Tips: Make sure to store your jam in an airtight container in the refrigerator, where it will stay fresh for up to two weeks.
- Serving Suggestions: Enjoy your homemade jam on toast, pancakes, or yogurt, or use it as a filling for pastries and desserts!
Nutrition Facts
Calories: 240kcal
Carbohydrates: 62g
Protein: 1g
Fat: 0g
Saturated Fat: 0g
Cholesterol: 0mg


