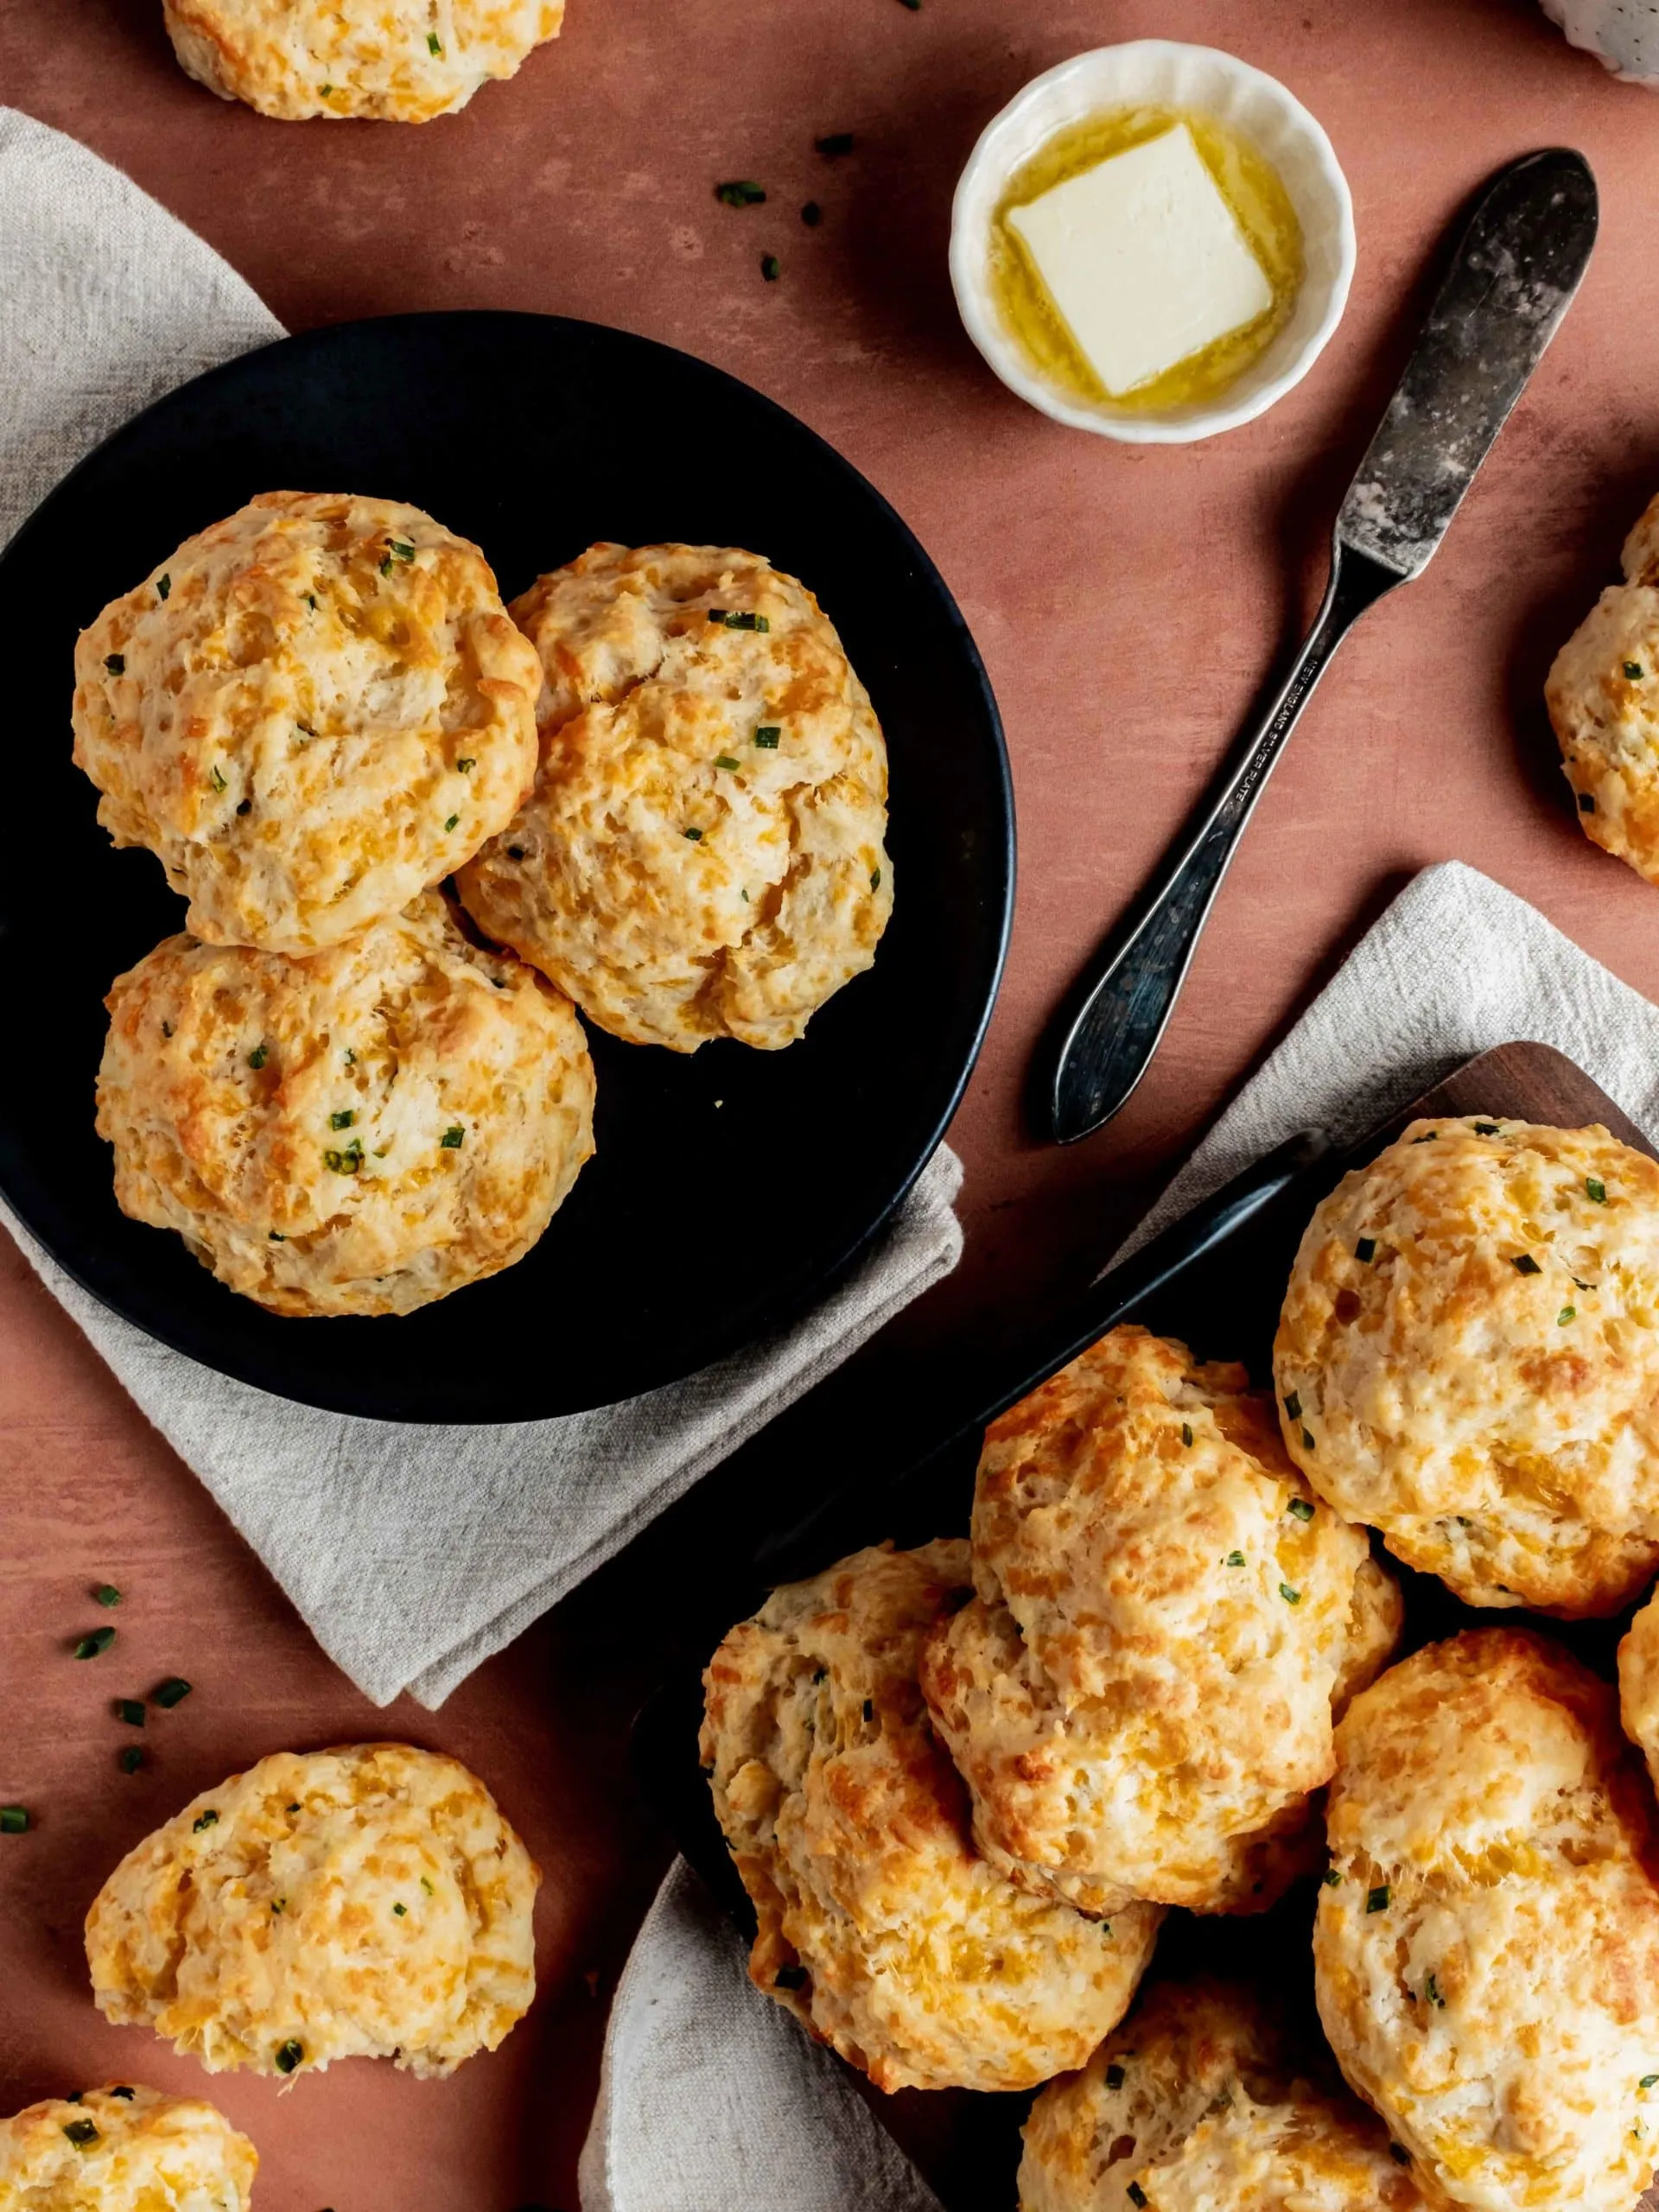
Get ready to elevate your baking game with the most mouthwatering, cheesy, and aromatic biscuits you've ever tasted! These Garlic Cheddar Chive Drop Biscuits are not just another side dish - they're a flavor explosion that will have your family and friends begging for more. Imagine warm, golden biscuits packed with sharp cheddar, fragrant garlic, and fresh chives, so easy to make that even novice bakers can create bakery-worthy results in just 25 minutes!
Prep Time: 10 mins
Cook Time: 15 mins
Total Time: 25 mins
Cuisine: American
Serves: 12 biscuits
Ingredients
- 2 cups all-purpose flour
- 1 tablespoon baking powder
- 1/2 teaspoon salt
- 1/4 cup cold butter, cubed
- 1 cup shredded cheddar cheese
- 1/4 cup chopped chives
- 3/4 cup milk
- 2 cloves garlic, minced
Instructions
- Preheat the oven to 425°F (218°C). Line a large baking sheet with parchment paper or lightly grease with cooking spray.
- In a large mixing bowl, whisk together the all-purpose flour, baking powder, and salt until well combined.
- Using a pastry cutter or your fingertips, cut the cold butter into the flour mixture until it resembles coarse crumbs with pea-sized butter pieces.
- Add the shredded cheddar cheese, minced garlic, and chopped chives to the flour mixture. Gently fold the ingredients together to distribute evenly.
- Pour in the cold milk and stir with a wooden spoon or spatula until just combined. Be careful not to overmix the dough, as this can make the biscuits tough.
- Using a large spoon or ice cream scoop, drop the biscuit dough onto the prepared baking sheet, spacing them about 2 inches apart. The dough should be slightly rustic and not perfectly shaped.
- Optional: Sprinkle a little extra shredded cheese and chopped chives on top of each biscuit for additional flavor and visual appeal.
- Bake in the preheated oven for 12-15 minutes, or until the biscuits are golden brown around the edges and the tops are lightly golden.
- Remove from the oven and let cool on the baking sheet for 2-3 minutes, then transfer to a wire rack.
- Serve warm as a side dish or breakfast accompaniment. These biscuits are best enjoyed fresh and can be stored in an airtight container for up to 2 days.
Tips
- Keep your butter and milk cold: This is the secret to achieving flaky, tender biscuits with perfect texture.
- Don't overwork the dough: Mix just until ingredients are combined. Overmixing can lead to tough, dense biscuits.
- Use a light hand when dropping: For rustic, beautiful biscuits, use an ice cream scoop or large spoon to create uneven, artisan-style drops.
- For extra flavor, consider brushing the tops with melted butter right after baking.
- These biscuits are most delicious when served warm, so time your baking to coincide with mealtime.
- If you want a bit more kick, add a pinch of cayenne pepper to the dry ingredients for a subtle heat.
Nutrition Facts
Calories: 180kcal
Carbohydrates: 15g
Protein: 6g
Fat: 11g
Saturated Fat: 7g
Cholesterol: 30mg