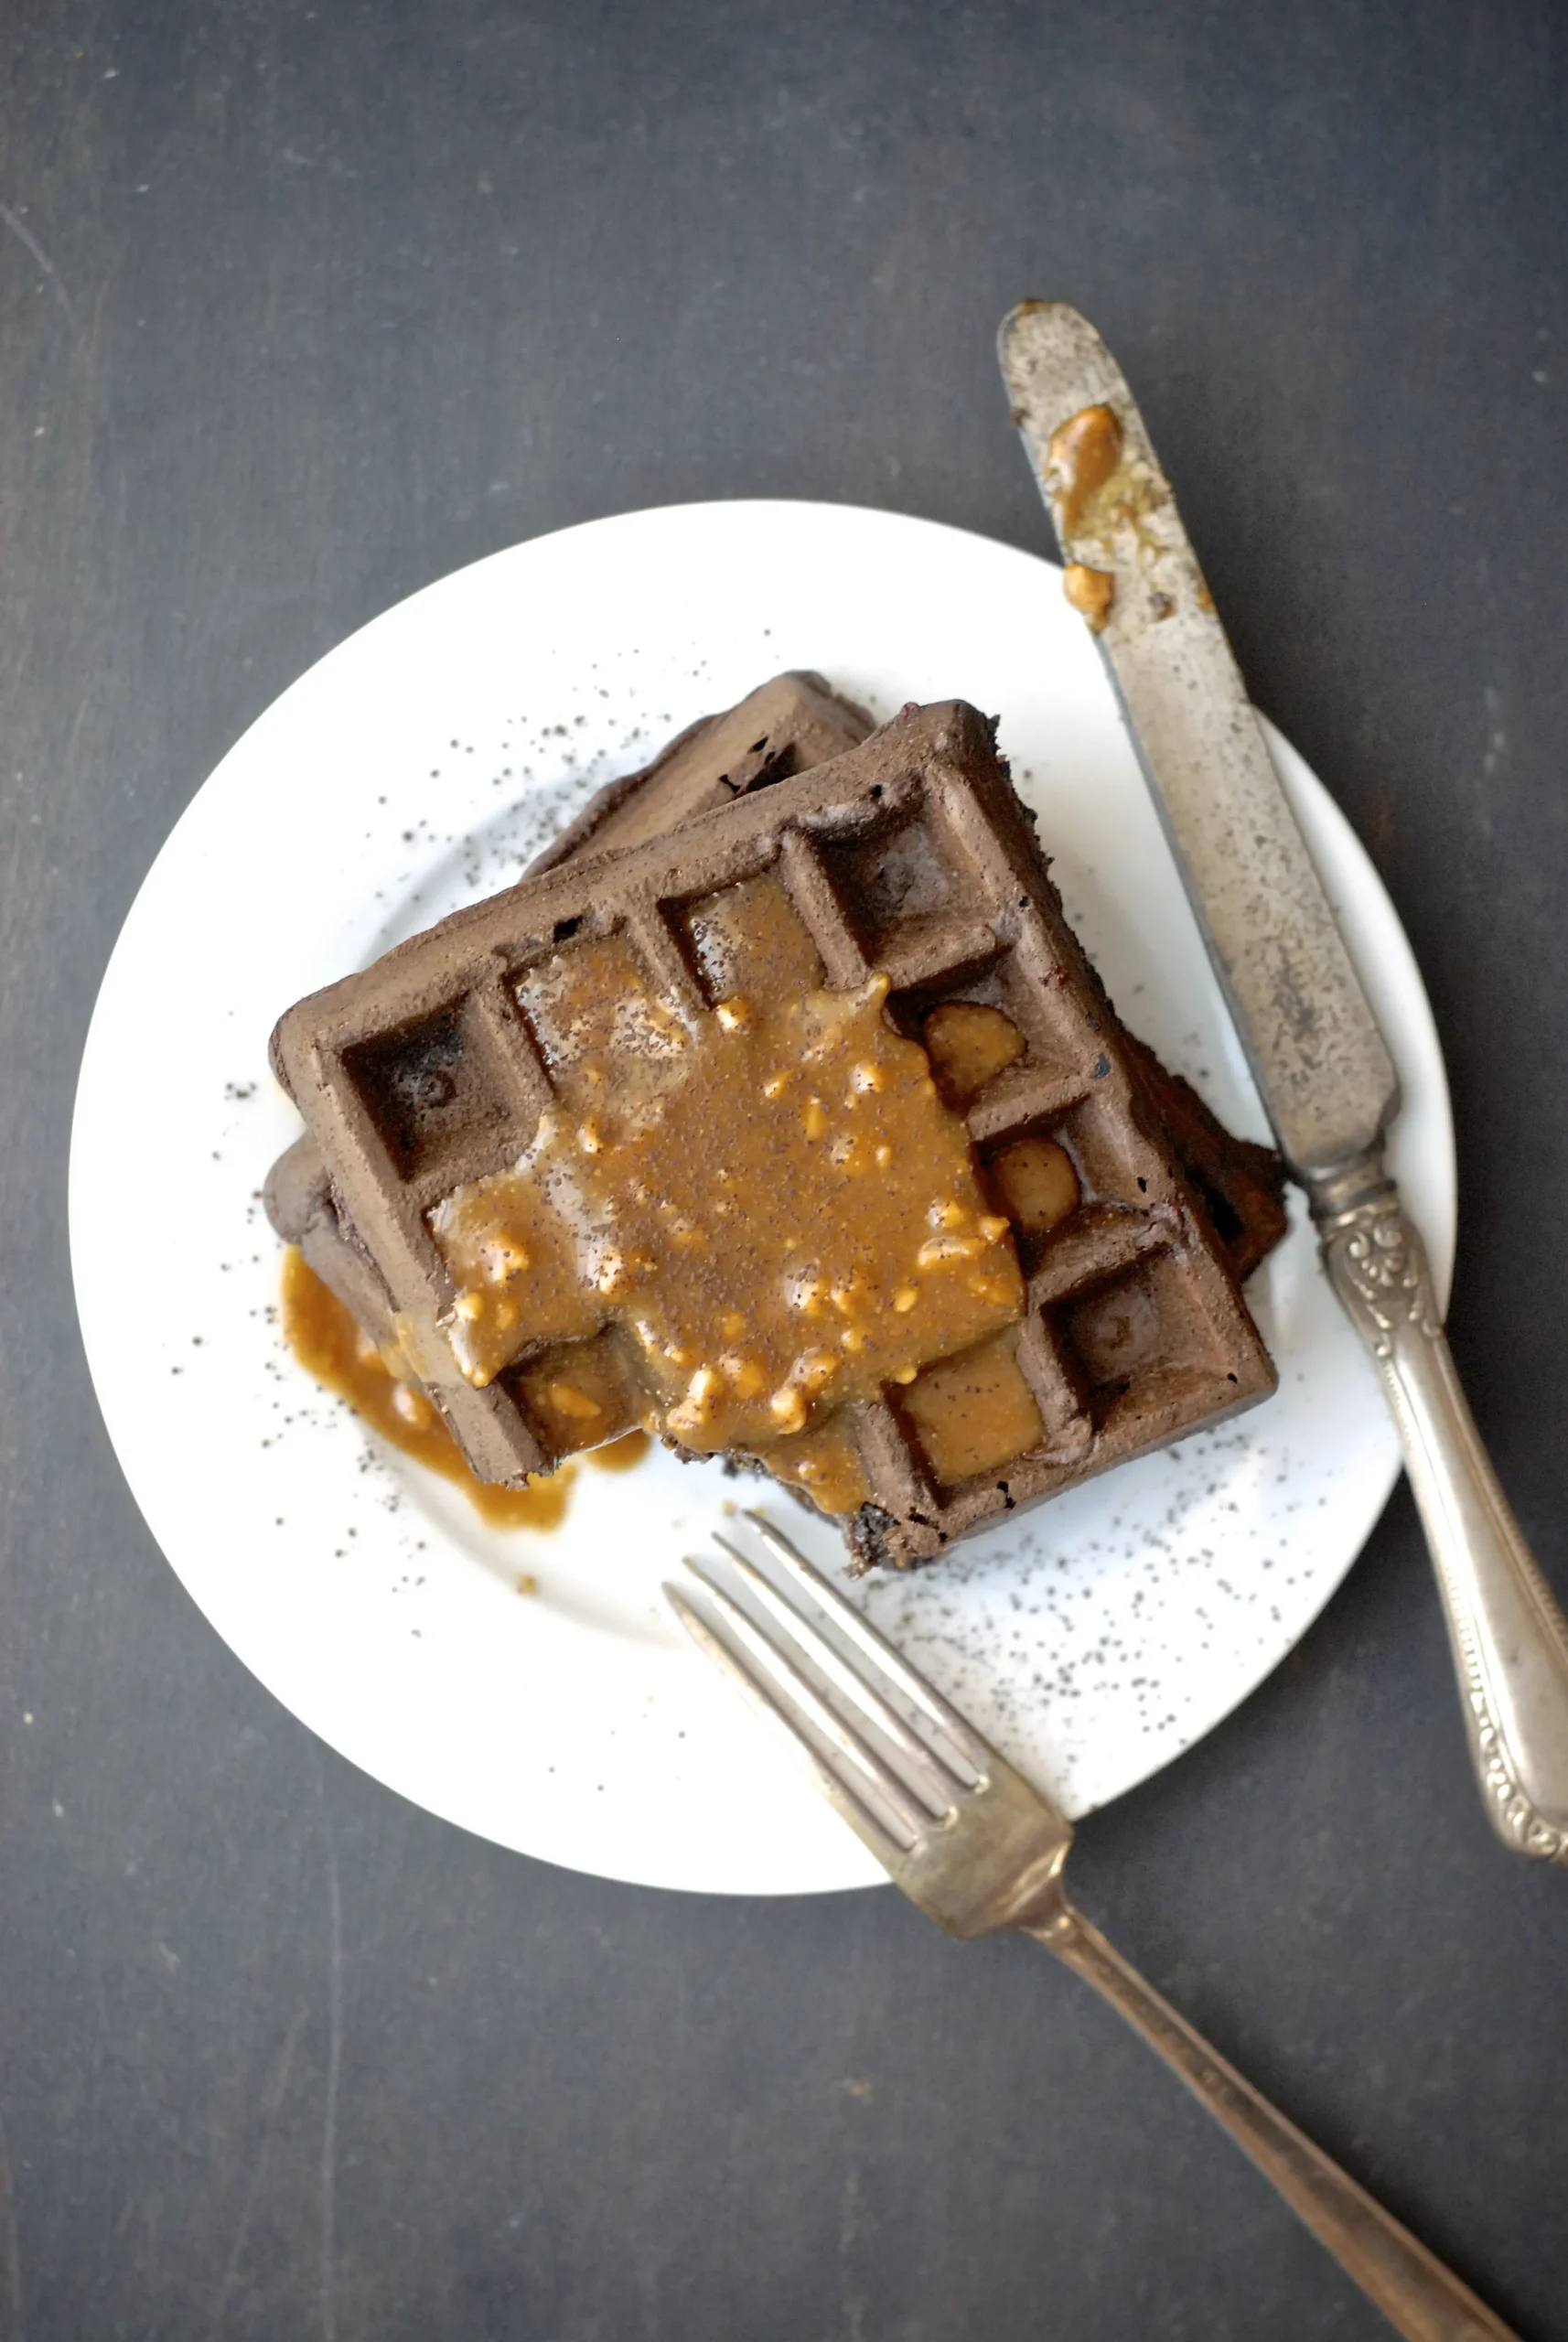
Imagine waking up to a plate of golden, crispy waffles that are not just delicious, but also gluten-free and packed with irresistible maple and peanut butter flavors. These waffles are about to transform your breakfast routine from mundane to magical, proving that dietary restrictions never mean compromising on taste or enjoyment. Whether you're gluten-sensitive, health-conscious, or simply a food lover seeking a new morning sensation, this recipe will become your new weekend breakfast obsession!
Prep Time: 5 mins
Cook Time: 10 mins
Total Time: 15 mins
Cuisine: American
Serves: 4 waffles
Ingredients
- 1 cup gluten-free flour
- 1 tablespoon baking powder
- 1/4 teaspoon salt
- 1 cup almond milk
- 1/4 cup maple syrup
- 1/4 cup peanut butter
- 1 teaspoon vanilla extract
Instructions
- Gather all ingredients and equipment: gluten-free flour, baking powder, salt, almond milk, maple syrup, peanut butter, vanilla extract, waffle iron, mixing bowls, whisk, and measuring cups.
- Preheat the waffle iron to medium-high heat. Lightly grease the waffle iron surfaces with cooking spray or melted butter to prevent sticking.
- In a large mixing bowl, combine the gluten-free flour, baking powder, and salt. Whisk together until well incorporated and no lumps remain.
- In a separate bowl, whisk together the almond milk, maple syrup, peanut butter, and vanilla extract until smooth and fully blended.
- Pour the wet ingredients into the dry ingredients and mix gently until just combined. Be careful not to overmix; some small lumps are okay.
- Allow the batter to rest for 2-3 minutes to let the gluten-free flour absorb the liquid and thicken slightly.
- Ladle the batter into the preheated waffle iron, using the amount recommended by your waffle iron's instructions (typically about 1/2 to 3/4 cup per waffle).
- Close the waffle iron and cook for 3-4 minutes or until the waffles are golden brown and crisp on the outside.
- Carefully remove the waffle using a fork or silicone spatula. Repeat with remaining batter.
- Serve immediately, topped with additional maple syrup, fresh berries, or a sprinkle of powdered sugar if desired.
- Store any leftover waffles in an airtight container in the refrigerator and reheat in a toaster or oven before serving.
Tips
- Always sift your gluten-free flour to prevent lumps and ensure a smoother batter consistency.
- Let the batter rest for 2-3 minutes to allow the flour to absorb liquid, which improves texture.
- Don't overmix the batter - a few small lumps are perfectly fine and will help create tender waffles.
- Preheat your waffle iron thoroughly and use cooking spray or butter to prevent sticking.
- For extra crispiness, let the cooked waffles rest on a wire rack for a minute before serving.
- If you want to make these ahead, they freeze beautifully - just reheat in a toaster for a quick breakfast.
- Experiment with toppings like sliced bananas, chopped nuts, or a drizzle of extra peanut butter for added excitement.
Nutrition Facts
Calories: 320kcal
Carbohydrates: 35g
Protein: 10g
Fat: 16g
Saturated Fat: 3g
Cholesterol: 0mg