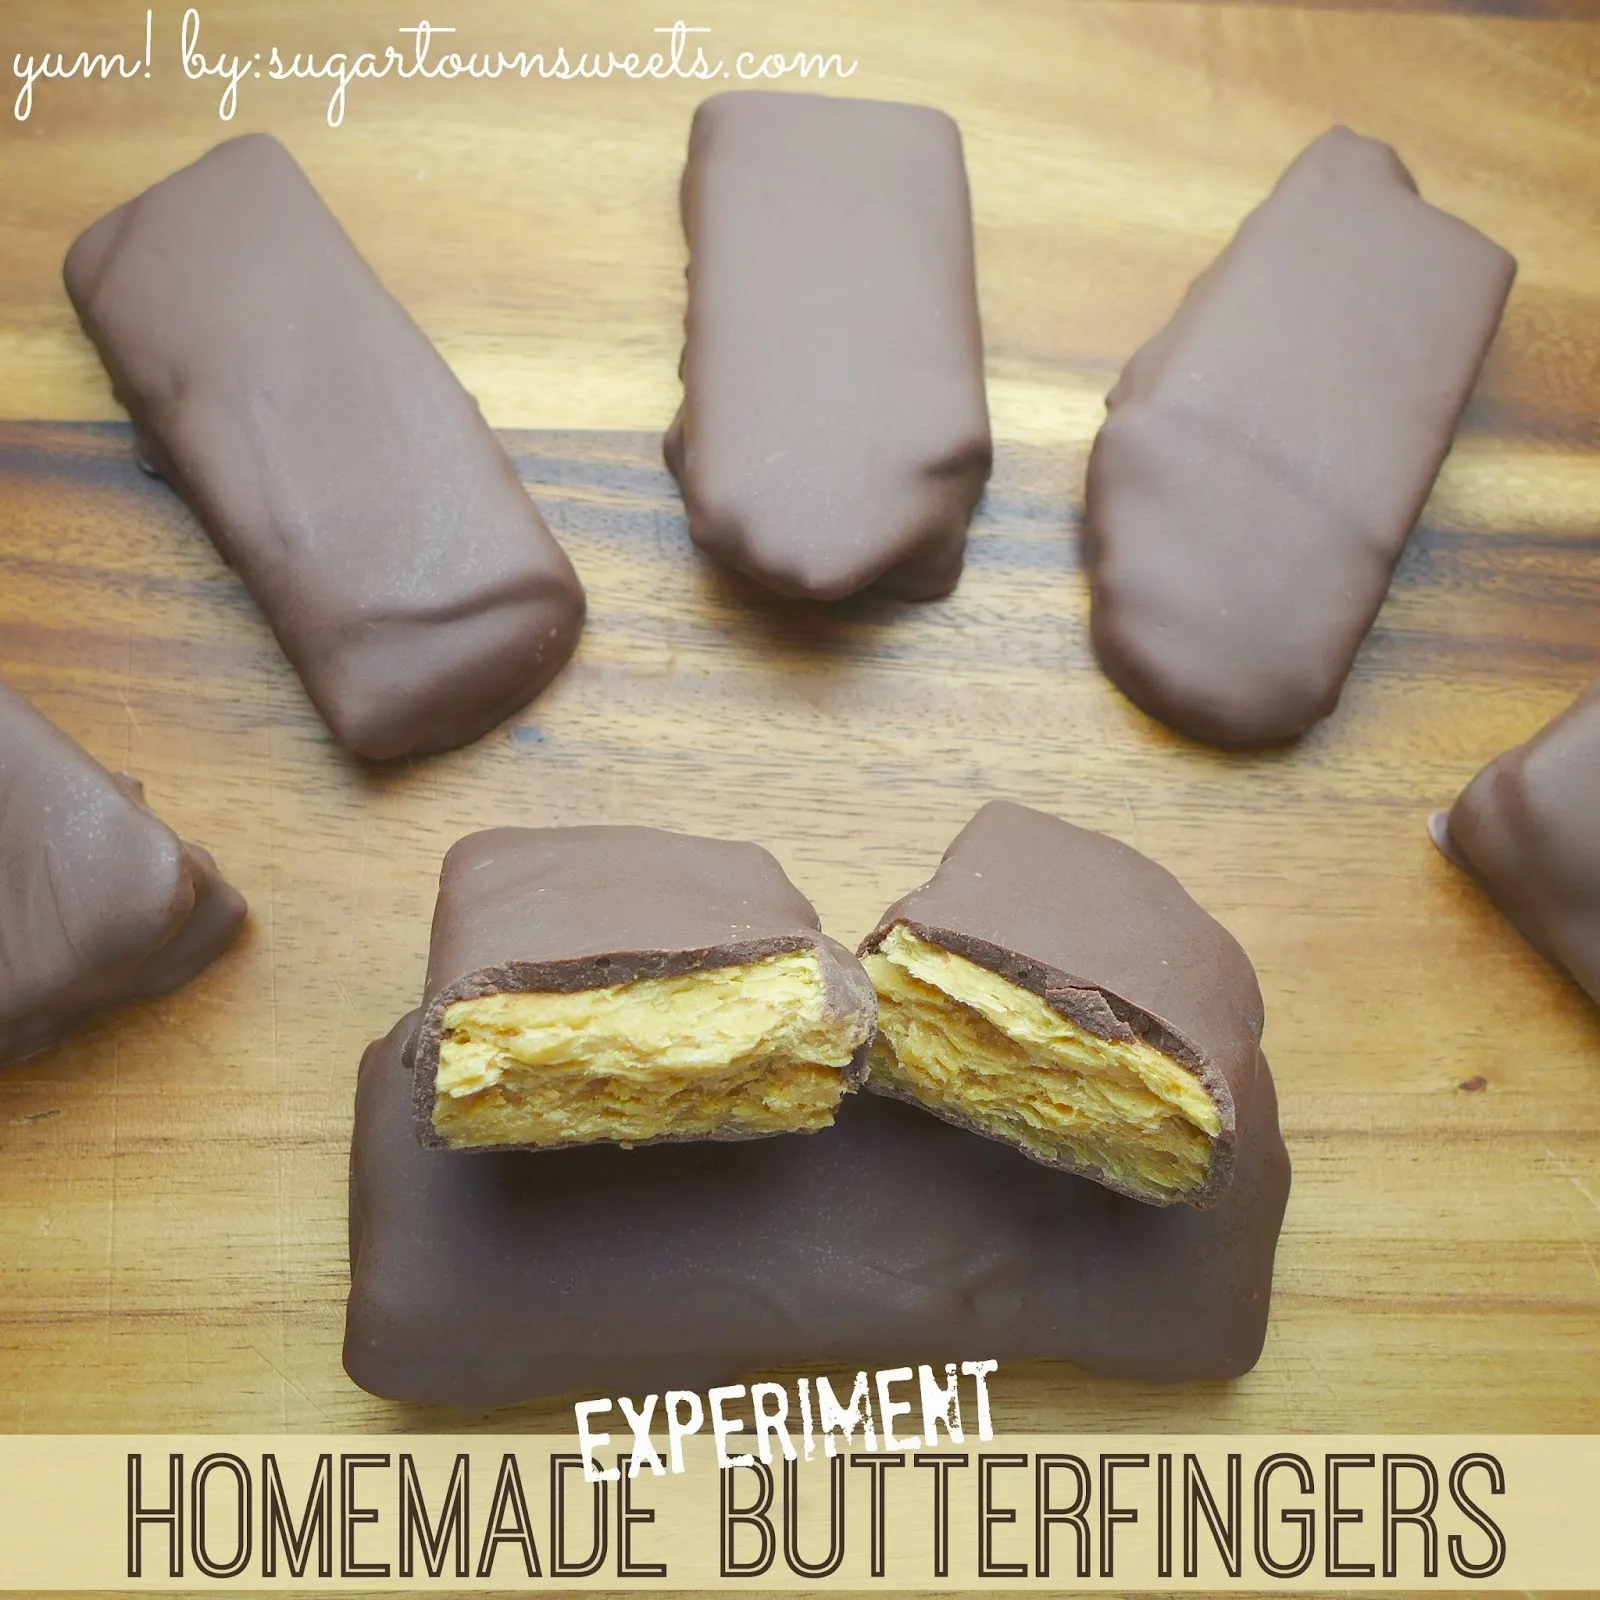
Prepare to embark on a culinary adventure that will transform your kitchen into a delicious laboratory of sweet innovation! These Homemade Butterfingers are not just a dessert—they're a scientific masterpiece that combines the perfect balance of creamy peanut butter and rich chocolate. Imagine creating a treat so irresistible that it makes store-bought candy bars look like amateur experiments. Whether you're a baking enthusiast or a dessert mad scientist, this recipe will have you cackling with delight as you craft the most incredible homemade candy bars you've ever tasted!
Prep Time: 20 mins
Cook Time: 30 mins
Total Time: 50 mins
Cuisine: American
Serves: 10 bars
Ingredients
- 1 cup peanut butter
- 1 cup powdered sugar
- 1 cup chocolate chips
- 1/4 cup butter
- 1 teaspoon vanilla extract
Instructions
- Prepare your workspace by lining a 9x9 inch baking pan with parchment paper, ensuring complete coverage with slight overhang for easy removal.
- In a large mixing bowl, combine peanut butter and powdered sugar. Mix thoroughly using a hand mixer or wooden spoon until a crumbly, consistent texture forms.
- Transfer the peanut butter mixture to the prepared baking pan. Press firmly and evenly using the back of a spatula or clean hands to create a compact layer.
- Place the pan in the refrigerator for 15 minutes to allow the mixture to firm up and become more manageable.
- Meanwhile, prepare the chocolate coating by melting chocolate chips and butter together. Use a double boiler or microwave, stirring frequently to prevent burning.
- Once chocolate is smooth, stir in vanilla extract to enhance the flavor profile.
- Remove the chilled peanut butter layer from the refrigerator and cut into rectangular bar shapes using a sharp knife.
- Carefully dip each bar into the melted chocolate, ensuring complete coverage. Use a fork to lift and allow excess chocolate to drip off.
- Place chocolate-coated bars on a parchment-lined baking sheet and refrigerate for 10-15 minutes until chocolate sets completely.
- For a professional touch, drizzle additional melted chocolate over the bars or sprinkle with crushed peanuts before final chilling.
Tips
- Temperature is Key: Ensure your peanut butter mixture is well-chilled before cutting and coating. This makes handling and chocolate dipping much easier.
- Chocolate Coating Technique: Use a fork when dipping bars to allow excess chocolate to drip off, creating a smooth, professional finish.
- Melt Chocolate Carefully: Use low heat and stir frequently to prevent burning. A double boiler works best for smooth, glossy chocolate.
- Customize Your Creation: Experiment with different chocolate types or add a sprinkle of sea salt for an extra flavor dimension.
- Storage Tip: Store these homemade bars in an airtight container in the refrigerator for up to a week—if they last that long!Pro Tip: For the most authentic Butterfinger texture, work quickly and keep your ingredients cool throughout the process.
Nutrition Facts
Calories: 321kcal
Carbohydrates: 26g
Protein: 7g
Fat: 22g
Saturated Fat: 7g
Cholesterol: 10mg


