Are you tired of store-bought gravies that lack flavor and authenticity? Get ready to elevate your culinary game with this incredibly simple yet delicious Homemade Gravy Lite Brown recipe! In just 20 minutes, you'll create a silky-smooth, restaurant-quality gravy that will have your family and friends begging for your cooking secrets. Whether you're looking to dress up a weeknight dinner or impress guests at a special occasion, this versatile gravy is about to become your new kitchen staple.
Prep Time: 5 mins
Cook Time: 15 mins
Total Time: 20 mins
Cuisine: American
Serves: 2 cups
Ingredients
- 1/4 cup all-purpose flour
- 2 cups low-sodium chicken or vegetable broth
- 1 tablespoon olive oil
- Salt and pepper to taste
Instructions
- In a medium saucepan, heat olive oil over medium heat, ensuring the pan is evenly coated.
- Gradually whisk in the all-purpose flour, stirring constantly to create a smooth roux. Continue cooking and stirring for 2-3 minutes until the flour turns a light golden color and develops a nutty aroma.
- Slowly pour in the low-sodium chicken or vegetable broth, whisking continuously to prevent lumps from forming. Ensure a smooth, consistent mixture.
- Reduce heat to low and continue simmering the gravy, stirring occasionally, for about 10-12 minutes. The gravy will gradually thicken as it cooks.
- Season with salt and pepper to taste, adjusting the seasoning gradually and tasting as you go.
- Remove from heat and let the gravy rest for 1-2 minutes. It will continue to thicken slightly as it cools.
- If the gravy is too thick, whisk in a little additional broth. If too thin, continue simmering until it reaches desired consistency.
- Strain through a fine-mesh sieve for an extra smooth texture, if desired.
- Serve immediately over your favorite dishes or store in an airtight container in the refrigerator for up to 3-4 days.
Tips
- Roux is the Foundation: Take your time when creating the roux. The key is to cook the flour and oil until it turns a light golden color and develops a nutty aroma. This step builds deep flavor.
- Whisk Like a Pro: Continuous whisking is crucial to prevent lumps and create a smooth texture. Use a sturdy whisk and be patient during the broth-adding process.
- Temperature Control: Keep the heat at medium-low to prevent burning and ensure even thickening. Slow and steady wins the gravy race!
- Seasoning Secrets: Start with a small amount of salt and pepper, then taste and adjust. Remember, you can always add more, but you can't take it away.
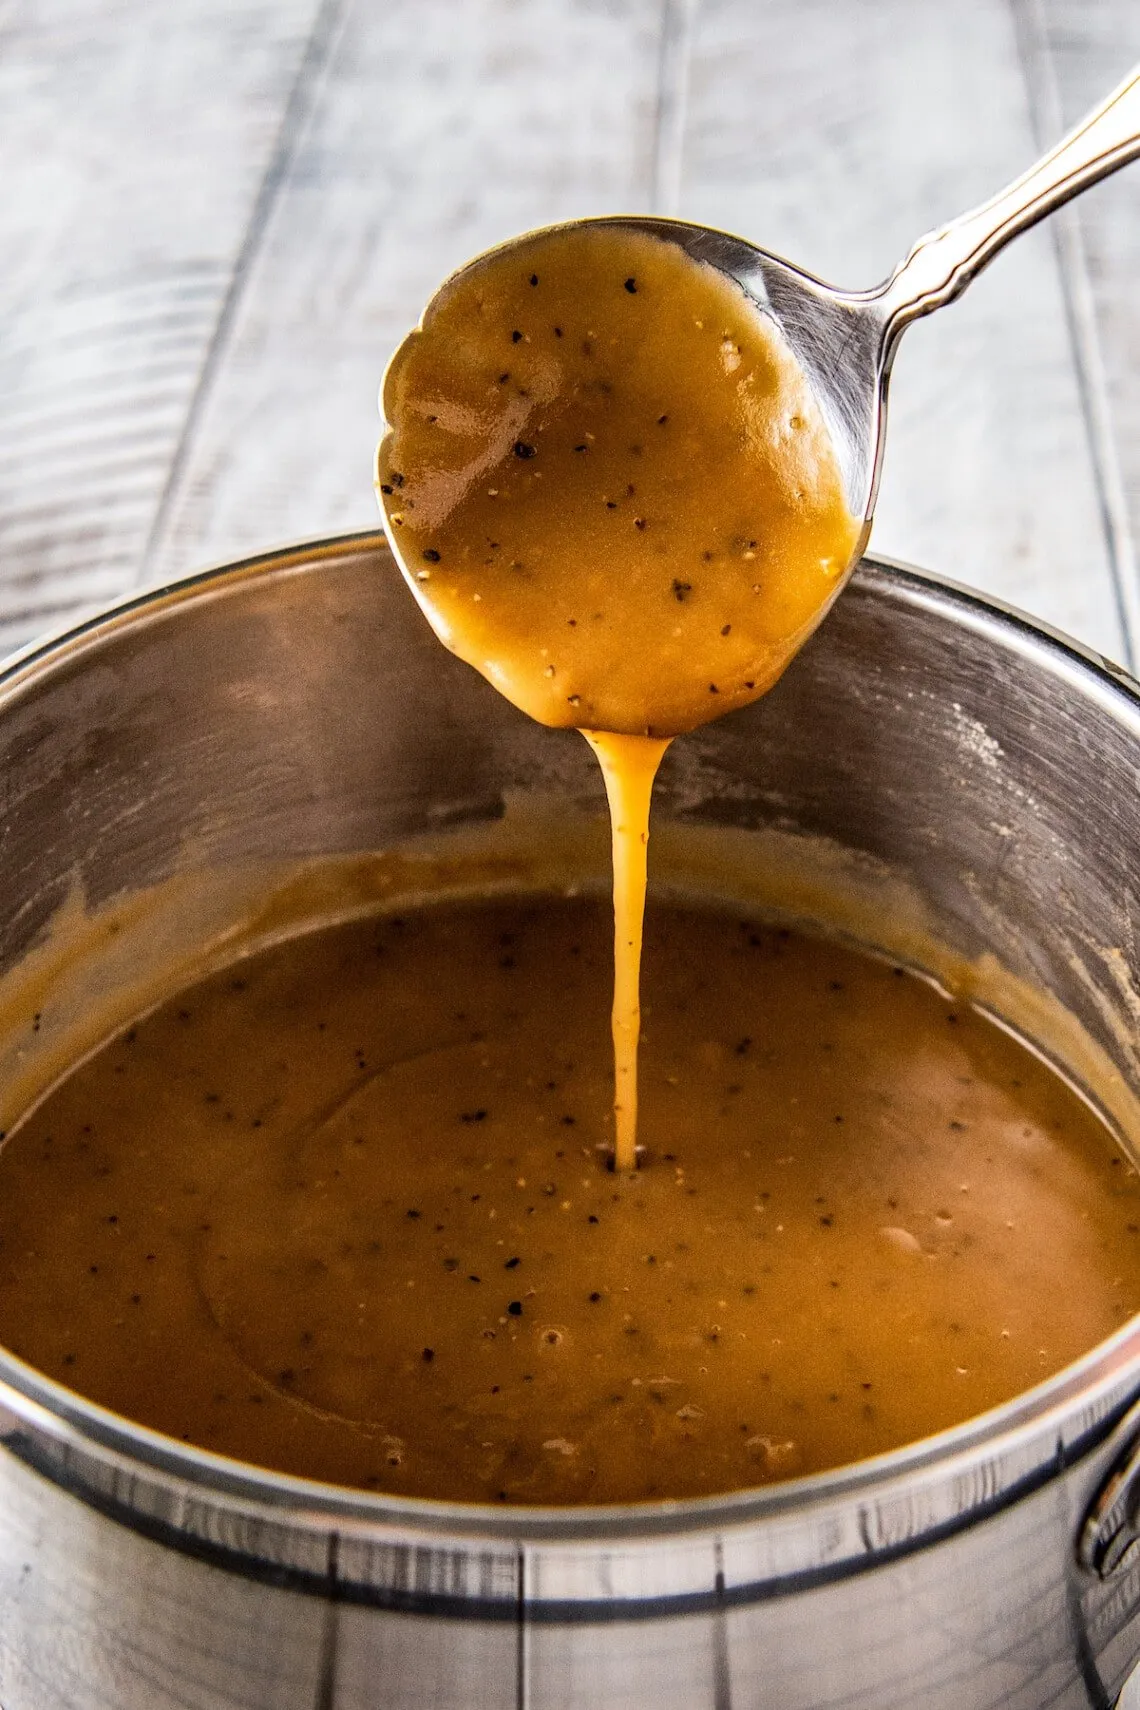
- Consistency is Key: If your gravy is too thick, add a little more broth. If it's too thin, continue simmering. The perfect gravy should coat the back of a spoon.
- Strain for Smoothness: For an ultra-smooth gravy, strain through a fine-mesh sieve to catch any potential lumps.
- Make Ahead Friendly: This gravy can be stored in the refrigerator for 3-4 days, making it perfect for meal prep and busy weeknights.
Nutrition Facts
Calories: 60kcal
Carbohydrates: 5g
Protein: 1g
Fat: 3g
Saturated Fat: g
Cholesterol: 0mg