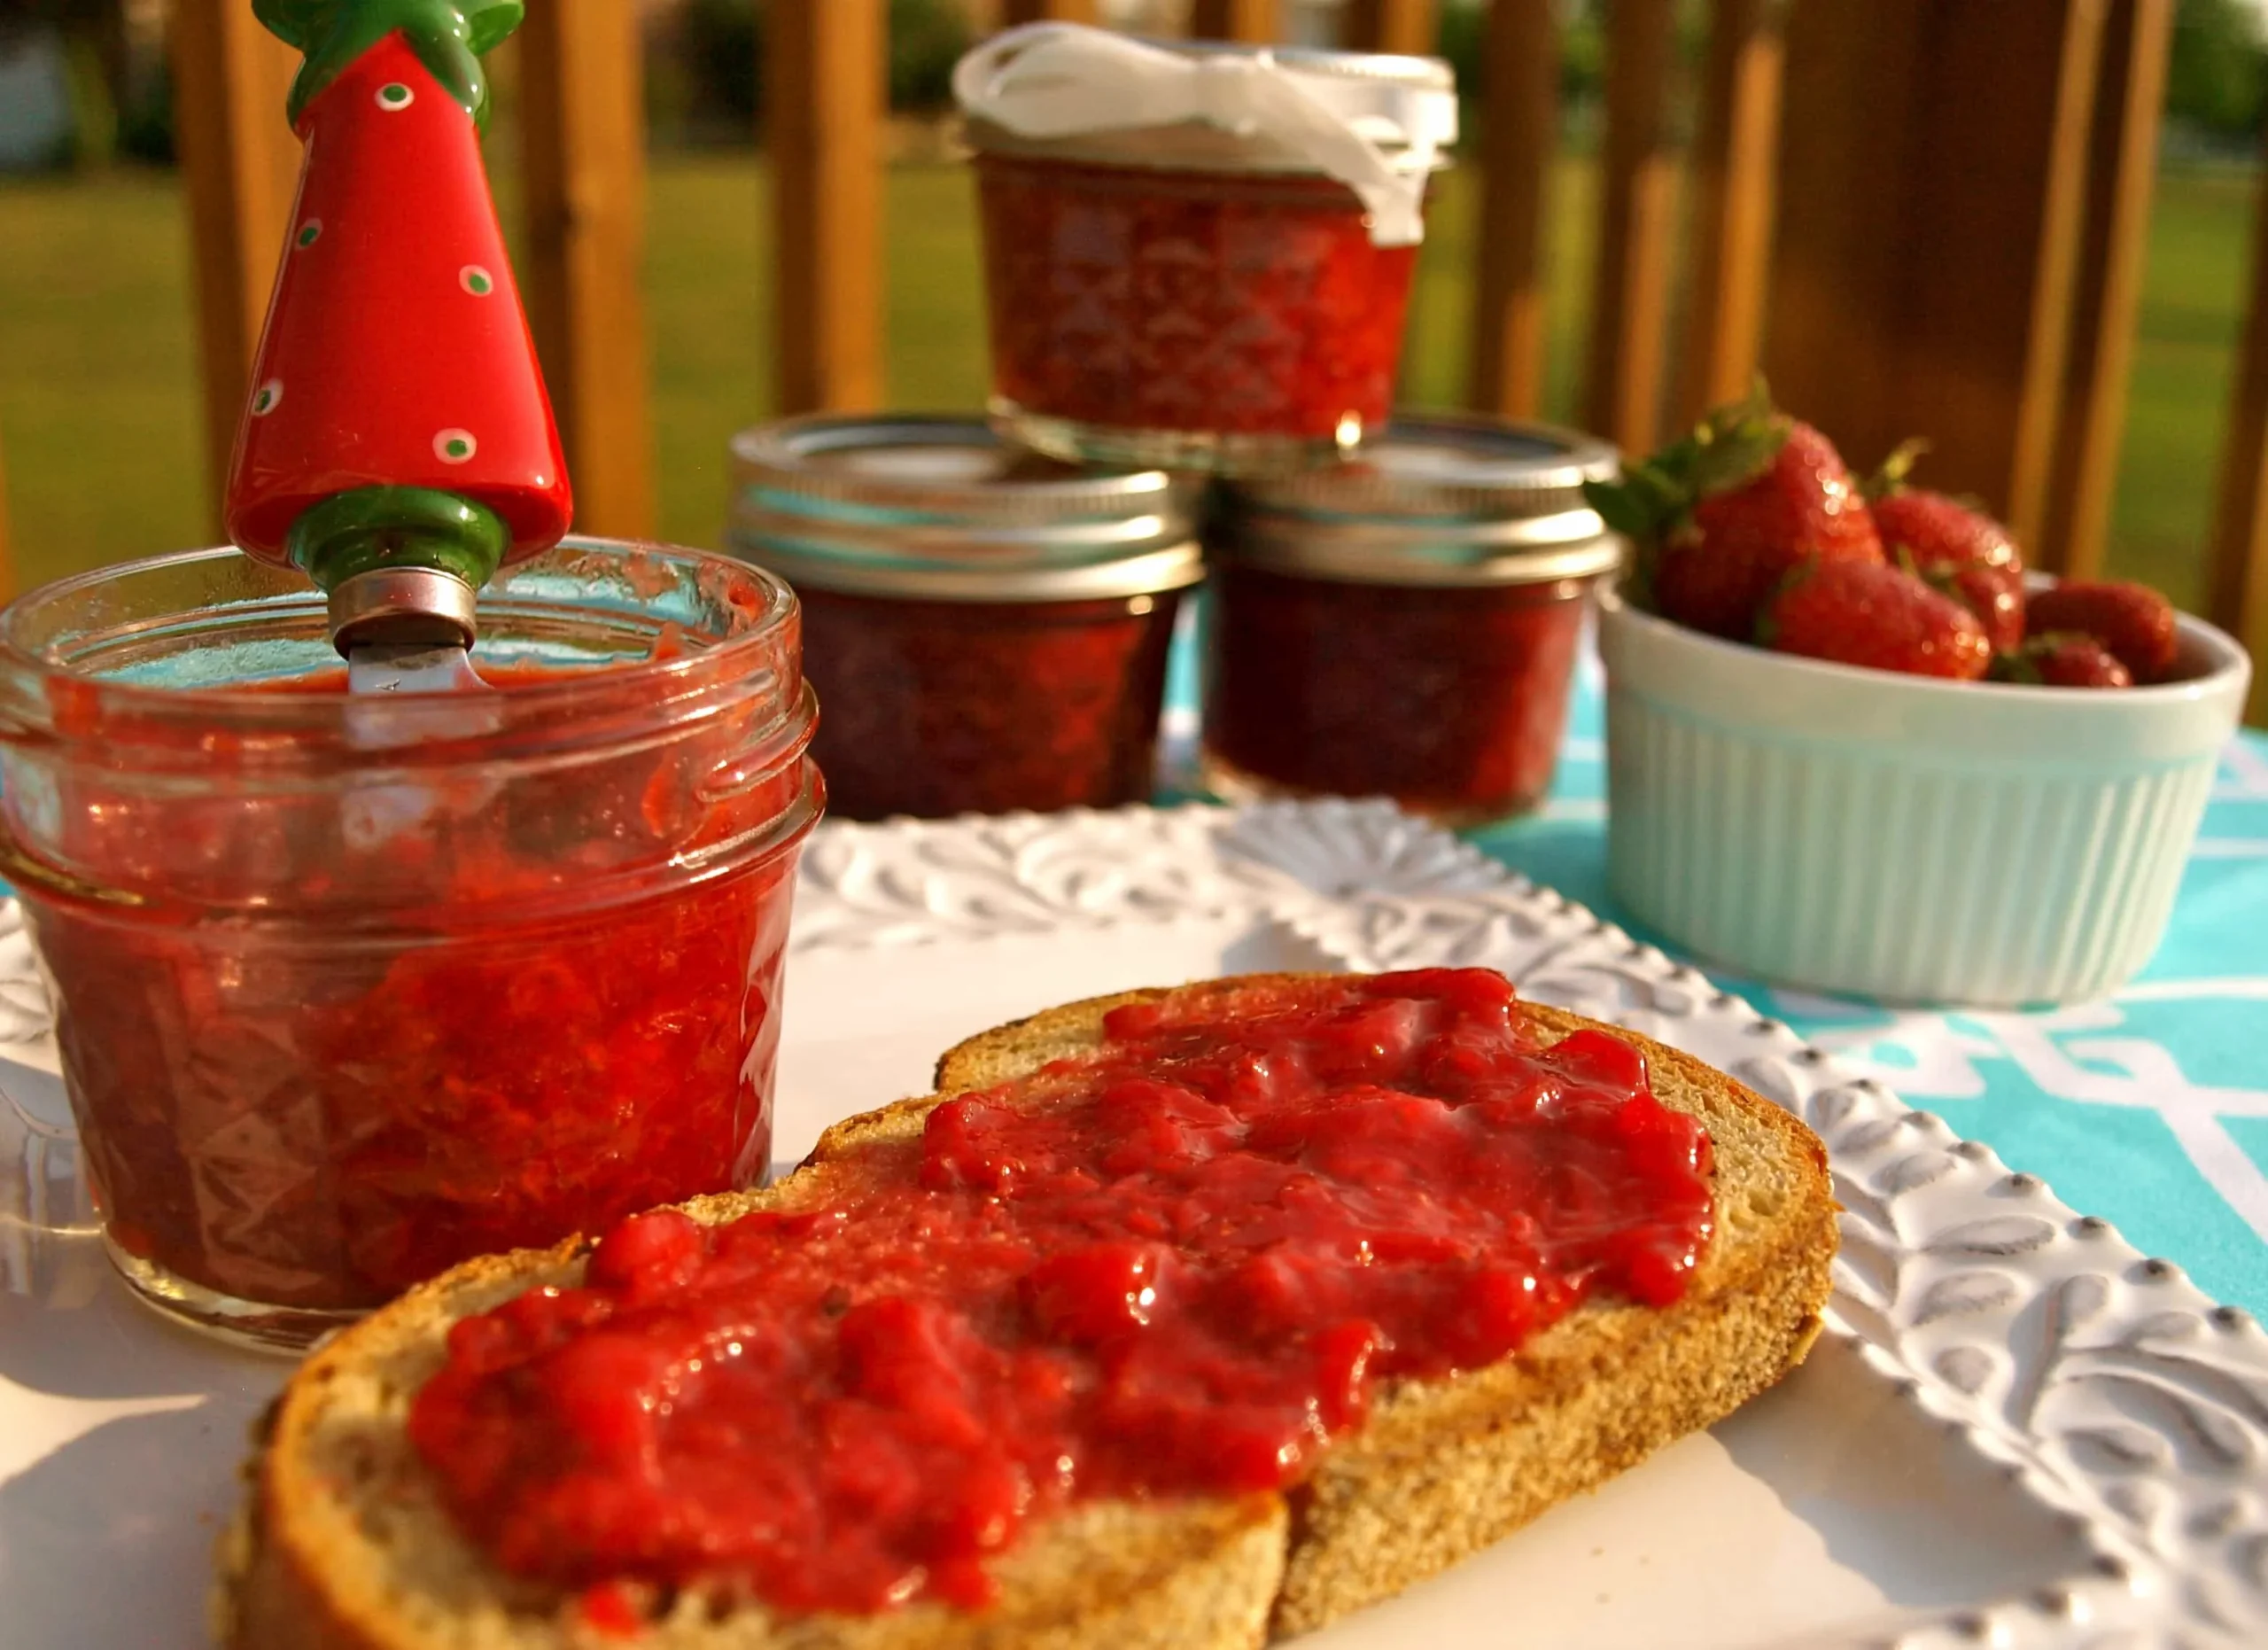
Are you ready to indulge in the delightful taste of homemade strawberry jam without the guilt? Our Low Sugar Strawberry Jam recipe is the perfect solution for those who crave a sweet treat but want to keep their sugar intake in check. With just a few simple ingredients and a quick 30-minute process, you can create a deliciously fruity spread that will elevate your breakfast and desserts. Imagine spreading this vibrant jam on warm toast or swirling it into your morning yogurt—your taste buds will thank you! Dive into our easy-to-follow recipe and discover how you can enjoy the fresh flavor of strawberries all year round!
Prep Time: 10 mins
Cook Time: 20 mins
Total Time: 30 mins
Cuisine: American
Serves: 2 cups
Ingredients
- 2 cups strawberries, hulled and chopped
- 1/2 cup sugar substitute
- 1 tablespoon lemon juice
- 1/2 teaspoon vanilla extract
Instructions
- Begin by preparing your strawberries. Rinse them thoroughly under cold water to remove any dirt. Once cleaned, hull the strawberries by removing the green tops and chop them into small pieces. This will help them break down more easily during cooking.
- In a medium-sized saucepan, combine the chopped strawberries and the sugar substitute. Stir gently to mix the ingredients evenly. Allow the mixture to sit for about 5 minutes. This will help to draw out the natural juices from the strawberries.
- After the strawberries have macerated, place the saucepan over medium heat. Stir the mixture occasionally to prevent it from sticking to the bottom of the pan. As the mixture heats up, the strawberries will begin to break down and release more juice.
- Once the mixture comes to a gentle boil, reduce the heat to low and add the lemon juice and vanilla extract. The lemon juice not only adds flavor but also helps to balance the sweetness of the sugar substitute.
- Continue to cook the jam on low heat for about 15-20 minutes, stirring frequently. You want the mixture to thicken and reduce. To check the consistency, you can place a small spoonful on a cold plate and let it sit for a minute. Run your finger through it; if it holds its shape, it’s ready.
- Once the jam has reached your desired thickness, remove the saucepan from the heat. Allow it to cool for a few minutes before transferring the jam to sterilized jars. Make sure to leave a little space at the top of each jar.
- Seal the jars tightly and let them cool completely at room temperature. Once cooled, you can store the jam in the refrigerator for up to two weeks or process it in a water bath for longer shelf life.
- Your low sugar strawberry jam is now ready to be enjoyed! Use it as a spread on toast, as a topping for yogurt, or in your favorite desserts.
Tips
- Choose Ripe Strawberries: For the best flavor, select ripe, juicy strawberries. They should be bright red and fragrant, as this will enhance the overall taste of your jam.
- Macerate for Flavor: Allowing the strawberries to sit with the sugar substitute for a few minutes before cooking helps to draw out their natural juices, resulting in a richer flavor.
- Monitor Consistency: As you cook, keep an eye on the jam's consistency. The cold plate test is a reliable way to check if it's thick enough—just remember to let it cool slightly before testing!
- Sterilize Jars: To ensure your jam stays fresh longer, sterilize your jars by boiling them in water or running them through a dishwasher cycle before filling them with jam.
- Experiment with Flavor: Feel free to add a pinch of cinnamon or a splash of almond extract for a unique twist on your strawberry jam.
- Storage Tips: If you want to extend the shelf life, consider processing your jars in a water bath for 10 minutes after sealing them. This will help preserve your jam for months!
- Enjoy Versatility: Use your low sugar strawberry jam not just on toast, but also as a filling for pastries, a topping for pancakes, or even swirled into your favorite smoothie for an extra burst of flavor.
Nutrition Facts
Calories: kcal
Carbohydrates: g
Protein: g
Fat: g
Saturated Fat: 0g
Cholesterol: 0mg