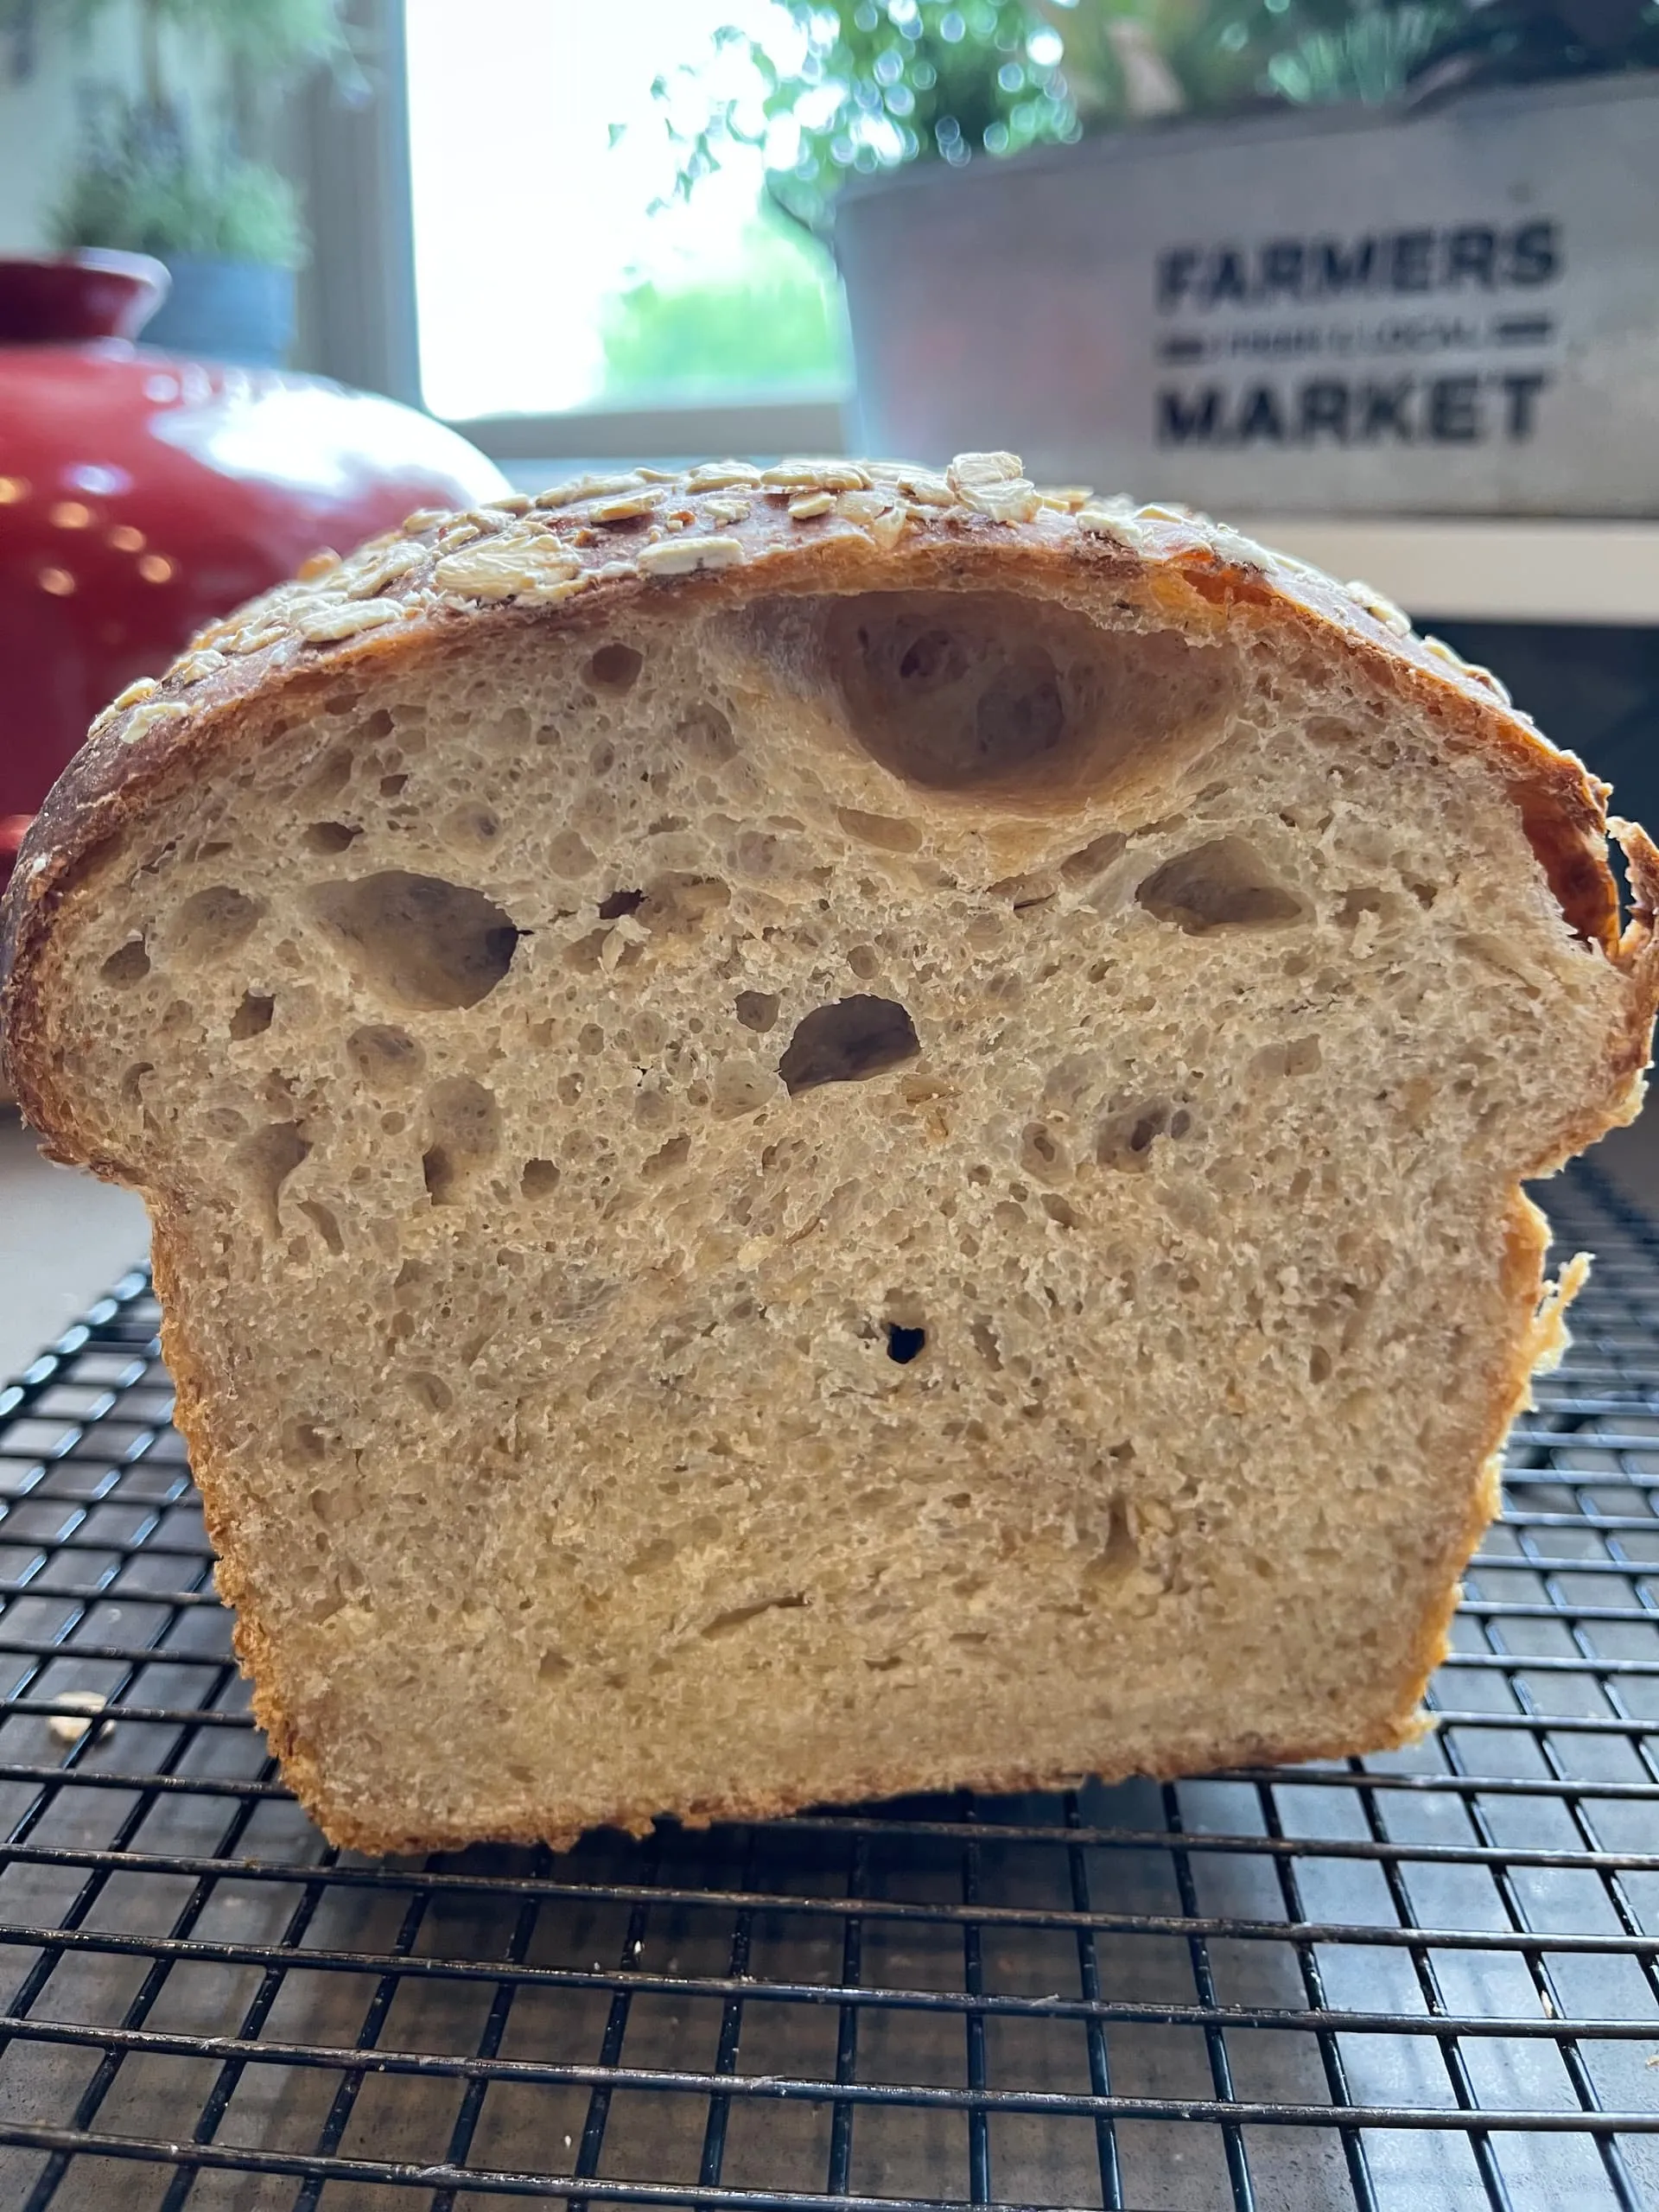
Imagine sinking your teeth into a slice of bread so perfectly crafted, it rivals the most artisanal bakery in town - but this time, you're the master baker! Our Maple Oat Sourdough Sandwich Bread isn't just a recipe; it's a culinary journey that transforms simple ingredients into a golden, aromatic masterpiece that will make your kitchen smell like bread heaven. Whether you're a sourdough novice or a seasoned bread enthusiast, this recipe promises to elevate your baking game and impress even the most discerning bread lovers.
Prep Time: 20 mins
Cook Time: 35 mins
Total Time: 4 hrs
Cuisine: American
Serves: 1 loaf
Ingredients
- 400g bread flour
- 100g rolled oats
- 300ml water
- 100g sourdough starter
- 30g maple syrup
- 10g salt
Instructions
- In a large mixing bowl, combine bread flour, rolled oats, water, sourdough starter, maple syrup, and salt. Mix until a shaggy dough forms, ensuring all ingredients are thoroughly incorporated.
- Cover the bowl with a clean kitchen towel and let the dough rest for 30 minutes, allowing the flour to hydrate and gluten to develop. This process is called autolyse.
- Perform a series of stretch and fold techniques every 30 minutes for the next 2 hours. Wet your hand, grab one side of the dough, stretch it upward, and fold it over the center. Rotate the bowl and repeat this process 4-6 times per session.
- After the final stretch and fold, let the dough bulk ferment at room temperature (around 70-75°F) for another hour until it shows visible signs of fermentation and has increased in volume.
- Gently turn out the dough onto a lightly floured surface. Shape the dough into a tight loaf by folding the edges towards the center and rolling it into a smooth oval shape.
- Place the shaped dough into a proofing basket or a well-floured bowl, seam-side up. Cover with a clean kitchen towel and let it proof in the refrigerator for 12-16 hours overnight.
- The next morning, preheat your oven to 450°F (230°C) with a Dutch oven inside for at least 45 minutes to ensure it's thoroughly heated.
- Carefully remove the hot Dutch oven, turn the proofed dough out onto a piece of parchment paper, score the top of the loaf with a sharp razor or bread lame, creating a decorative pattern.
- Carefully lower the dough with parchment paper into the hot Dutch oven, cover with the lid, and bake for 25 minutes.
- Remove the lid and continue baking for an additional 10-15 minutes until the crust is deep golden brown and the internal temperature reaches 205-210°F.
- Remove from the oven and transfer to a wire rack. Allow the bread to cool completely for at least 2 hours before slicing to ensure proper texture and crumb structure.
Tips
- Temperature is Key: Maintain a consistent room temperature around 70-75°F for optimal fermentation. Use a proofing box or warm spot in your kitchen if needed.
- Hydration Matters: Don't skip the autolyse period - it helps develop gluten and makes your dough more manageable.
- Stretch and Fold Technique: Be gentle but consistent with your stretch and fold method. This builds strength and structure in your dough.
- Scoring Secrets: Use a sharp razor or bread lame and score at a 45-degree angle for that professional bakery look and optimal oven spring.
- Patience is a Virtue: Allow the bread to cool completely before slicing. This ensures the crumb sets properly and prevents a gummy texture.
- Starter Health: Ensure your sourdough starter is active and bubbly before beginning the recipe for the best rise and flavor.
- Dutch Oven Magic: Preheating your Dutch oven creates steam, which is crucial for developing a crispy, golden crust.
Nutrition Facts
Calories: 164kcal
Carbohydrates: 32g
Protein: 5g
Fat: 1g
Saturated Fat: g
Cholesterol: 0mg