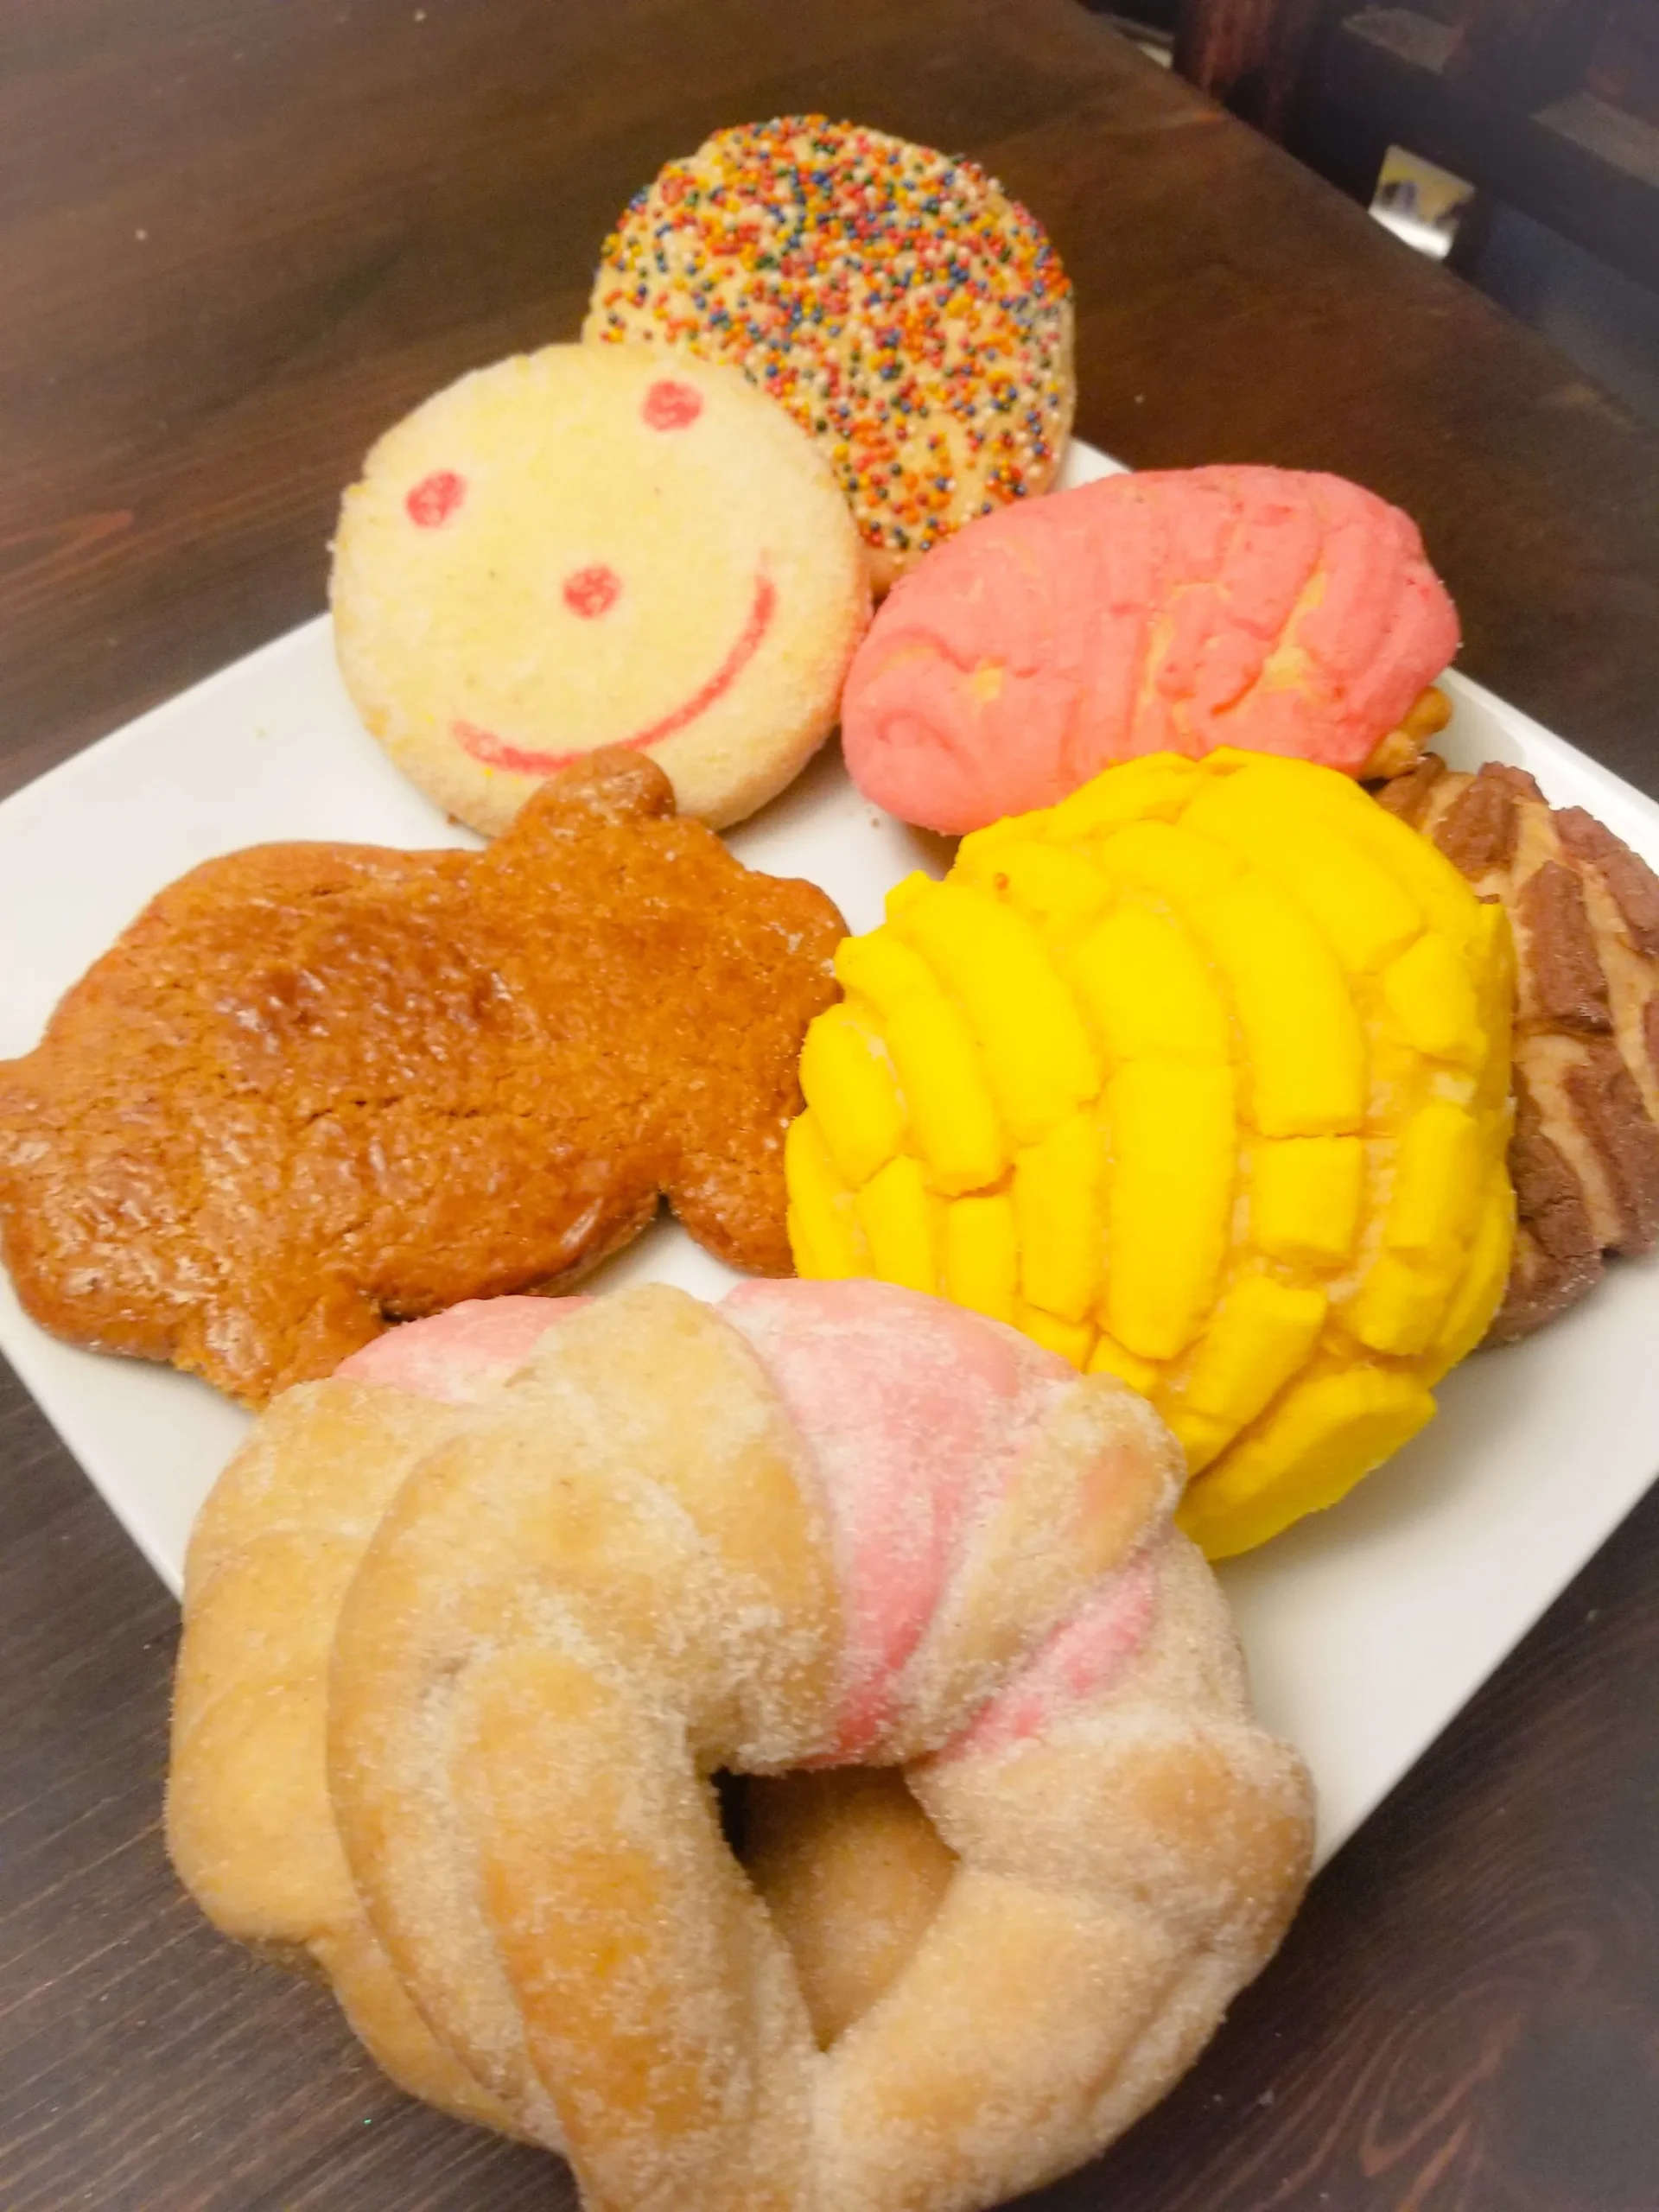
Imagine sinking your teeth into a soft, pillowy Mexican sweet bread that transports you straight to the vibrant streets of Mexico. Pan Dulce isn't just a bread—it's a culinary masterpiece that tells a story of culture, tradition, and irresistible flavor. Whether you're a baking enthusiast or a curious foodie, this recipe will unlock the secrets to creating the most heavenly, melt-in-your-mouth pastry that will have your family and friends begging for more. Get ready to embark on a delicious journey that combines simple ingredients with extraordinary taste!
Prep Time: 20 mins
Cook Time: 25 mins
Total Time: 45 mins
Cuisine: Mexican
Serves: 12 pieces
Ingredients
- 4 cups all-purpose flour
- 1 cup sugar
- 1/2 cup unsalted butter, softened
- 1 cup milk, warmed
- 2 eggs
- 1 packet (2 1/4 tsp) active dry yeast
- 1 teaspoon vanilla extract
- 1/2 teaspoon salt
Instructions
- In a small bowl, dissolve the active dry yeast in warm milk (around 110°F) and let it sit for 5-10 minutes until it becomes frothy and activated.
- In a large mixing bowl, cream together the softened butter and sugar until light and fluffy using an electric mixer or whisk.
- Add the eggs one at a time to the butter-sugar mixture, beating well after each addition. Mix in the vanilla extract.
- In a separate bowl, sift together the all-purpose flour and salt to ensure even distribution.
- Gradually add the flour mixture to the wet ingredients, alternating with the yeast-milk mixture. Mix until a soft, sticky dough forms.
- Knead the dough on a lightly floured surface for about 8-10 minutes until smooth and elastic. The dough should spring back when pressed.
- Place the dough in a greased bowl, cover with a clean kitchen towel, and let it rise in a warm, draft-free area for about 1 hour or until doubled in size.
- Punch down the risen dough and divide it into 12 equal portions. Shape each portion into a round or traditional pan dulce shape.
- Optional: Create decorative patterns on top of each bread using a sharp knife or traditional pan dulce scoring techniques.
- Place the shaped breads on a baking sheet lined with parchment paper, leaving space between each for expansion.
- Cover the shaped breads and let them rise again for 30-45 minutes until puffy.
- Preheat the oven to 375°F (190°C) about 15 minutes before baking.
- Optional: Brush the tops of the breads with an egg wash (1 beaten egg + 1 tablespoon water) for a golden, shiny finish.
- Bake the pan dulce in the preheated oven for 20-25 minutes, or until golden brown and sounds hollow when tapped on the bottom.
- Remove from the oven and let cool on a wire rack for at least 15 minutes before serving.
- Serve warm or at room temperature. Can be enjoyed plain or with hot chocolate or coffee.
Tips
- Temperature is Key: Ensure your milk is precisely warm (around 110°F) when activating the yeast. Too hot, and you'll kill the yeast; too cool, and it won't activate properly.
- Kneading Matters: Don't rush the kneading process. A full 8-10 minutes develops the gluten, giving your bread that perfect soft, elastic texture.
- Rising Environment: Choose a warm, draft-free spot for your dough to rise. A slightly warmed oven (turned off) or a sunny kitchen counter works perfectly.
- Decorative Scoring: Use a sharp knife to create traditional pan dulce patterns. This not only looks beautiful but helps the bread expand evenly while baking.
- Egg Wash Optional: For a professional bakery-style finish, brush with egg wash, but it's perfectly delicious without it.
- Storage Tip: These breads are best enjoyed within 1-2 days. Store in an airtight container at room temperature to maintain freshness.
- Serving Suggestion: Pair with Mexican hot chocolate or a strong coffee for an authentic experience that will transport your taste buds!
Nutrition Facts
Calories: 320kcal
Carbohydrates: 48g
Protein: 7g
Fat: 12g
Saturated Fat: 7g
Cholesterol: 65mg


