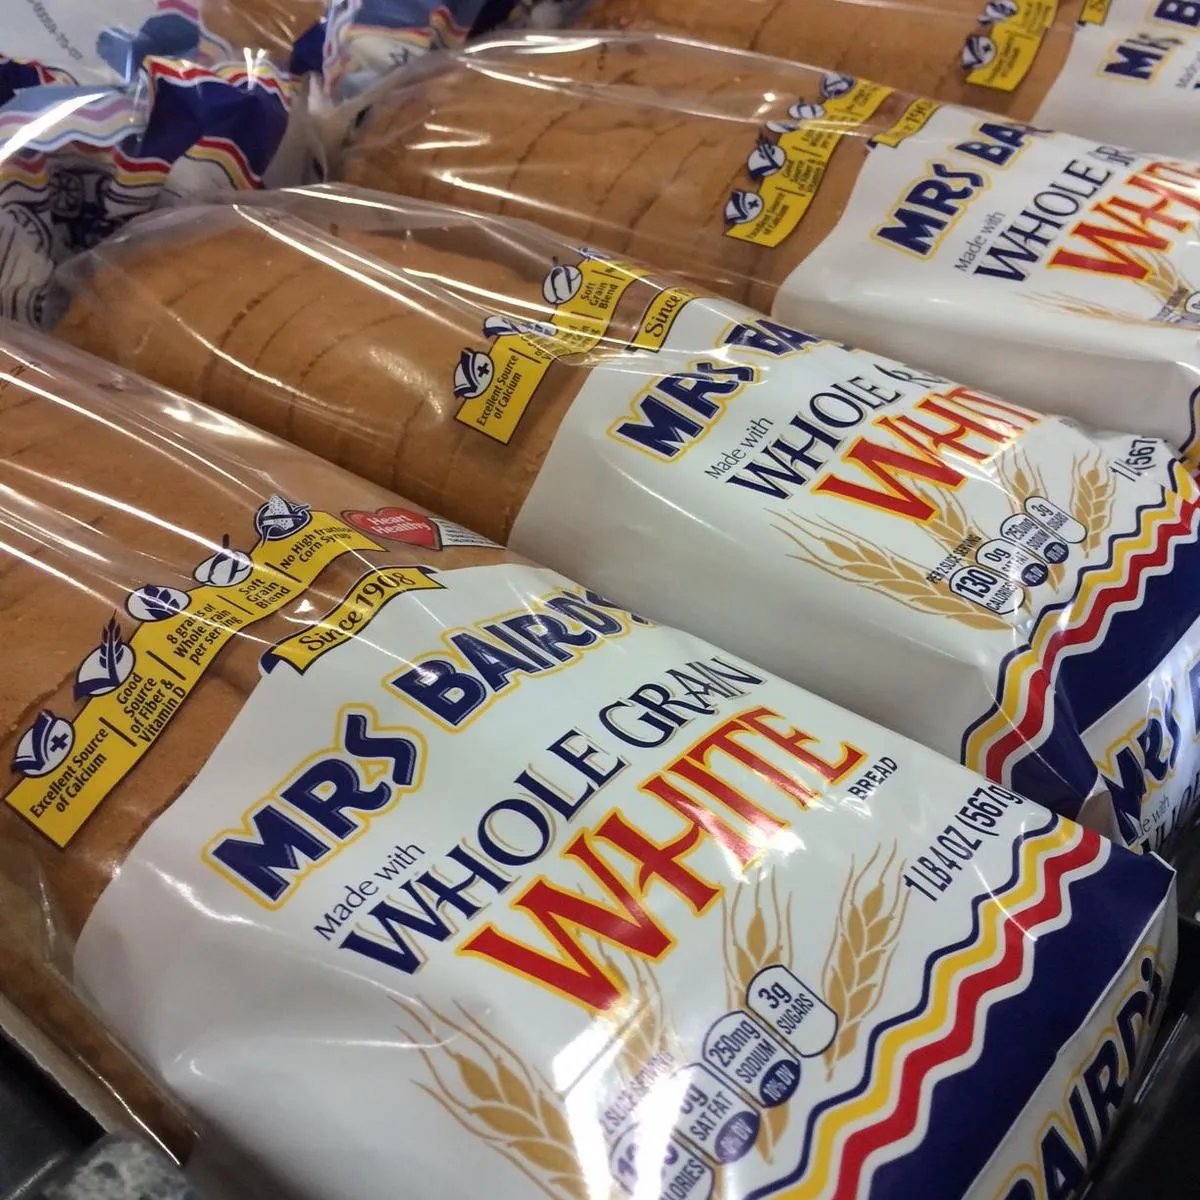
Imagine walking into a kitchen filled with the warm, irresistible aroma of freshly baked bread – a smell that instantly transports you to comfort and home. Today, we're revealing a treasured family recipe that has been perfected over generations: Mrs. Elizabeth Ovenstad's incredible homemade bread. This isn't just any ordinary bread recipe; it's a culinary masterpiece that promises to transform your baking skills and impress everyone at your table. With just a few simple ingredients and some love, you'll create a loaf so delicious, it'll become your new go-to bread recipe!
Prep Time: 15 mins
Cook Time: 45 mins
Total Time: 60 mins
Cuisine: American
Serves: 1 loaf
Ingredients
- 2 cups all-purpose flour
- 1 cup warm milk
- 2 tablespoons sugar
- 2 tablespoons butter, melted
- 1 teaspoon salt
- 1 packet active dry yeast
Instructions
- In a small bowl, combine the warm milk and sugar. Stir gently to dissolve the sugar.
- Sprinkle the active dry yeast over the warm milk mixture. Allow it to sit for about 5-10 minutes until it becomes frothy. This indicates that the yeast is active.
- In a large mixing bowl, combine the all-purpose flour and salt. Mix well to ensure the salt is evenly distributed throughout the flour.
- Make a well in the center of the flour mixture. Pour in the frothy yeast mixture and the melted butter.
- Using a wooden spoon or your hands, mix the ingredients together until a dough begins to form. The dough should be slightly sticky but manageable.
- Turn the dough out onto a floured surface. Knead the dough for about 8-10 minutes until it becomes smooth and elastic. If the dough is too sticky, sprinkle a little more flour as needed.
- Shape the kneaded dough into a ball and place it in a lightly greased bowl. Cover the bowl with a clean kitchen towel or plastic wrap to keep the dough warm.
- Let the dough rise in a warm place for about 30 minutes, or until it has doubled in size.
- After the dough has risen, punch it down gently to release the air. Turn it out onto a floured surface again.
- Shape the dough into a loaf by flattening it into a rectangle and rolling it tightly from one end to the other. Pinch the seams to seal.
- Place the shaped loaf into a greased 9x5-inch loaf pan. Cover it again with a towel and let it rise for an additional 15-20 minutes, or until it has risen just above the rim of the pan.
- Preheat your oven to 350°F (175°C) while the loaf is rising.
- Once the loaf has risen, place it in the preheated oven. Bake for 30-35 minutes, or until the top is golden brown and the loaf sounds hollow when tapped on the bottom.
- Remove the loaf from the oven and let it cool in the pan for about 10 minutes. Then, transfer it to a wire rack to cool completely.
- Once cooled, slice the bread and enjoy it fresh, or store it in an airtight container for later use.
Tips
- Temperature Matters: Ensure your milk is warm (not hot) when activating the yeast – around 110°F is perfect. Too hot, and you'll kill the yeast; too cold, and it won't activate.
- Kneading Technique: Don't rush the kneading process. A full 8-10 minutes develops the gluten, giving your bread that perfect, soft texture.
- Rising Environment: Find a warm, draft-free spot for your dough to rise. A slightly warm oven (turned off) or near a sunny window works great.
- Moisture Check: If the dough feels too sticky, add flour gradually. If too dry, add a little more warm milk.
- Bread Doneness Test: Tap the bottom of the loaf – if it sounds hollow, it's perfectly baked!
- Cooling is Crucial: Always let your bread cool completely before slicing to prevent a gummy texture.
Nutrition Facts
Calories: kcal
Carbohydrates: g
Protein: g
Fat: g
Saturated Fat: g
Cholesterol: mg


