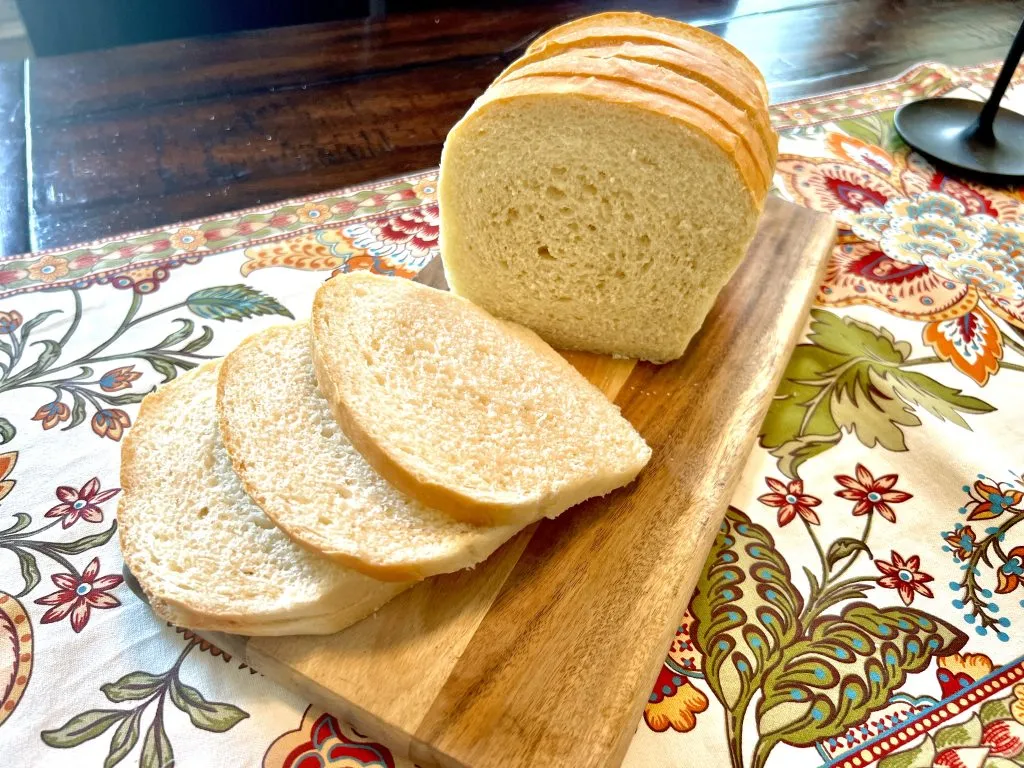
Imagine the warm, comforting aroma of freshly baked bread wafting through your kitchen, inviting everyone to gather around the table. "My Classic Sandwich Bread" is not just any loaf; it's a delightful blend of simplicity and flavor that will elevate your sandwiches to gourmet status! With just a handful of ingredients and a little bit of love, you can create a soft, fluffy loaf that’s perfect for everything from classic PB&Js to artisanal grilled cheeses. Ready to impress your family and friends? Let’s dive into the art of bread-making and discover how easy it is to create this mouthwatering masterpiece!
Prep Time: 15 mins
Cook Time: 25 mins
Total Time: 40 mins
Cuisine: American
Serves: 1 loaf
Ingredients
- 3 cups all-purpose flour
- 1 tablespoon sugar
- 1 tablespoon salt
- 2 teaspoons active dry yeast
- 1 cup warm water
- 2 tablespoons olive oil
Instructions
- In a large mixing bowl, combine the warm water and active dry yeast. Let the mixture sit for about 5-7 minutes until it becomes frothy and activated.
- Add sugar and olive oil to the yeast mixture, stirring gently to combine all ingredients.
- In a separate bowl, sift together the all-purpose flour and salt to ensure even distribution.
- Gradually add the flour mixture to the wet ingredients, stirring with a wooden spoon or spatula until a shaggy dough begins to form.
- Turn the dough out onto a lightly floured surface and knead for 8-10 minutes. The dough should become smooth, elastic, and slightly tacky but not sticky.
- Place the kneaded dough in a lightly oiled bowl, cover with a clean kitchen towel or plastic wrap, and let rise in a warm, draft-free area for about 1 hour or until the dough has doubled in size.
- Punch down the risen dough to release air bubbles, then shape it into a loaf by gently folding and tucking the edges underneath.
- Transfer the shaped dough to a greased 9x5 inch loaf pan, cover again, and let it rise for another 30-45 minutes until it has risen just above the rim of the pan.
- Preheat the oven to 375°F (190°C) about 15 minutes before baking.
- Optional: Make a shallow slash across the top of the loaf with a sharp knife to allow for expansion during baking.
- Bake the bread in the preheated oven for 25-30 minutes, or until the top is golden brown and the bread sounds hollow when tapped on the bottom.
- Remove the bread from the oven and let it cool in the pan for 10 minutes, then turn out onto a wire rack to cool completely before slicing.
Tips
- Perfect Water Temperature: Ensure your water is warm but not hot—around 110°F (43°C) is ideal. Too hot can kill the yeast, while too cold may not activate it properly.
- Kneading Technique: When kneading the dough, use the heel of your hand to push the dough away from you, then fold it back over itself. This technique helps develop gluten, giving your bread that perfect chewy texture.
- Rising Environment: For the best rise, place your dough in a warm, draft-free spot. If your kitchen is cool, consider preheating your oven for a few minutes, then turning it off and placing the dough inside to rise.
- Check for Doneness: To ensure your bread is perfectly baked, tap the bottom of the loaf; it should sound hollow. If it doesn’t, return it to the oven for a few more minutes.
- Cooling is Key: Allow your bread to cool completely on a wire rack before slicing. This helps maintain its structure and prevents it from becoming gummy.
- Storage Tips: To keep your bread fresh, store it in a paper bag at room temperature for up to 3 days. For longer storage, slice and freeze it in an airtight container.
Nutrition Facts
Calories: 100kcal
Carbohydrates: 18g
Protein: 3g
Fat: 2g
Saturated Fat: g
Cholesterol: 0mg