Imagine indulging in creamy, homemade yogurt that’s not only delicious but also packed with probiotics! With the Ninja Speedi, you can whip up a quart of this tangy delight in just a few simple steps. Say goodbye to store-bought options loaded with preservatives and hello to a fresh, customizable treat that you can enjoy any time of day. Whether you’re topping it with fresh fruits, drizzling it with honey, or using it as a base for smoothies, this recipe is sure to elevate your culinary game. Ready to impress your taste buds? Let’s dive into the world of homemade yogurt!
Prep Time: 5 mins
Cook Time: 8 hrs
Total Time: 8 hrs 5 mins
Cuisine: International
Serves: 1 quart
Ingredients
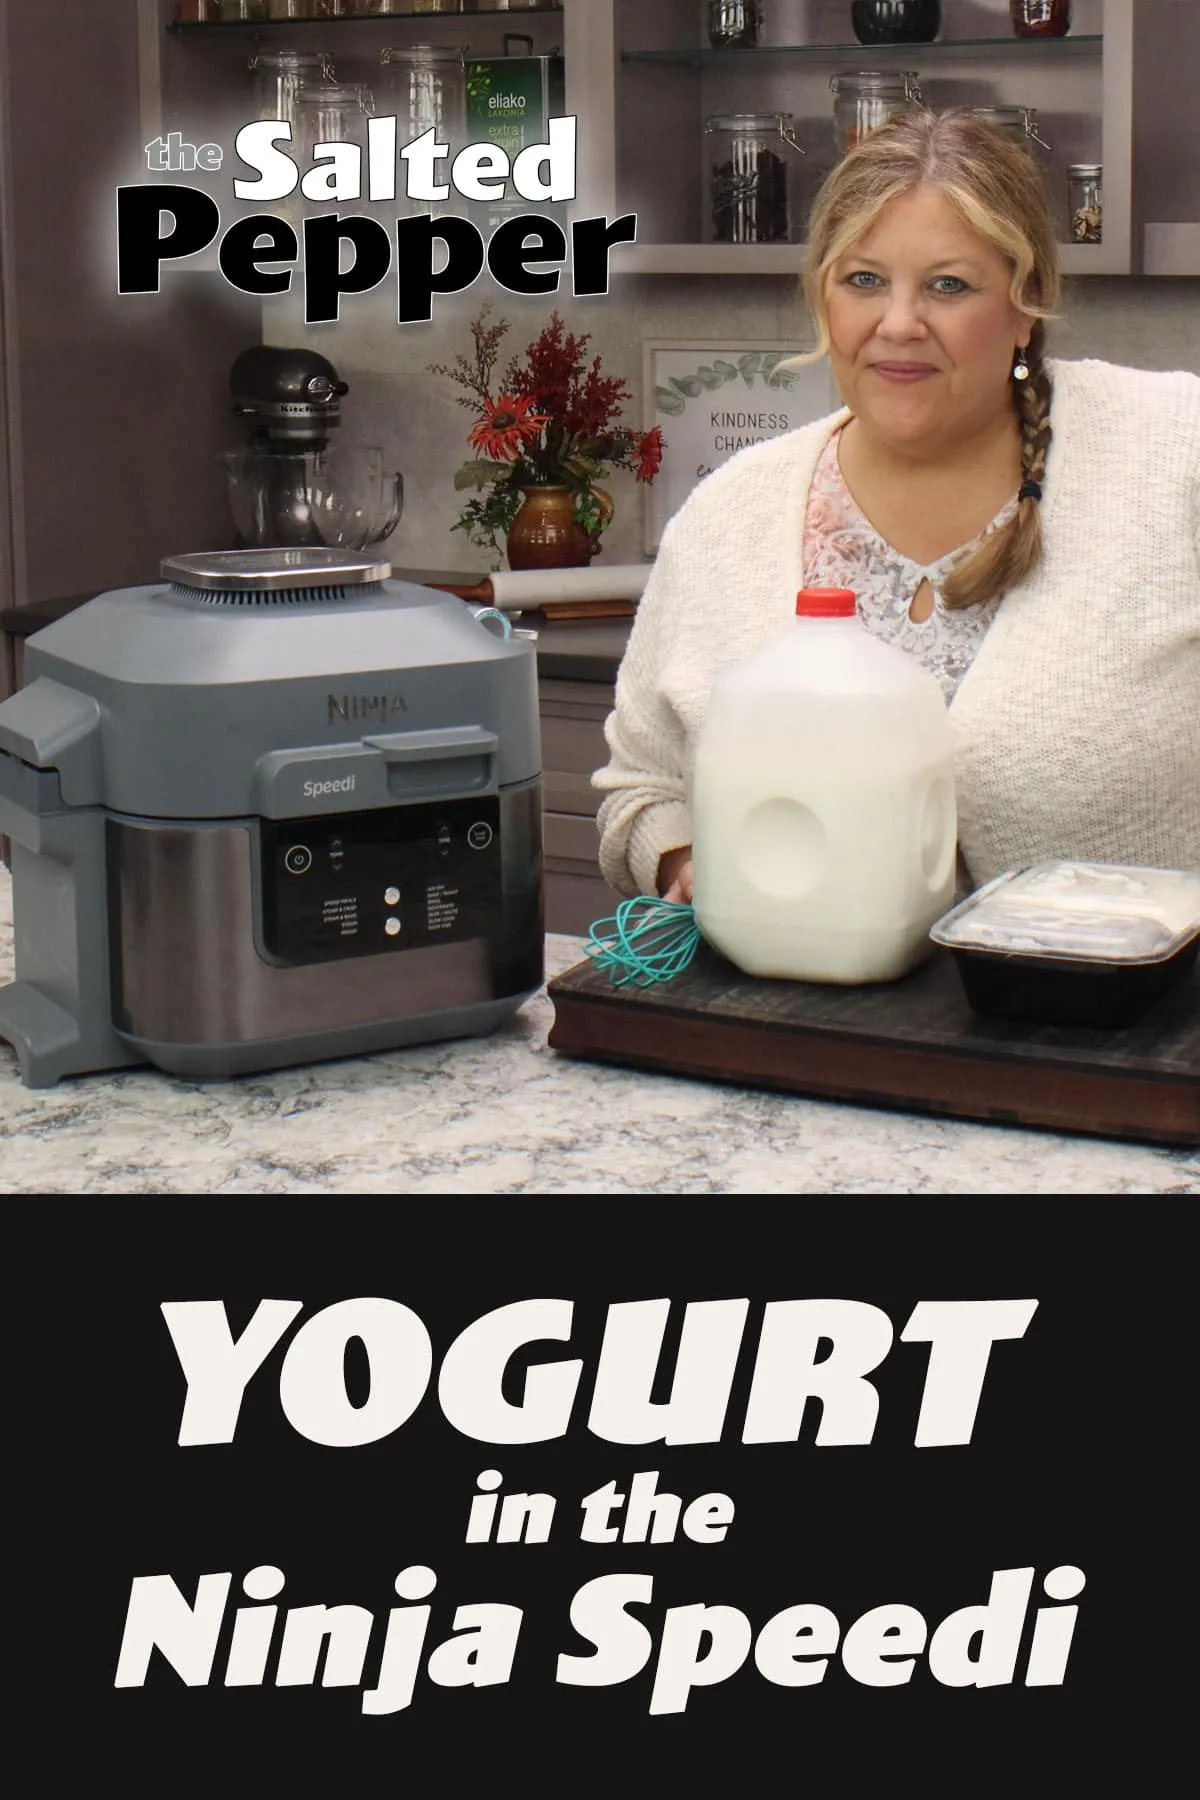
- 1 quart milk (whole or low-fat)
- 2 tablespoons plain yogurt with live cultures
Instructions
- Thoroughly clean and sanitize all equipment, including the Ninja Speedi pot, measuring cups, and utensils to prevent unwanted bacterial contamination.
- Pour the entire quart of milk into the Ninja Speedi pot, ensuring you do not exceed the maximum fill line.
- Close the Ninja Speedi lid and select the "Yogurt" function, which will first heat the milk to approximately 180°F to kill any existing bacteria and denature milk proteins.
- Once the heating cycle completes, carefully remove the pot and allow the milk to cool down to approximately 110-115°F. This temperature is crucial for activating yogurt cultures without killing them.
- Gently whisk the 2 tablespoons of plain yogurt with live cultures into the warm milk, ensuring even distribution of the starter culture.
- Return the pot to the Ninja Speedi and set the yogurt function for 8 hours, which allows bacterial fermentation to transform milk into yogurt.
- After the incubation period, transfer the yogurt to a storage container and refrigerate for at least 2 hours to firm up the texture.
- Optional: For thicker Greek-style yogurt, strain through a cheesecloth-lined colander to remove excess whey.
Tips
- Sanitize Everything: Before you start, ensure all your equipment is thoroughly cleaned and sanitized. This prevents unwanted bacteria from ruining your yogurt.
- Temperature Matters: Keep a thermometer handy! Heating the milk to 180°F is essential for killing off any unwanted bacteria, while cooling it to 110-115°F is crucial for activating the yogurt cultures without damaging them.
- Whisk Gently: When adding the yogurt starter to the warm milk, whisk gently to ensure an even distribution. This helps the cultures work their magic throughout the mixture.
- Patience is Key: Allow the yogurt to ferment for the full 8 hours for the best flavor and texture. The longer it sits, the tangier it will become!
- Chill Out: After fermentation, refrigerate the yogurt for at least 2 hours. This step helps firm up the texture, making it perfect for scooping.
- For Greek Yogurt Lovers: If you prefer a thicker consistency, strain your yogurt through a cheesecloth-lined colander to remove excess whey. You’ll have a rich, creamy Greek-style yogurt in no time!
Nutrition Facts
Calories: 150kcal
Carbohydrates: 12g
Protein: 8g
Fat: 8g
Saturated Fat: 5g
Cholesterol: 25mg