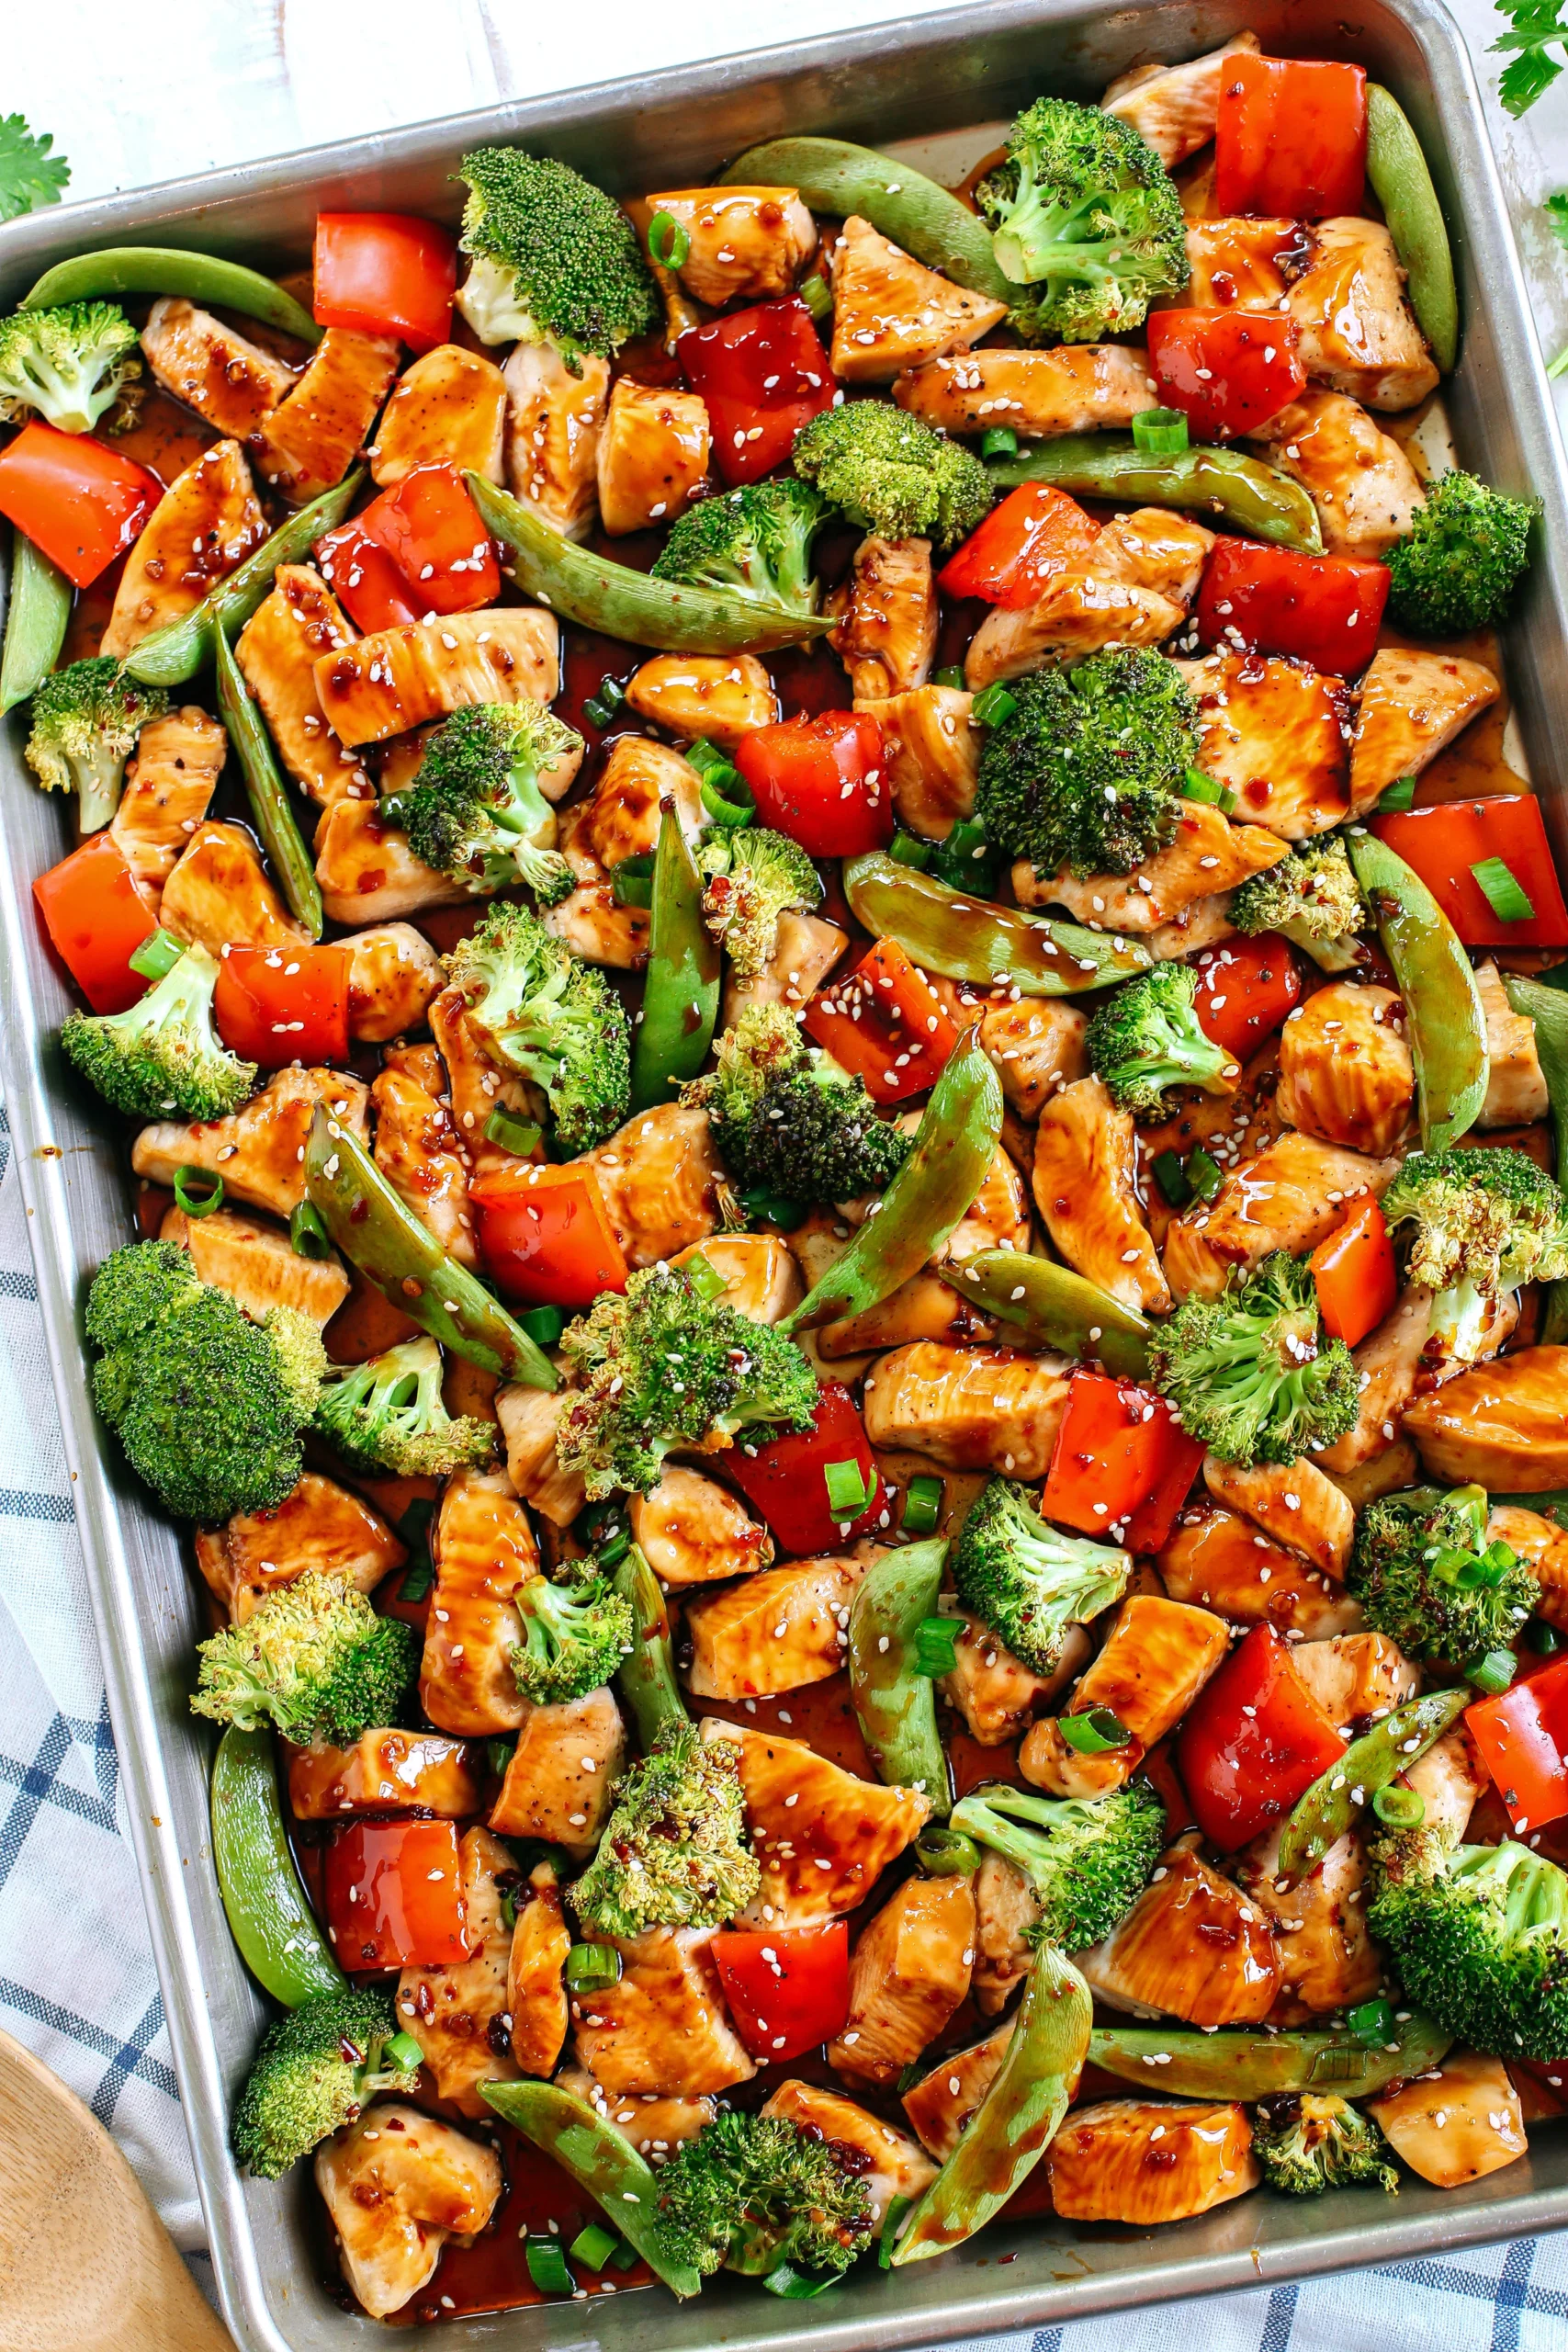
Looking for a hassle-free dinner that packs a punch of flavor and nutrition? Look no further! Our One Pan Chicken and Vegetables Meal is the perfect solution for busy weeknights when you want something delicious without the fuss of multiple dishes. With just 10 minutes of prep time and a mere 40 minutes in the oven, you can create a wholesome meal that’s not only satisfying but also visually stunning. Picture juicy chicken breasts paired with vibrant, roasted vegetables—all cooked to perfection in one pan! Ready to impress your family or guests? Let’s dive into this easy recipe that promises to become a staple in your kitchen!
Prep Time: 10 mins
Cook Time: 40 mins
Total Time: 50 mins
Cuisine: American
Serves: 4 servings
Ingredients
- 4 chicken breasts
- 2 cups mixed vegetables (carrots, bell peppers, zucchini)
- 2 tablespoons olive oil
- Salt and pepper to taste
- 1 teaspoon garlic powder
- 1 teaspoon Italian seasoning
Instructions
- Preheat the oven to 425°F (220°C). Ensure an oven rack is positioned in the middle of the oven.
- Pat chicken breasts dry with paper towels to remove excess moisture. This helps achieve better browning and crispier skin.
- Season chicken breasts evenly with salt, pepper, garlic powder, and Italian seasoning. Ensure both sides are well-coated with the spice mixture.
- Wash and chop mixed vegetables into roughly uniform bite-sized pieces to ensure even cooking. Aim for pieces about 1-inch in size.
- Use a large, oven-safe skillet or sheet pan. Drizzle olive oil across the pan's surface, coating it evenly.
- Arrange chicken breasts in the center of the pan, surrounded by the chopped vegetables. Spread vegetables in a single layer to promote even roasting.
- Drizzle remaining olive oil over the vegetables and lightly season them with additional salt and pepper.
- Place the pan in the preheated oven and roast for 35-40 minutes, or until chicken reaches an internal temperature of 165°F (74°C).
- Check chicken doneness by using a meat thermometer inserted into the thickest part of the breast. Vegetables should be tender and slightly caramelized.
- Remove from oven and let the dish rest for 5 minutes before serving. This allows juices to redistribute, ensuring moist chicken.
- Serve hot, portioning one chicken breast with a generous serving of roasted vegetables per plate.
Tips
- Pat the Chicken Dry: For that perfect golden-brown crust, make sure to pat the chicken breasts dry with paper towels before seasoning. This step helps achieve better browning and a crispier skin.
- Uniform Vegetable Pieces: Chop your mixed vegetables into uniform, bite-sized pieces (about 1-inch) to ensure they cook evenly. This way, you won’t end up with some veggies overcooked while others are still crunchy.
- Use an Oven-Safe Skillet: Opt for a large, oven-safe skillet or sheet pan to simplify cleanup. This allows you to roast everything together, maximizing flavor and minimizing mess.
- Don’t Skimp on Seasoning: Be generous with the salt, pepper, garlic powder, and Italian seasoning. A well-seasoned chicken and vegetables will make all the difference in flavor.
- Check for Doneness: Use a meat thermometer to check that the chicken has reached an internal temperature of 165°F (74°C). This ensures it’s cooked through while remaining juicy.
- Let it Rest: Allow the dish to rest for about 5 minutes after removing it from the oven. This resting period helps the juices redistribute, resulting in moist and flavorful chicken.
- Customize Your Veggies: Feel free to swap out the mixed vegetables for your favorites! Broccoli, asparagus, or sweet potatoes can all make great additions or substitutions.
- Serve with a Side: For a complete meal, consider serving this dish with a side of rice or quinoa to soak up the delicious juices.
Nutrition Facts
Calories: kcal
Carbohydrates: g
Protein: g
Fat: g
Saturated Fat: g
Cholesterol: mg