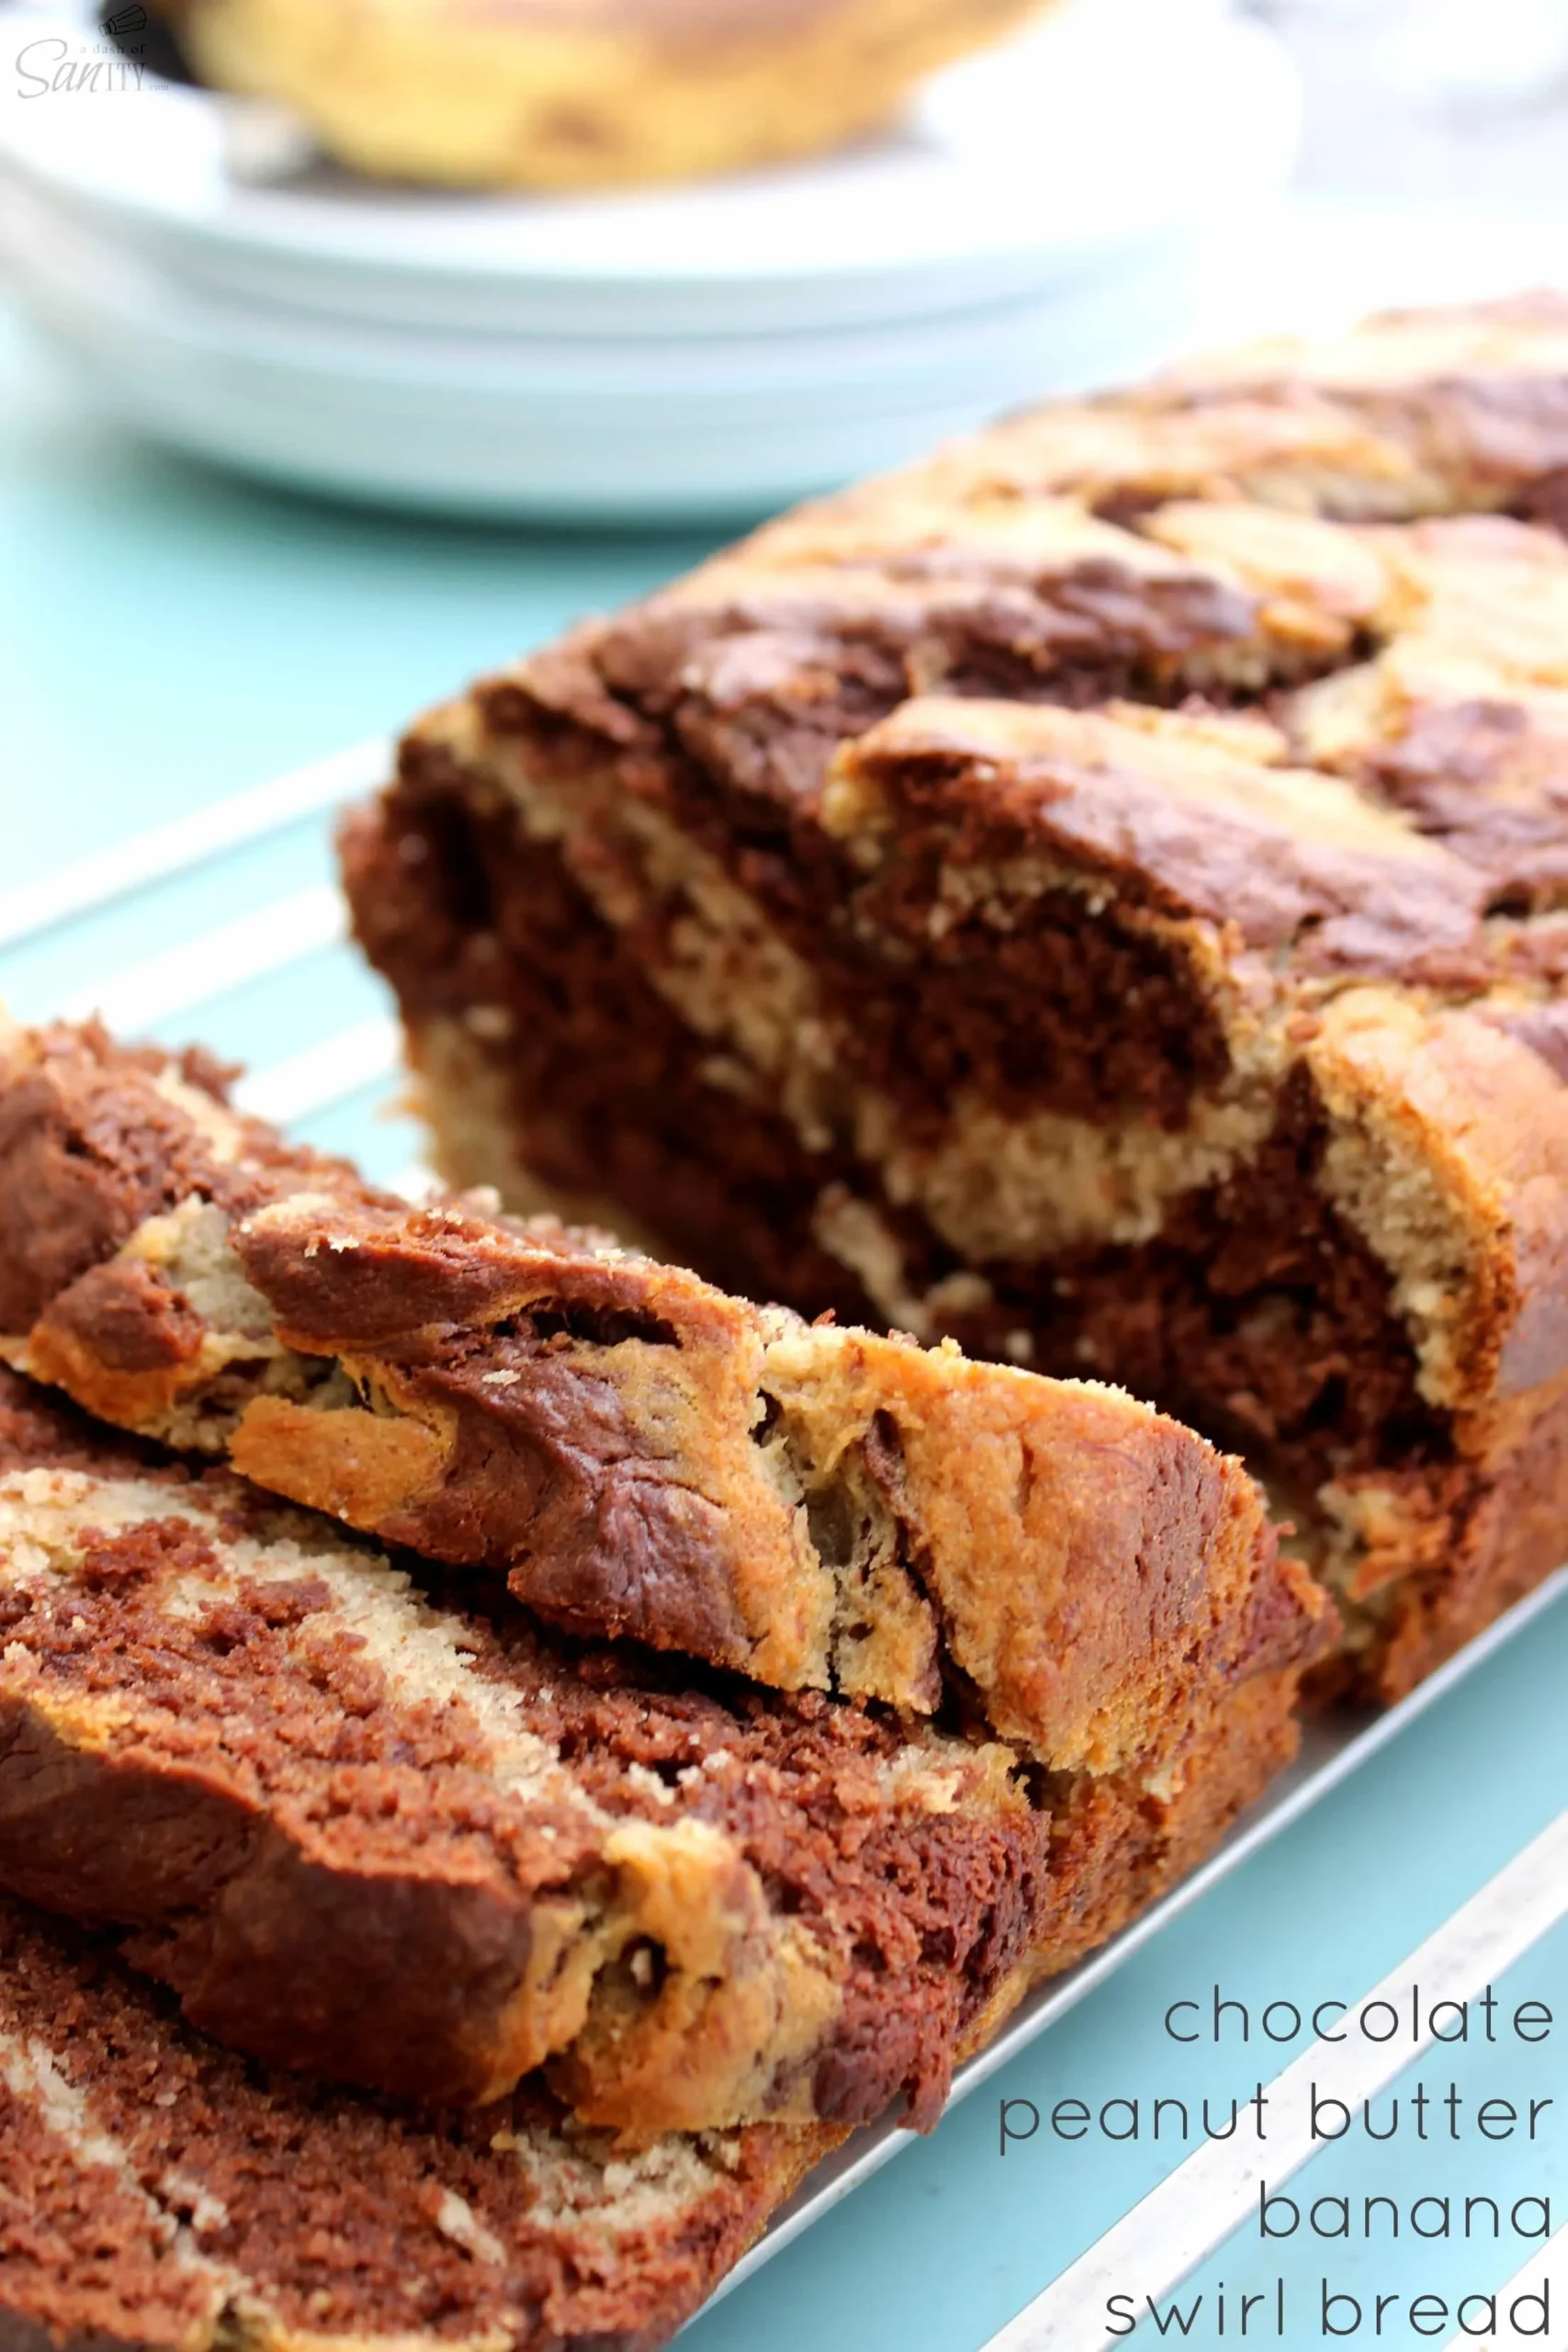
Get ready to transform your kitchen into a bakery of dreams with this mouthwatering Peanut Butter and Chocolate Swirl Bread! Imagine cutting into a soft, marbled loaf where rich chocolate and creamy peanut butter dance together in every single bite. This isn't just a bread - it's a decadent experience that will have your family begging for seconds, and your taste buds doing a happy dance. Whether you're a baking novice or a seasoned pro, this recipe promises to deliver maximum flavor with minimal effort.
Prep Time: 20 mins
Cook Time: 45 mins
Total Time: 1 hrs 5 mins
Cuisine: American
Serves: 1 loaf
Ingredients
- 2 cups all-purpose flour
- 1 cup sugar
- 1/2 cup peanut butter
- 1/2 cup cocoa powder
- 1 cup milk
- 2 large eggs
- 1 tablespoon baking powder
- 1/2 teaspoon salt
Instructions
- Preheat the oven to 350°F (175°C). Grease a 9x5 inch loaf pan with butter or cooking spray, then line with parchment paper for easy removal.
- In a large mixing bowl, sift together the all-purpose flour, baking powder, and salt. This helps remove any lumps and ensures even distribution of dry ingredients.
- In a separate bowl, cream together the sugar, peanut butter, and eggs until smooth and well combined. Use an electric mixer on medium speed for about 2-3 minutes.
- Gradually add the milk to the peanut butter mixture, mixing until the liquid is fully incorporated and the batter is consistent.
- Slowly fold the dry ingredients into the wet mixture, stirring gently until just combined. Be careful not to overmix, as this can make the bread tough.
- Divide the batter into two equal portions in separate bowls. In one bowl, sift in the cocoa powder and mix until a chocolate batter is formed.
- To create the swirl effect, alternately spoon the peanut butter and chocolate batters into the prepared loaf pan. Use a knife or skewer to gently swirl the batters together, creating a marbled pattern.
- Tap the pan lightly on the counter to remove any air bubbles and ensure even distribution of the batter.
- Place the loaf pan in the preheated oven and bake for 45-50 minutes. To check doneness, insert a toothpick into the center - it should come out clean with just a few moist crumbs.
- Remove from the oven and let the bread cool in the pan for 10 minutes. Then, transfer to a wire rack to cool completely before slicing.
- Once cooled, slice and serve. The bread can be stored in an airtight container at room temperature for up to 3 days.
Tips
- Room Temperature Matters: Ensure your eggs and milk are at room temperature for smoother mixing and better texture.
- Don't Overmix: When combining wet and dry ingredients, mix just until incorporated. Overmixing can lead to a tough, dense bread.
- Swirling Technique: For the most beautiful marbled effect, use a knife or skewer and make gentle figure-eight movements when creating the swirl pattern.
- Check for Doneness: Always use the toothpick test - it should come out with just a few moist crumbs, not completely dry.
- Cooling is Crucial: Let the bread cool completely before slicing to prevent crumbling and allow flavors to settle.
- Storage Hack: Wrap the cooled bread in plastic wrap or store in an airtight container to maintain moisture for up to 3 days.
Nutrition Facts
Calories: 290kcal
Carbohydrates: 35g
Protein: 8g
Fat: 14g
Saturated Fat: g
Cholesterol: 35mg