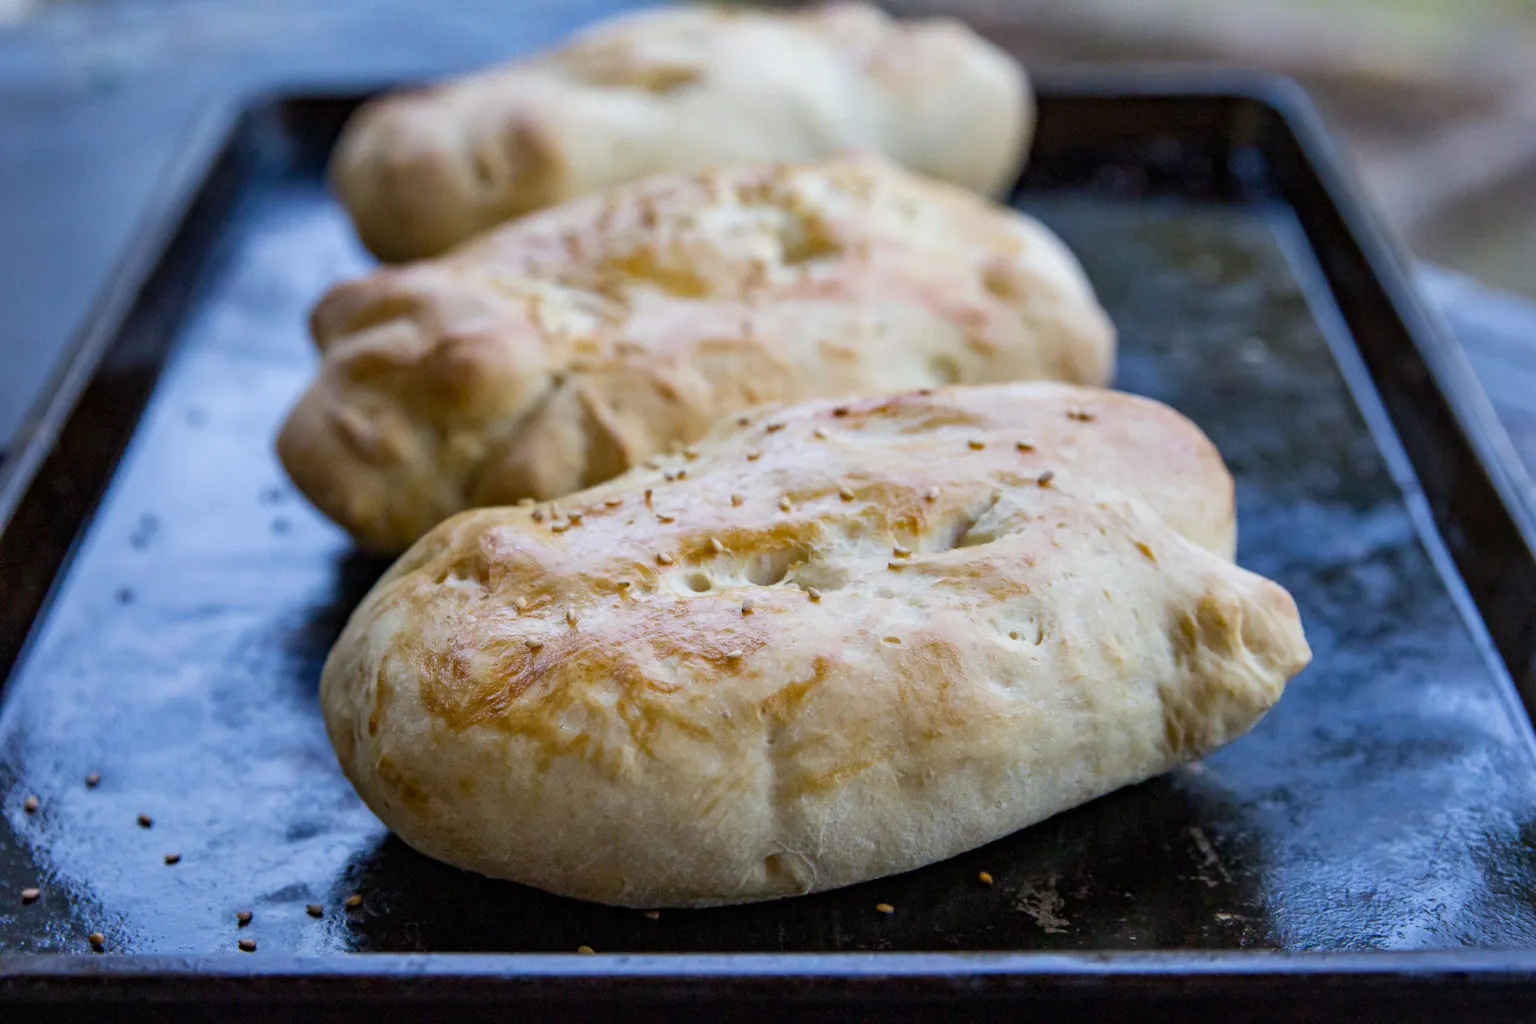
Get ready to elevate your grilling game with these mouthwatering Pellet Grill Sub Buns! Perfectly soft and golden, these homemade buns are the ideal companion for your favorite sandwiches, burgers, or even as a standalone treat. Imagine the aroma of freshly baked bread wafting through your backyard as you impress your family and friends with your culinary skills. With just a handful of simple ingredients and a few easy steps, you can create a batch of 12 delicious sub buns that will have everyone coming back for seconds. Don’t miss out on this chance to become the star of your next cookout—read on for the full recipe and tips to make these buns a hit!
Ingredients
- 4 cups all-purpose flour
- 1 packet active dry yeast
- 1 tablespoon sugar
- 2 teaspoons salt
- 1 ½ cups warm water
- 2 tablespoons olive oil
Instructions
- In a large mixing bowl, combine warm water (around 110°F) with active dry yeast and sugar. Let the mixture sit for 5-7 minutes until it becomes foamy, indicating the yeast is activated.
- In a separate large bowl, whisk together all-purpose flour and salt to ensure even distribution of ingredients.
- Pour the activated yeast mixture into the flour and add olive oil. Mix using a wooden spoon or stand mixer with a dough hook until a shaggy dough forms.
- Knead the dough on a lightly floured surface for 8-10 minutes until smooth and elastic. The dough should spring back when gently pressed.
- Place the dough in a lightly oiled bowl, cover with a clean kitchen towel, and let rise in a warm, draft-free area for about 1 hour or until doubled in size.
- Punch down the risen dough and divide it into 12 equal portions. Shape each portion into a long, sub-shaped roll.
- Place the shaped rolls on a parchment-lined baking sheet, cover, and let rise again for 30 minutes.
- Preheat your pellet grill to 375°F, setting up an indirect heat zone.
- Brush the risen sub buns with olive oil or an egg wash for a golden crust.
- Place the baking sheet with sub buns on the indirect heat side of the pellet grill. Close the lid and bake for 12-15 minutes, rotating halfway through for even browning.
- Check for doneness by tapping the bottom of a bun - it should sound hollow. The exterior should be golden brown.
- Remove buns from the grill and let cool on a wire rack for at least 15 minutes before slicing.
Tips
- Activate Your Yeast: Ensure your water is at the right temperature (around 110°F) to properly activate the yeast. If it's too hot, it can kill the yeast; too cold, and it won’t activate.
- Knead for Texture: Knead the dough thoroughly for 8-10 minutes. This develops the gluten, giving your buns that perfect chewy texture.
- Warm Rising Environment: For the best rise, place your dough in a warm, draft-free area. If your kitchen is cool, try preheating your oven to the lowest setting for a few minutes, then turning it off and placing the dough inside.
- Shape with Care: When shaping the sub buns, ensure they are uniform in size for even cooking. A kitchen scale can help you achieve consistent portions.
- Indirect Heat is Key: When grilling, always set up an indirect heat zone. This allows the buns to bake evenly without burning.
- Golden Finish: For a beautiful, golden crust, brush the buns with olive oil or an egg wash before grilling. This adds flavor and enhances the appearance.
- Check for Doneness: Tap the bottom of a bun to check if it sounds hollow. This is a classic test for perfectly baked bread!
- Cool Before Slicing: Let the buns cool on a wire rack for at least 15 minutes before slicing. This helps them maintain their structure and prevents them from becoming gummy.With these tips in hand, you’re ready to create the best sub buns that will impress everyone at your next gathering!
Nutrition Facts
Calories: 160kcal
Carbohydrates: 30g
Protein: 4g
Fat: g
Saturated Fat: g
Cholesterol: 0mg


