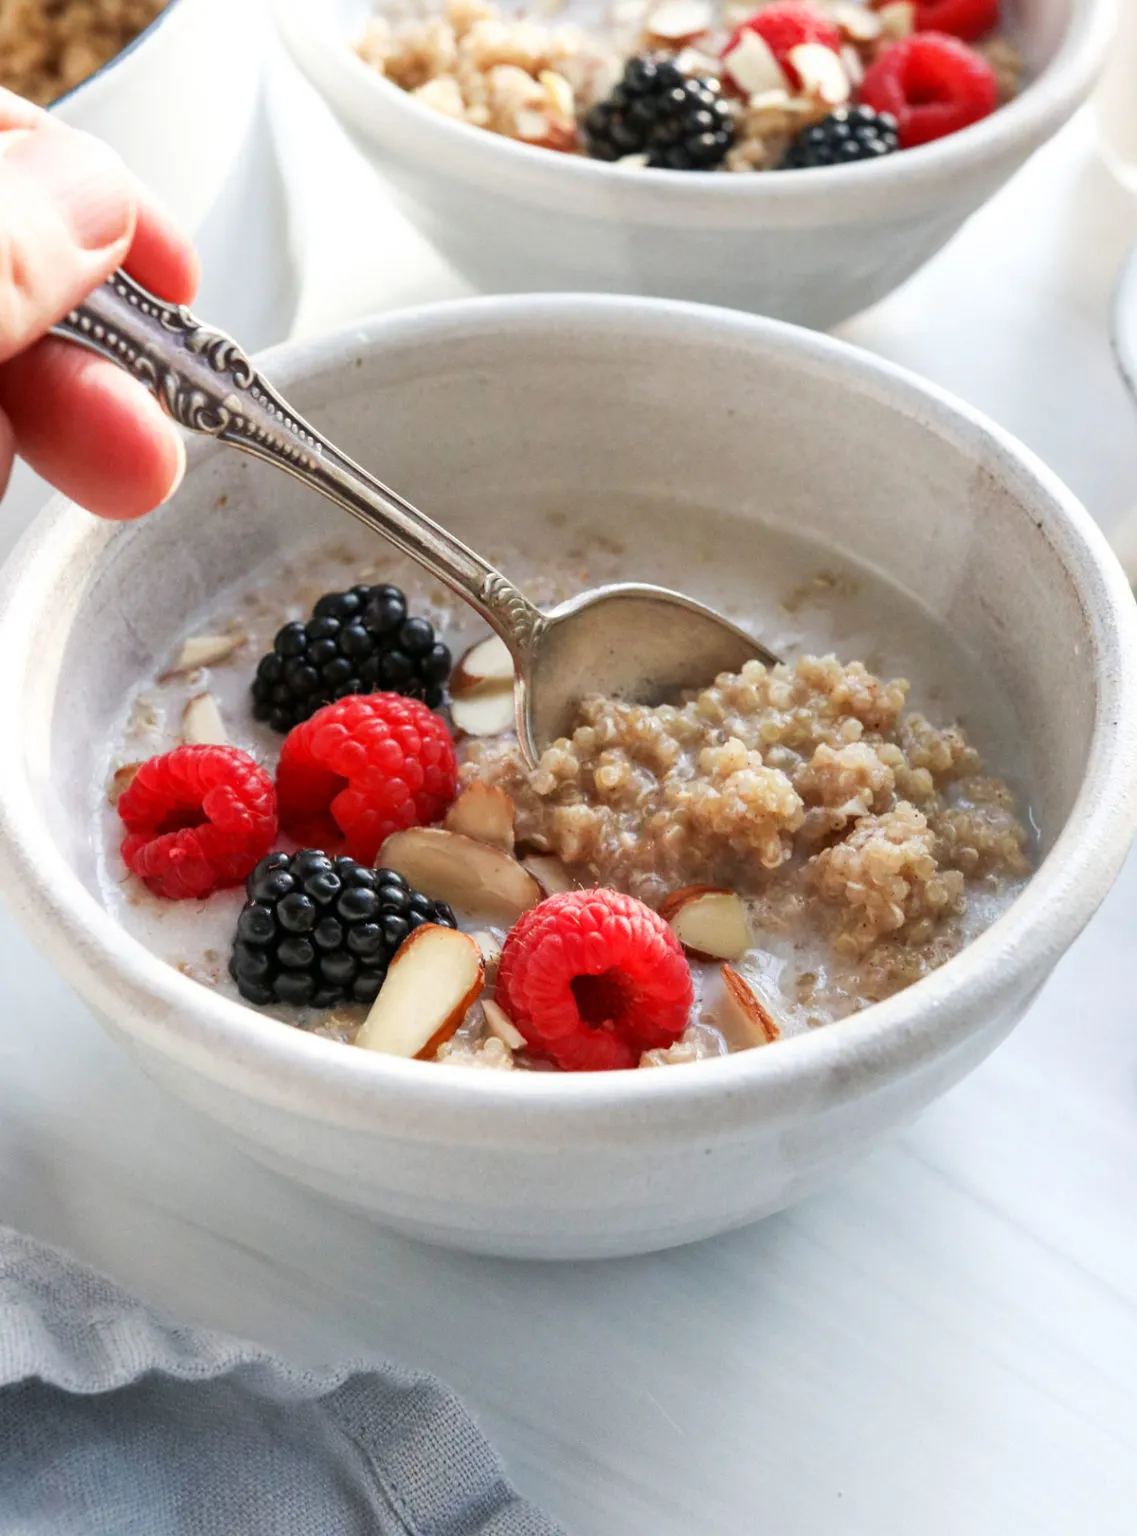
Are you ready to elevate your breakfast game with a dish that's not only delicious but also packed with nutrients? Dive into the world of Quinoa Porridge with Maple Brown Sugar—a delightful blend of creamy quinoa, rich maple syrup, and the warm embrace of cinnamon. This recipe is a game-changer, transforming a simple grain into a gourmet morning treat that will keep you fueled throughout the day. Whether you're seeking a quick breakfast or a cozy snack, this porridge is sure to satisfy your cravings and leave you wanting more. Don't miss out on the chance to indulge in this wholesome delight—read on to discover how to whip up this mouthwatering dish in just 20 minutes!
Ingredients
- 1 cup quinoa, rinsed
- 2 cups water
- 1/4 cup maple syrup
- 1/2 teaspoon cinnamon
- 1/4 cup brown sugar
- 1/2 cup milk (or non-dairy alternative)
- 1/4 cup nuts (optional)
- 1/4 cup dried fruit (optional)
Instructions
- Start by rinsing the quinoa under cold running water in a fine-mesh sieve. This step is crucial as it removes the natural coating called saponin, which can give the quinoa a bitter taste.
- In a medium saucepan, combine the rinsed quinoa and 2 cups of water. Bring the mixture to a boil over medium-high heat.
- Once boiling, reduce the heat to low, cover the saucepan, and let it simmer for about 15 minutes or until the quinoa has absorbed all the water and is tender. You’ll know it’s done when the quinoa has expanded and the germ has separated, forming a little tail.
- While the quinoa is cooking, prepare the sweetener mixture. In a small bowl, combine the maple syrup, brown sugar, and cinnamon. Mix well until the sugars are dissolved and the mixture is smooth.
- Once the quinoa is cooked, remove it from the heat and let it sit, covered, for about 5 minutes. This allows it to fluff up further.
- After resting, fluff the quinoa with a fork to separate the grains. Then, pour in the milk (or non-dairy alternative) and the sweetener mixture. Stir gently to combine all the ingredients until the quinoa is evenly coated and creamy.
- If desired, add in the nuts and dried fruit at this stage for added texture and flavor. Stir them in until evenly distributed.
- Serve the quinoa porridge warm in bowls. You can drizzle a little extra maple syrup on top or sprinkle more cinnamon for added flavor if you like.
- Enjoy your delicious Quinoa Porridge with Maple Brown Sugar as a nutritious breakfast or a satisfying snack!
Tips
- Rinse Your Quinoa: Always rinse quinoa under cold water to remove its natural coating, saponin, which can impart a bitter flavor. This step is essential for achieving a delicious porridge.
- Cooking Time Matters: Keep an eye on the cooking time. Once the quinoa absorbs all the water and the germ separates, it’s ready! Overcooking can lead to mushy quinoa, so stick to the 15-minute simmer.
- Sweetener Variations: Feel free to adjust the sweetness to your liking! If you prefer a healthier option, reduce the amount of brown sugar or substitute it with a natural sweetener like honey or agave syrup.
- Creaminess Factor: For an extra creamy texture, consider using full-fat coconut milk or almond milk. This will enhance the richness of your porridge.
- Add Your Favorites: Customize your porridge by adding your favorite nuts and dried fruits. Almonds, walnuts, or dried cranberries can add a delightful crunch and flavor.
- Serve with Style: Top your porridge with a drizzle of maple syrup or a sprinkle of cinnamon before serving. It not only looks appealing but also enhances the taste!
- Make Ahead: If you're short on time in the mornings, prepare the quinoa in advance and store it in the fridge. Just reheat and add the sweetener mixture when you’re ready to enjoy!
Nutrition Facts
Calories: 380kcal
Carbohydrates: 65g
Protein: 12g
Fat: 10g
Saturated Fat: g
Cholesterol: 5mg


