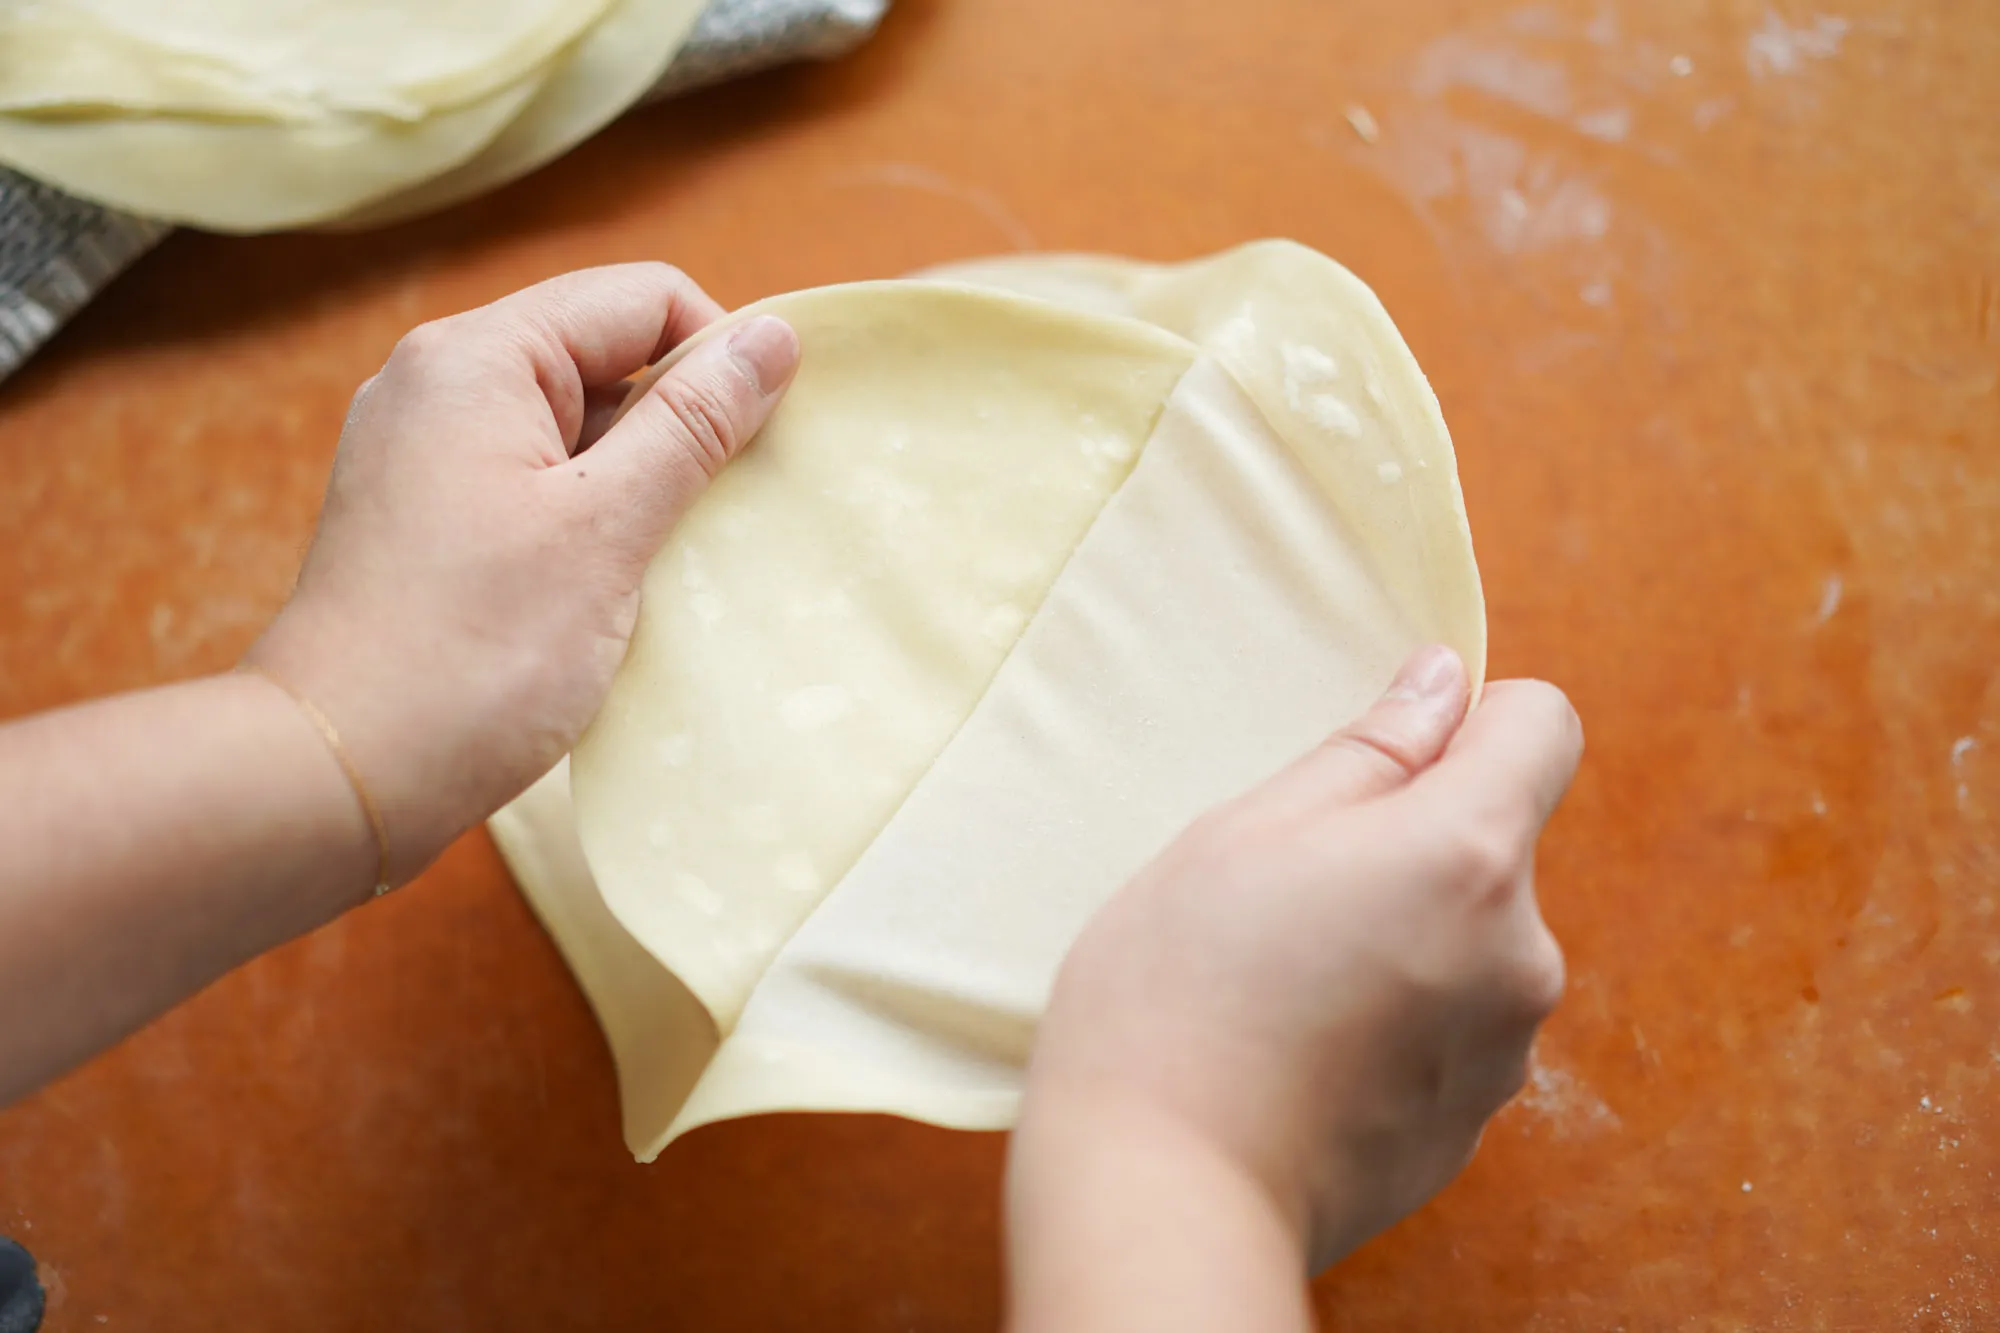
Imagine creating delicate, paper-thin spring roll wrappers that transport you straight to the bustling street markets of Asia, right in your own kitchen! These homemade wrappers are not just a recipe—they're a gateway to culinary magic that will elevate your cooking from ordinary to extraordinary. With just a few simple ingredients and some kitchen love, you'll master the art of crafting the most delicate, versatile wrappers that will make your friends and family think you've studied cooking in a traditional Asian kitchen.
Prep Time: 20 mins
Cook Time: 5 mins
Total Time: 25 mins
Cuisine: Asian
Serves: 20 wrappers
Ingredients
- 2 cups all-purpose flour
- 1/2 teaspoon salt
- 3/4 cup water
- 1 tablespoon vegetable oil
Instructions
- In a large mixing bowl, combine the 2 cups of all-purpose flour and 1/2 teaspoon of salt. Whisk them together until well mixed to ensure even distribution of the salt.
- Make a well in the center of the flour mixture and add 3/4 cup of water and 1 tablespoon of vegetable oil. The oil will help make the wrappers more pliable.
- Using a fork or your hands, gradually mix the flour into the water and oil, starting from the edges of the well. Continue mixing until the dough begins to come together.
- Once the dough starts to form, transfer it onto a clean, floured surface. Knead the dough for about 5-7 minutes until it becomes smooth and elastic. If the dough is too sticky, sprinkle a little more flour as needed.
- After kneading, wrap the dough in plastic wrap or cover it with a damp cloth. Let it rest for about 15 minutes at room temperature. This resting period allows the gluten to relax, making it easier to roll out the wrappers.
- Once the dough has rested, divide it into 20 equal portions. Roll each portion into a ball and then flatten it slightly with your palm.
- Using a rolling pin, roll out each ball of dough on a lightly floured surface into a thin circle, about 6-7 inches in diameter. Aim for an even thickness to ensure uniform cooking.
- As you roll out each wrapper, place them on a clean kitchen towel or parchment paper, separating each one with a light dusting of flour to prevent sticking.
- To cook the wrappers, heat a non-stick skillet or frying pan over medium heat. Once hot, place one wrapper in the pan and cook for about 1 minute on each side, or until it becomes slightly translucent and has small bubbles forming.
- Remove the cooked wrapper from the pan and place it on a plate. Repeat the cooking process for the remaining wrappers, adjusting the heat as necessary to prevent burning.
- Once all the wrappers are cooked, allow them to cool slightly before using them in your favorite spring roll recipes. They can be stored in an airtight container in the refrigerator for up to a week or frozen for longer storage.
Tips
- Temperature Matters: Ensure your water is at room temperature for the most consistent dough texture.
- Kneading Technique: Don't rush the kneading process. Smooth, elastic dough is key to thin, flexible wrappers.
- Flour Power: Keep extra flour handy to prevent sticking, but use sparingly to avoid dry wrappers.
- Even Rolling: Use gentle, consistent pressure when rolling to achieve uniform thickness.
- Heat Control: Medium heat is crucial when cooking wrappers—too hot, and they'll burn; too cool, and they'll become tough.
- Storage Hack: Place parchment paper between wrappers when storing to prevent them from sticking together.
- Practice Makes Perfect: Don't get discouraged if your first batch isn't restaurant-quality. Each attempt will improve your technique!
Nutrition Facts
Calories: 70kcal
Carbohydrates: 12g
Protein: 2g
Fat: g
Saturated Fat: g
Cholesterol: 0mg


