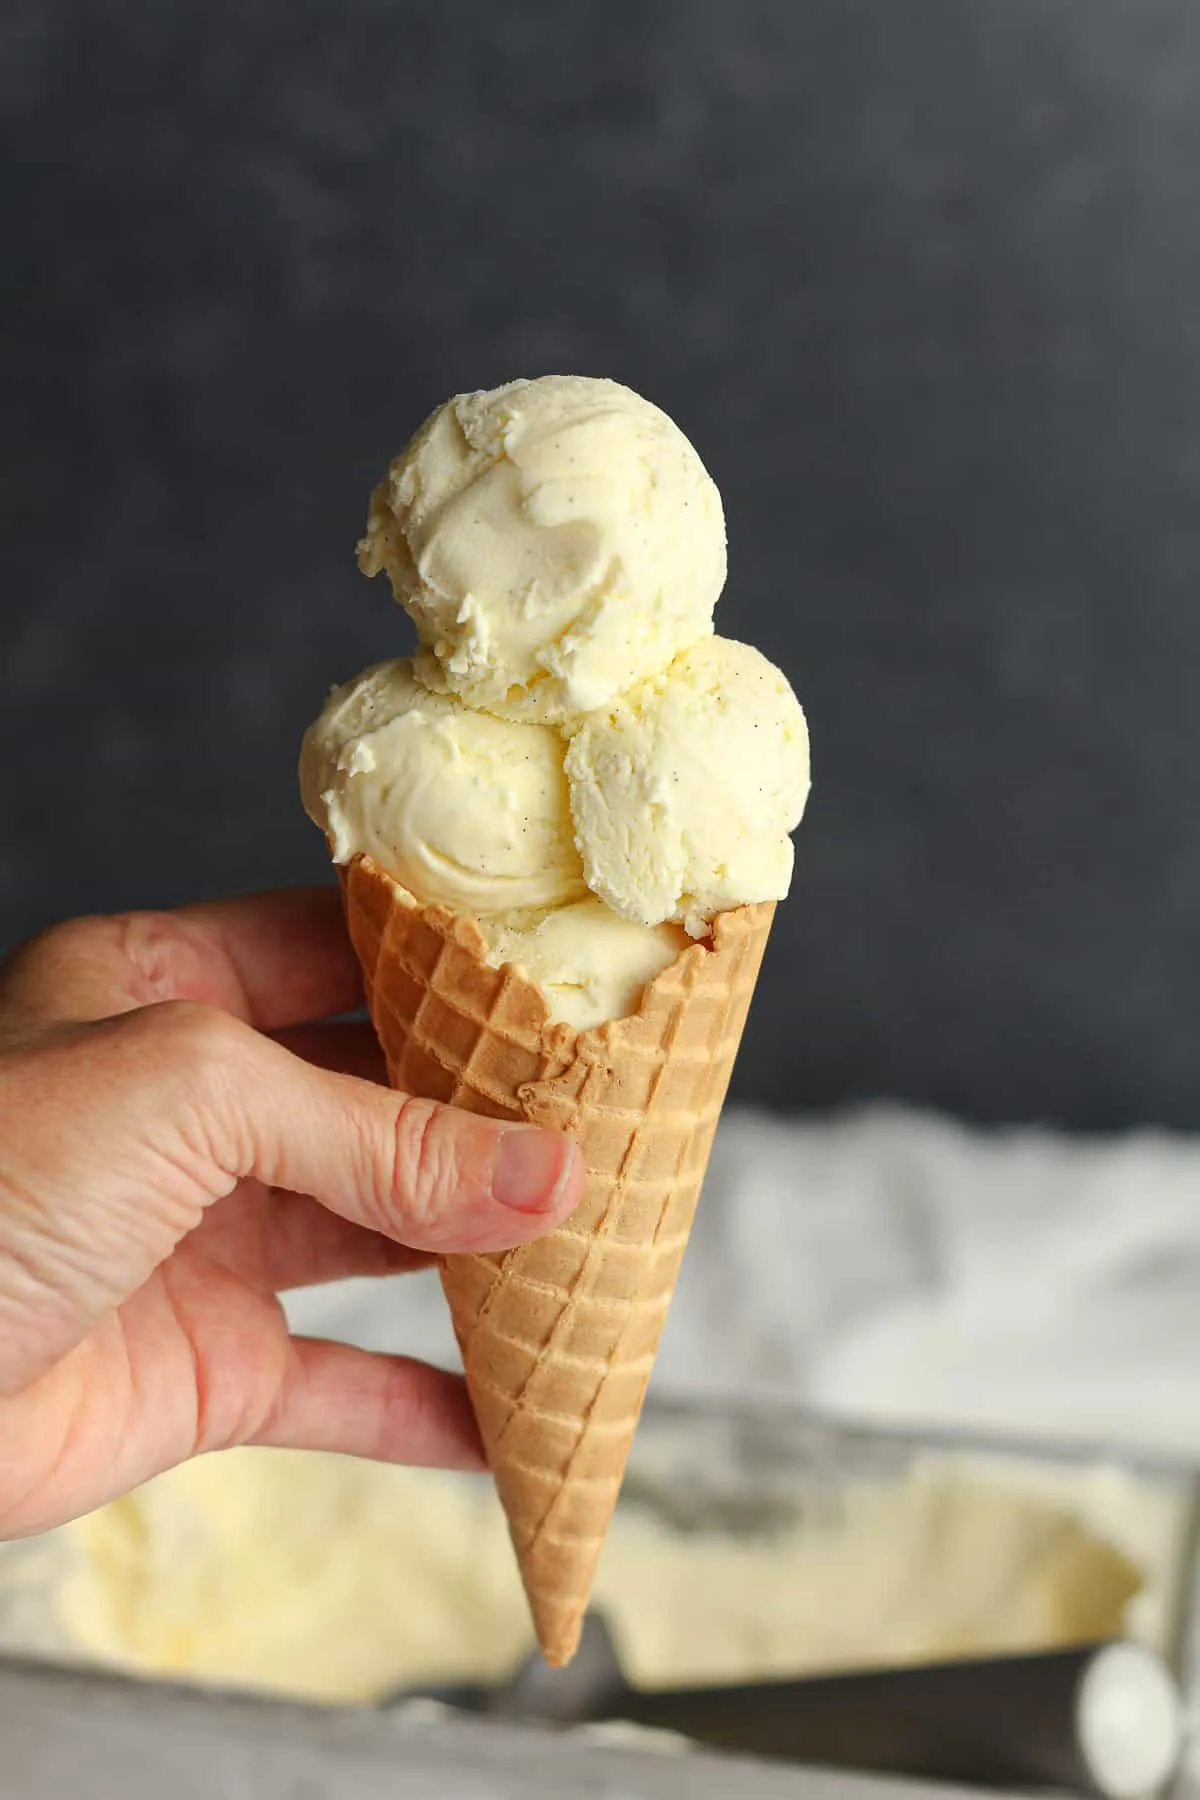
Imagine a dessert so luxurious, so velvety smooth, that it transforms an ordinary moment into a gourmet celebration. Our Vanilla Bean Ice Cream with Hand Dipped Cones isn't just a recipe—it's a culinary journey that elevates the classic ice cream experience from ordinary to extraordinary. With real vanilla bean seeds dancing through each creamy spoonful and artisan chocolate-dipped cones adding a touch of decadence, this dessert promises to be your new obsession.
Prep Time: 15 mins
Cook Time: 30 mins
Total Time: 4 hrs
Cuisine: American
Serves: 4 servings
Ingredients
- 2 cups heavy cream
- 1 cup whole milk
- 3/4 cup granulated sugar
- 1 vanilla bean, split and scraped
- 1 teaspoon vanilla extract
- Hand dipped cones
Instructions
- In a medium saucepan, combine heavy cream, whole milk, and granulated sugar. Slice the vanilla bean lengthwise and scrape out the seeds using the back of a knife.
- Add the vanilla bean seeds and the pod to the cream mixture. Heat the mixture over medium heat, stirring constantly until sugar completely dissolves and the mixture is hot but not boiling.
- Remove from heat and let the mixture steep for 30 minutes to allow the vanilla flavor to fully infuse into the cream. Remove the vanilla bean pod after steeping.
- Whisk in the vanilla extract and transfer the mixture to a bowl. Cover with plastic wrap, ensuring the wrap touches the surface of the cream to prevent skin formation.
- Refrigerate the mixture for at least 3 hours or overnight until completely chilled. The colder the base, the smoother the ice cream will be.
- Pour the chilled mixture into an ice cream maker and churn according to manufacturer's instructions, typically 20-25 minutes, until the ice cream reaches a soft-serve consistency.
- Transfer the churned ice cream to a freezer-safe container, smoothing the top with a spatula. Cover tightly and freeze for 2-3 hours until firm.
- For hand-dipped cones, melt high-quality chocolate and dip the top of waffle cones, allowing excess to drip off. Place on parchment paper and chill until chocolate sets.
- Scoop the vanilla bean ice cream into the prepared hand-dipped cones just before serving. Optionally, garnish with additional vanilla bean specks or a light dusting of powdered sugar.
Tips
- Use fresh, high-quality vanilla beans for the most intense flavor. Look for plump, moist beans with a rich, dark color.
- When scraping vanilla bean seeds, use the back of a knife to get maximum extraction without wasting any precious flavor.
- Ensure your cream mixture is thoroughly chilled before churning—this guarantees a smoother, creamier texture.
- For extra richness, let the vanilla bean steep in the warm cream mixture for up to an hour instead of just 30 minutes.
- When hand-dipping cones, use high-quality chocolate and ensure it's tempered correctly for a beautiful, glossy finish.
- If you don't have an ice cream maker, you can still make this recipe by using the "no-churn" method of whipping cream and condensing the milk mixture.
- Store your ice cream in an airtight container with plastic wrap pressed directly onto the surface to prevent ice crystals from forming.
Nutrition Facts
Calories: 450kcal
Carbohydrates: 35g
Protein: 4g
Fat: 32g
Saturated Fat: 20g
Cholesterol: 120mg