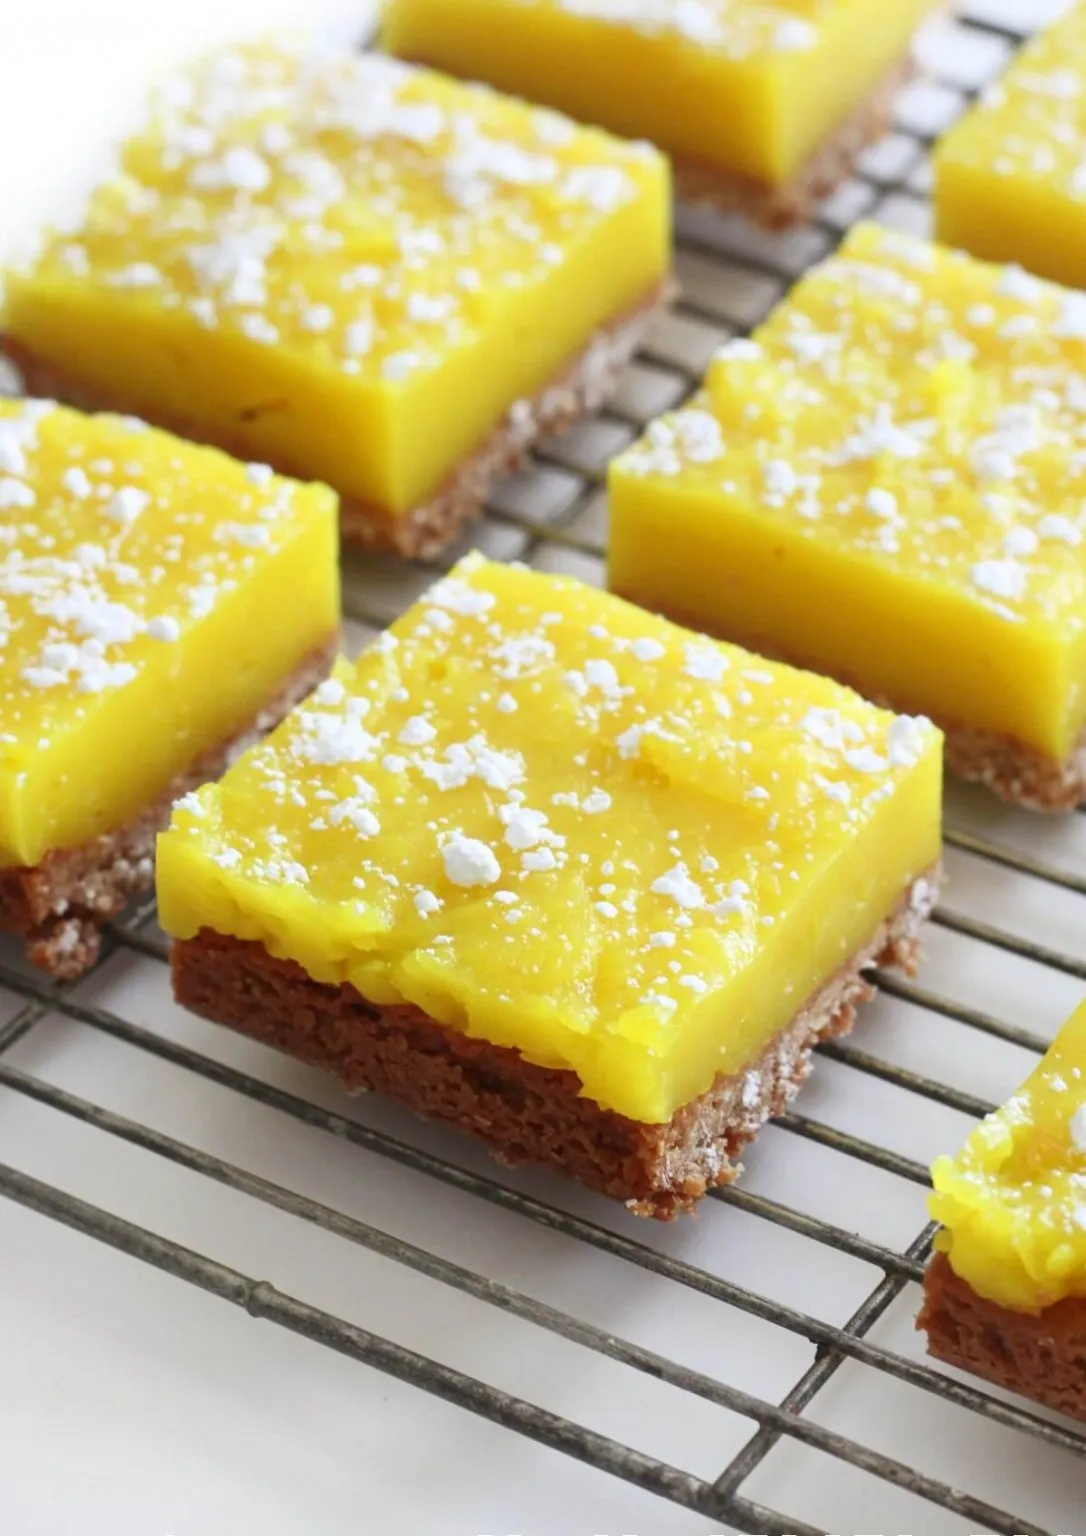
Imagine a dessert that's not just delicious, but also completely guilt-free and packed with zesty lemon flavor! These frozen lemon bars are about to revolutionize your dessert game, offering a cool, creamy treat that's vegan, gluten-free, and nut-free. Perfect for those hot summer days or when you're craving something sweet yet light, these bars are so incredible, you won't believe they're actually healthy!
Prep Time: 15 mins
Cook Time: -
Total Time: 15 mins
Cuisine: Vegan
Serves: 12 servings
Ingredients
- 1 cup coconut cream
- 1/2 cup maple syrup
- 1/2 cup lemon juice
- 1 tablespoon lemon zest
- 1/2 cup gluten-free flour
- 1/4 teaspoon salt
Instructions
- Line an 8x8 inch baking pan with parchment paper, ensuring edges overhang for easy removal.
- In a large mixing bowl, whisk together coconut cream, maple syrup, fresh lemon juice, and lemon zest until smooth and fully combined.
- Sift gluten-free flour and salt into the wet ingredients, stirring gently until the mixture is completely homogeneous with no flour lumps.
- Pour the lemon cream mixture into the prepared parchment-lined pan, spreading evenly with a spatula to create a smooth surface.
- Place the pan in the freezer for approximately 4-6 hours, or until the bars are completely firm and set.
- Once frozen, lift the bars out of the pan using the parchment paper edges and place on a cutting board.
- Using a sharp knife, cut into 12 equal rectangular bars.
- For best texture, let bars sit at room temperature for 3-5 minutes before serving to slightly soften.
- Store remaining bars in an airtight container in the freezer for up to 2 weeks.
Tips
- Use fresh lemon juice and zest for the most vibrant flavor - bottled juice just won't cut it!
- Ensure your coconut cream is well-chilled and smooth before mixing to get the perfect creamy texture.
- When sifting the gluten-free flour, take your time to prevent any lumps in the mixture.
- Line your pan carefully with parchment paper, creating smooth corners for easy removal.
- For picture-perfect bars, use a sharp, clean knife when cutting and wipe the blade between cuts.
- Let the bars soften just slightly before serving to achieve the most luxurious, creamy texture.
- If you're meal prepping, these bars can be made ahead and stored in the freezer for up to two weeks - talk about convenient!
Nutrition Facts
Calories: 180kcal
Carbohydrates: 22g
Protein: 1g
Fat: 12g
Saturated Fat: 10g
Cholesterol: 0mg