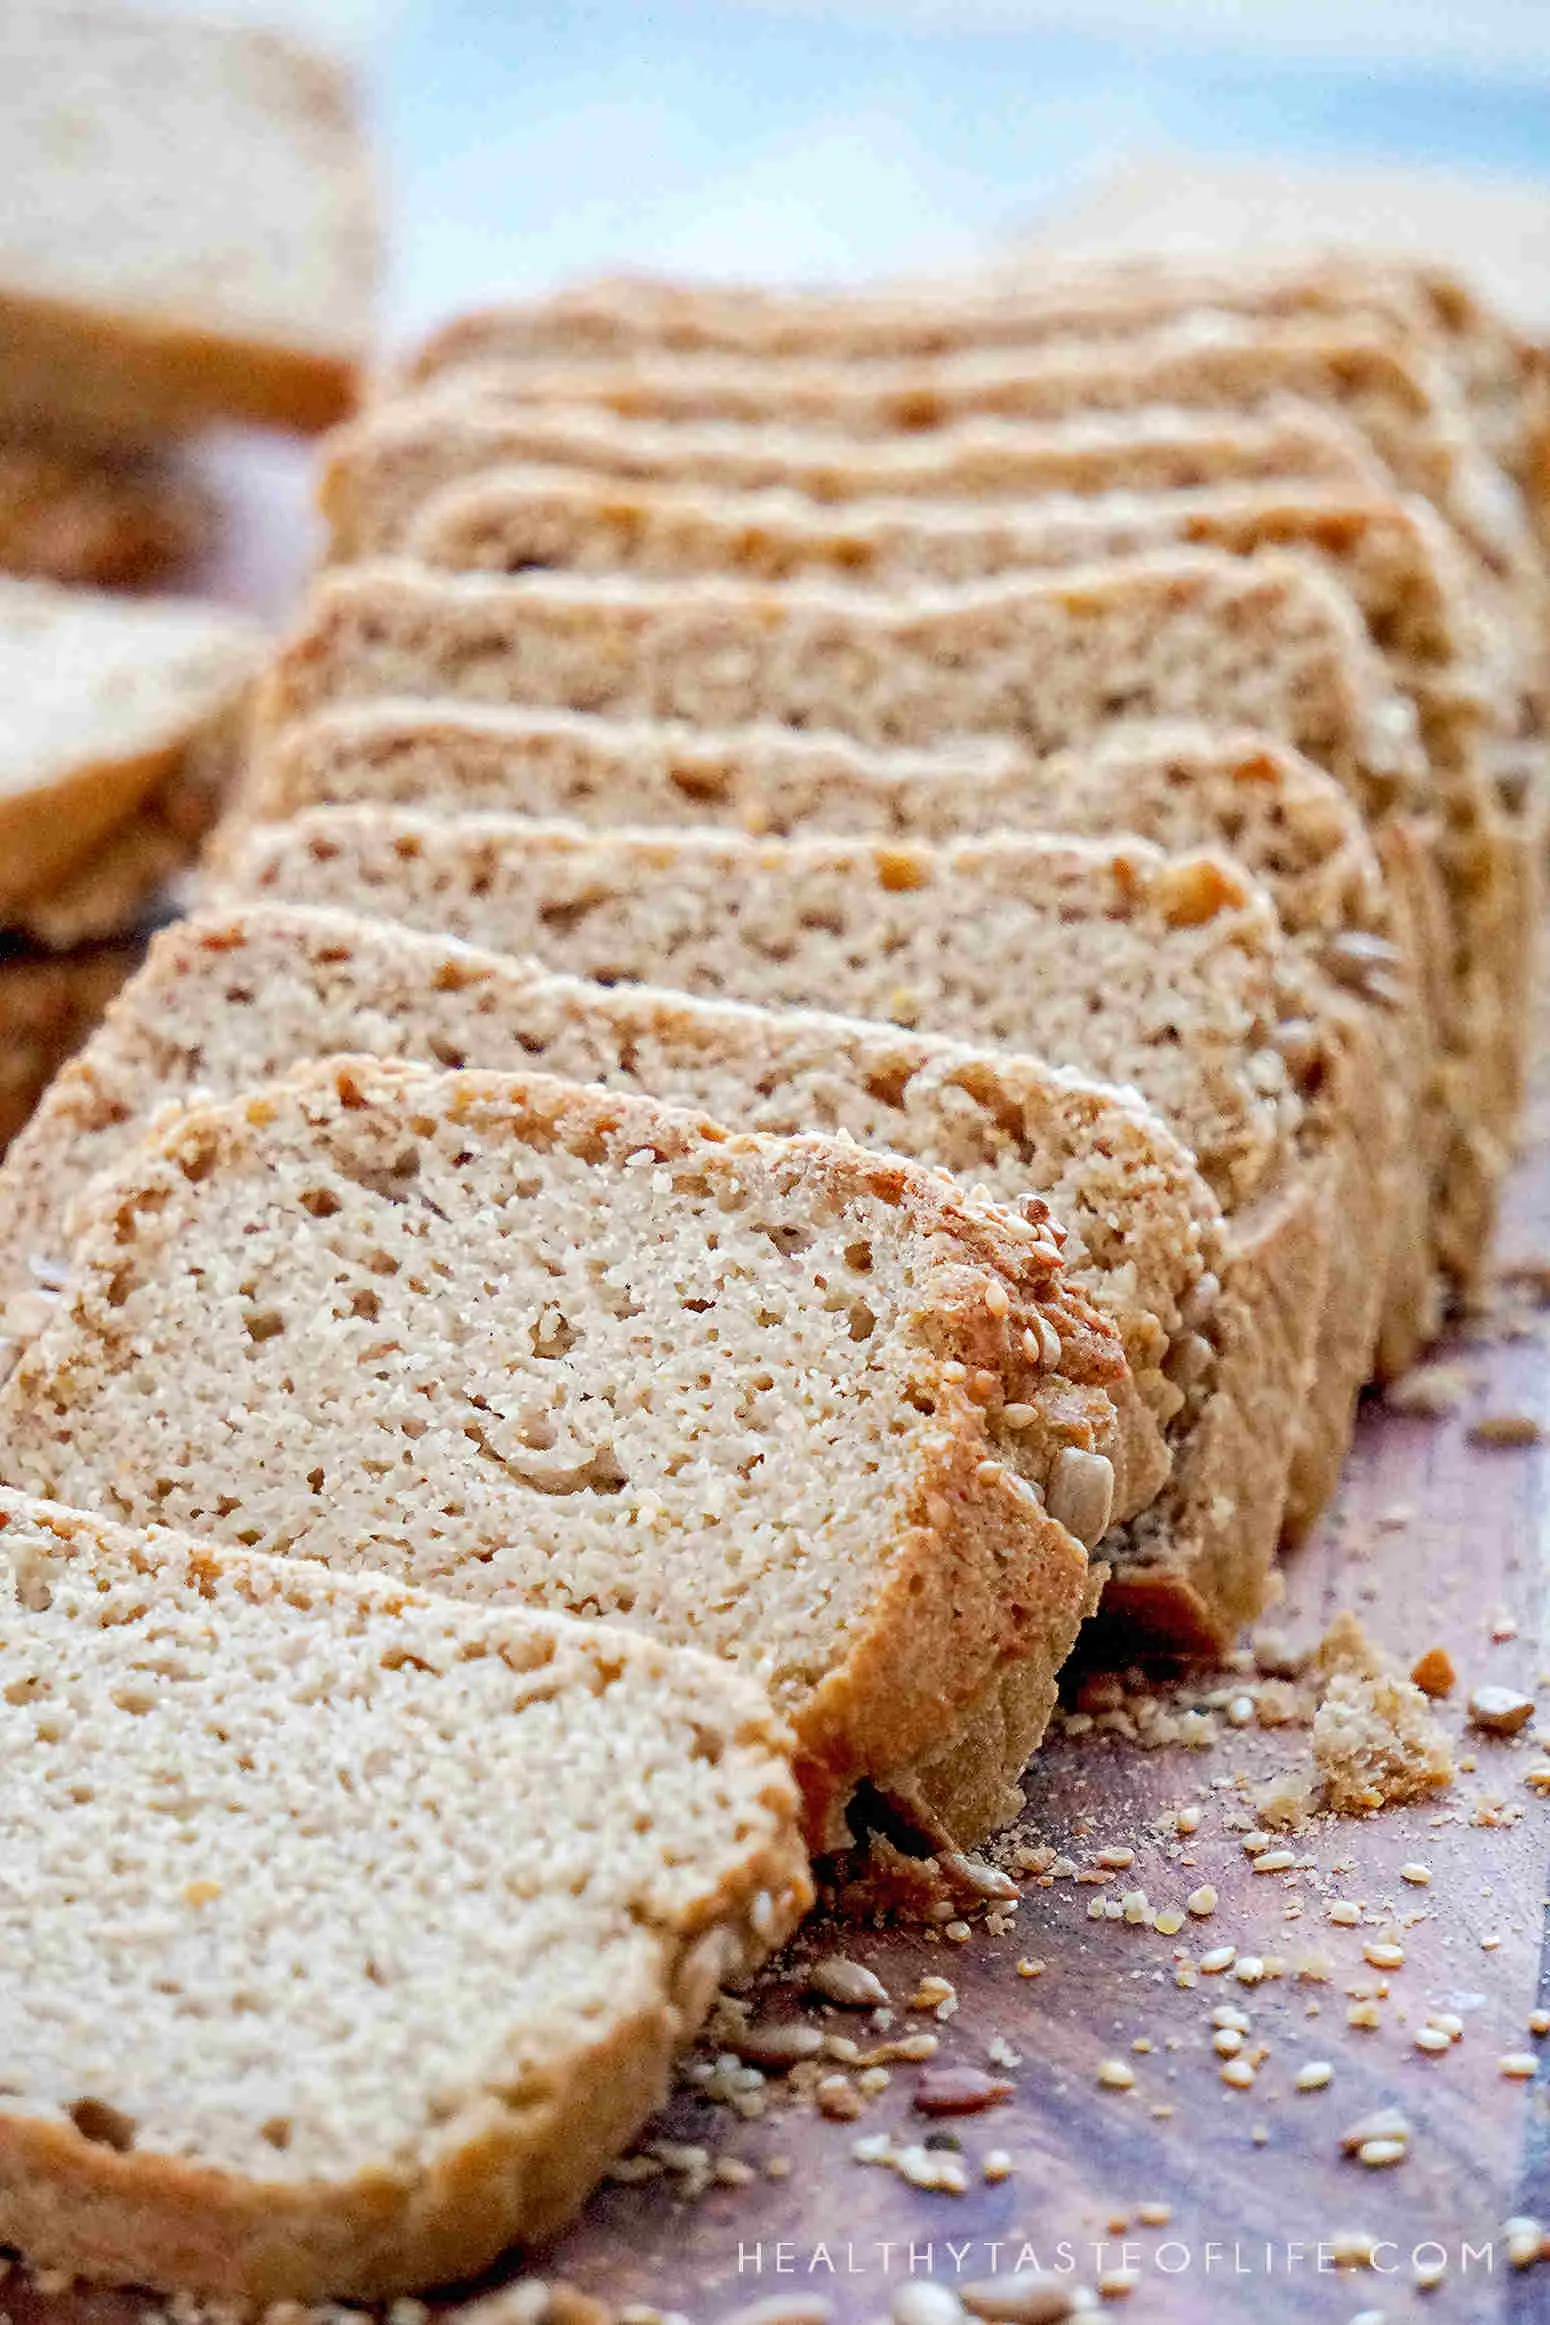
Are you tired of bland, crumbly gluten-free bread that disappoints with every bite? Get ready to revolutionize your bread game with this incredible gluten-free sourdough recipe that promises restaurant-quality results right in your own kitchen! Whether you're celiac, gluten-sensitive, or simply looking to explore delicious alternative baking, this recipe will become your new go-to for creating a perfectly crispy, tangy, and mouthwatering loaf that will have everyone asking, "Wait, this is really gluten-free?"
Prep Time: 30 mins
Cook Time: 40 mins
Total Time: 1 hrs 10 mins
Cuisine: International
Serves: 1 loaf
Ingredients
- 1 cup gluten free sourdough starter
- 1 1/2 cups gluten free all-purpose flour
- 1 tsp salt
- 1/2 cup warm water
- 1 tbsp olive oil
Instructions
- Begin by ensuring your gluten free sourdough starter is active and bubbly. If it has been refrigerated, feed it at least 4-6 hours before you plan to bake to ensure it's ready for use.
- In a large mixing bowl, combine 1 cup of the active gluten free sourdough starter with 1/2 cup of warm water. Mix well until the starter is fully dissolved in the water.
- Add 1 tablespoon of olive oil to the mixture and stir until combined.
- In a separate bowl, whisk together 1 1/2 cups of gluten free all-purpose flour and 1 teaspoon of salt. This helps to evenly distribute the salt throughout the flour.
- Gradually add the dry ingredients to the wet ingredients, stirring continuously until a thick, sticky dough forms. You may need to use your hands to fully incorporate the flour.
- Once the dough is well combined, cover the bowl with a clean kitchen towel or plastic wrap. Let it rise in a warm, draft-free area for about 30 minutes. The dough may not rise significantly, but it will develop flavor during this time.
- After the resting period, preheat your oven to 450°F (232°C). Place a Dutch oven or a heavy baking pot with a lid inside the oven to preheat as well. This will create a steamy environment for the bread to bake.
- Once the oven is preheated, carefully remove the hot Dutch oven from the oven. Lightly grease the bottom and sides with olive oil or line it with parchment paper to prevent sticking.
- Transfer the dough into the hot Dutch oven. Use a spatula or your hands to shape it into a round loaf. Smooth the top as best as you can, but remember that gluten free dough is typically sticky and won't hold shape like traditional dough.
- Cover the Dutch oven with its lid and place it back in the oven. Bake for 30 minutes covered to allow the bread to steam.
- After 30 minutes, carefully remove the lid and bake for an additional 10 minutes to allow the crust to brown and become crispy.
- Once the bread is golden brown and sounds hollow when tapped on the bottom, remove it from the oven. Carefully transfer the loaf to a wire rack to cool completely before slicing.
- Allow the bread to cool for at least 30 minutes to an hour before cutting into it. This helps the texture set and makes for cleaner slices.
- Enjoy your homemade gluten free sourdough bread fresh or toasted, and store any leftovers in an airtight container at room temperature for a few days, or freeze for longer storage.
Tips
- Starter is King: Ensure your gluten-free sourdough starter is super active and bubbly. A healthy starter is the secret to great flavor and texture.
- Temperature Matters: Keep your dough in a consistently warm (but not hot) environment during the rising process. Ideal temperature is around 70-75°F.
- Patience is Essential: Gluten-free dough behaves differently from wheat-based dough. Don't expect massive rising, and focus on developing flavor.
- Moisture is Your Friend: Gluten-free doughs tend to be stickier, so don't be afraid of a wetter consistency.
- Invest in a Dutch Oven: The enclosed, preheated environment creates steam that helps develop a crispy crust and better rise.
- Cooling is Crucial: Always let your bread cool completely before slicing to allow the internal structure to set properly.
- Storage Tip: Wrap the cooled bread in a clean kitchen towel or store in an airtight container to maintain moisture and freshness.
Nutrition Facts
Calories: 820kcal
Carbohydrates: 140g
Protein: 16g
Fat: 18g
Saturated Fat: 2g
Cholesterol: 0mg


